Crispy Pan-Seared Salmon
3 MINUTE TL;DR READ | 10 MINUTE FULL READ
BY: DAVID OLKOVETSKY
Prep time: 10 mins | Cook time: 15 mins | Servings: 4 servings
Delicious & Crispy Salmon Is Actually Pretty Easy!
We promise, amazing salmon is possible! If you're like me, you probably grew up thinking salmon was awful because it was rubbery and filled with bones. I used to really dislike it for two reasons. 1. My mom always overcooked it, and 2. To she always bought salmon steaks to make a dollar go a bit further. And yes, they were less expensive, but little kids really aren't equipped with enough patience to handle bones. I was frequently pricked by them, and I still remember them getting stuck in my throat. No more! Nowadays, quality supermarkets carry a variety of fish, and they’ve really stepped up their salmon game. To make incredible salmon that your family is going to fight over, all you really need is: quality fish, salt, pepper, some olive oil, a sharp knife, and a good skillet. And if you need a carb to pair with, try our Ultra Crispy & Flaky Potato recipe. So, let’s get through the basics of making delicious & crispy salmon.
Contents:

Ingredients & Tools
2#s Wild Salmon.
Ground Salt.
Ground Pepper.
Light Olive Oil.
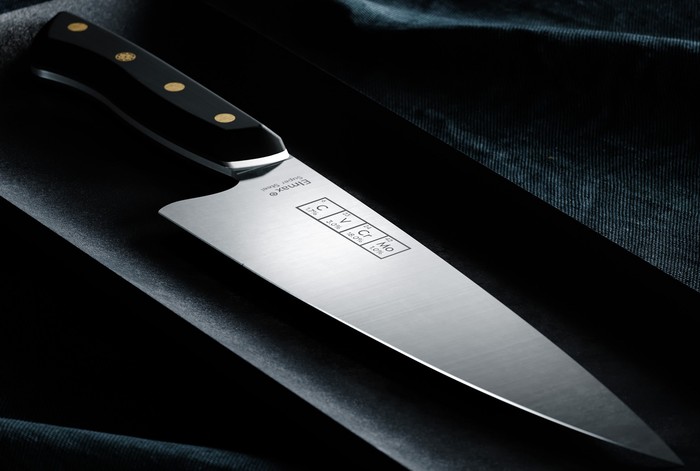
A sharp Petty Knife or Chef's Knife.
Stainless Steel Skillet or Cast Iron Skillet.
Plastic Cutting Board.
Preparation
TL;DR Directions (Short Version):
Cut fish to size. 2-3 inch thick pieces work nicely.
Dry your fish between two paper towels. Remember not to squeeze the fish. Instead, pat dry.
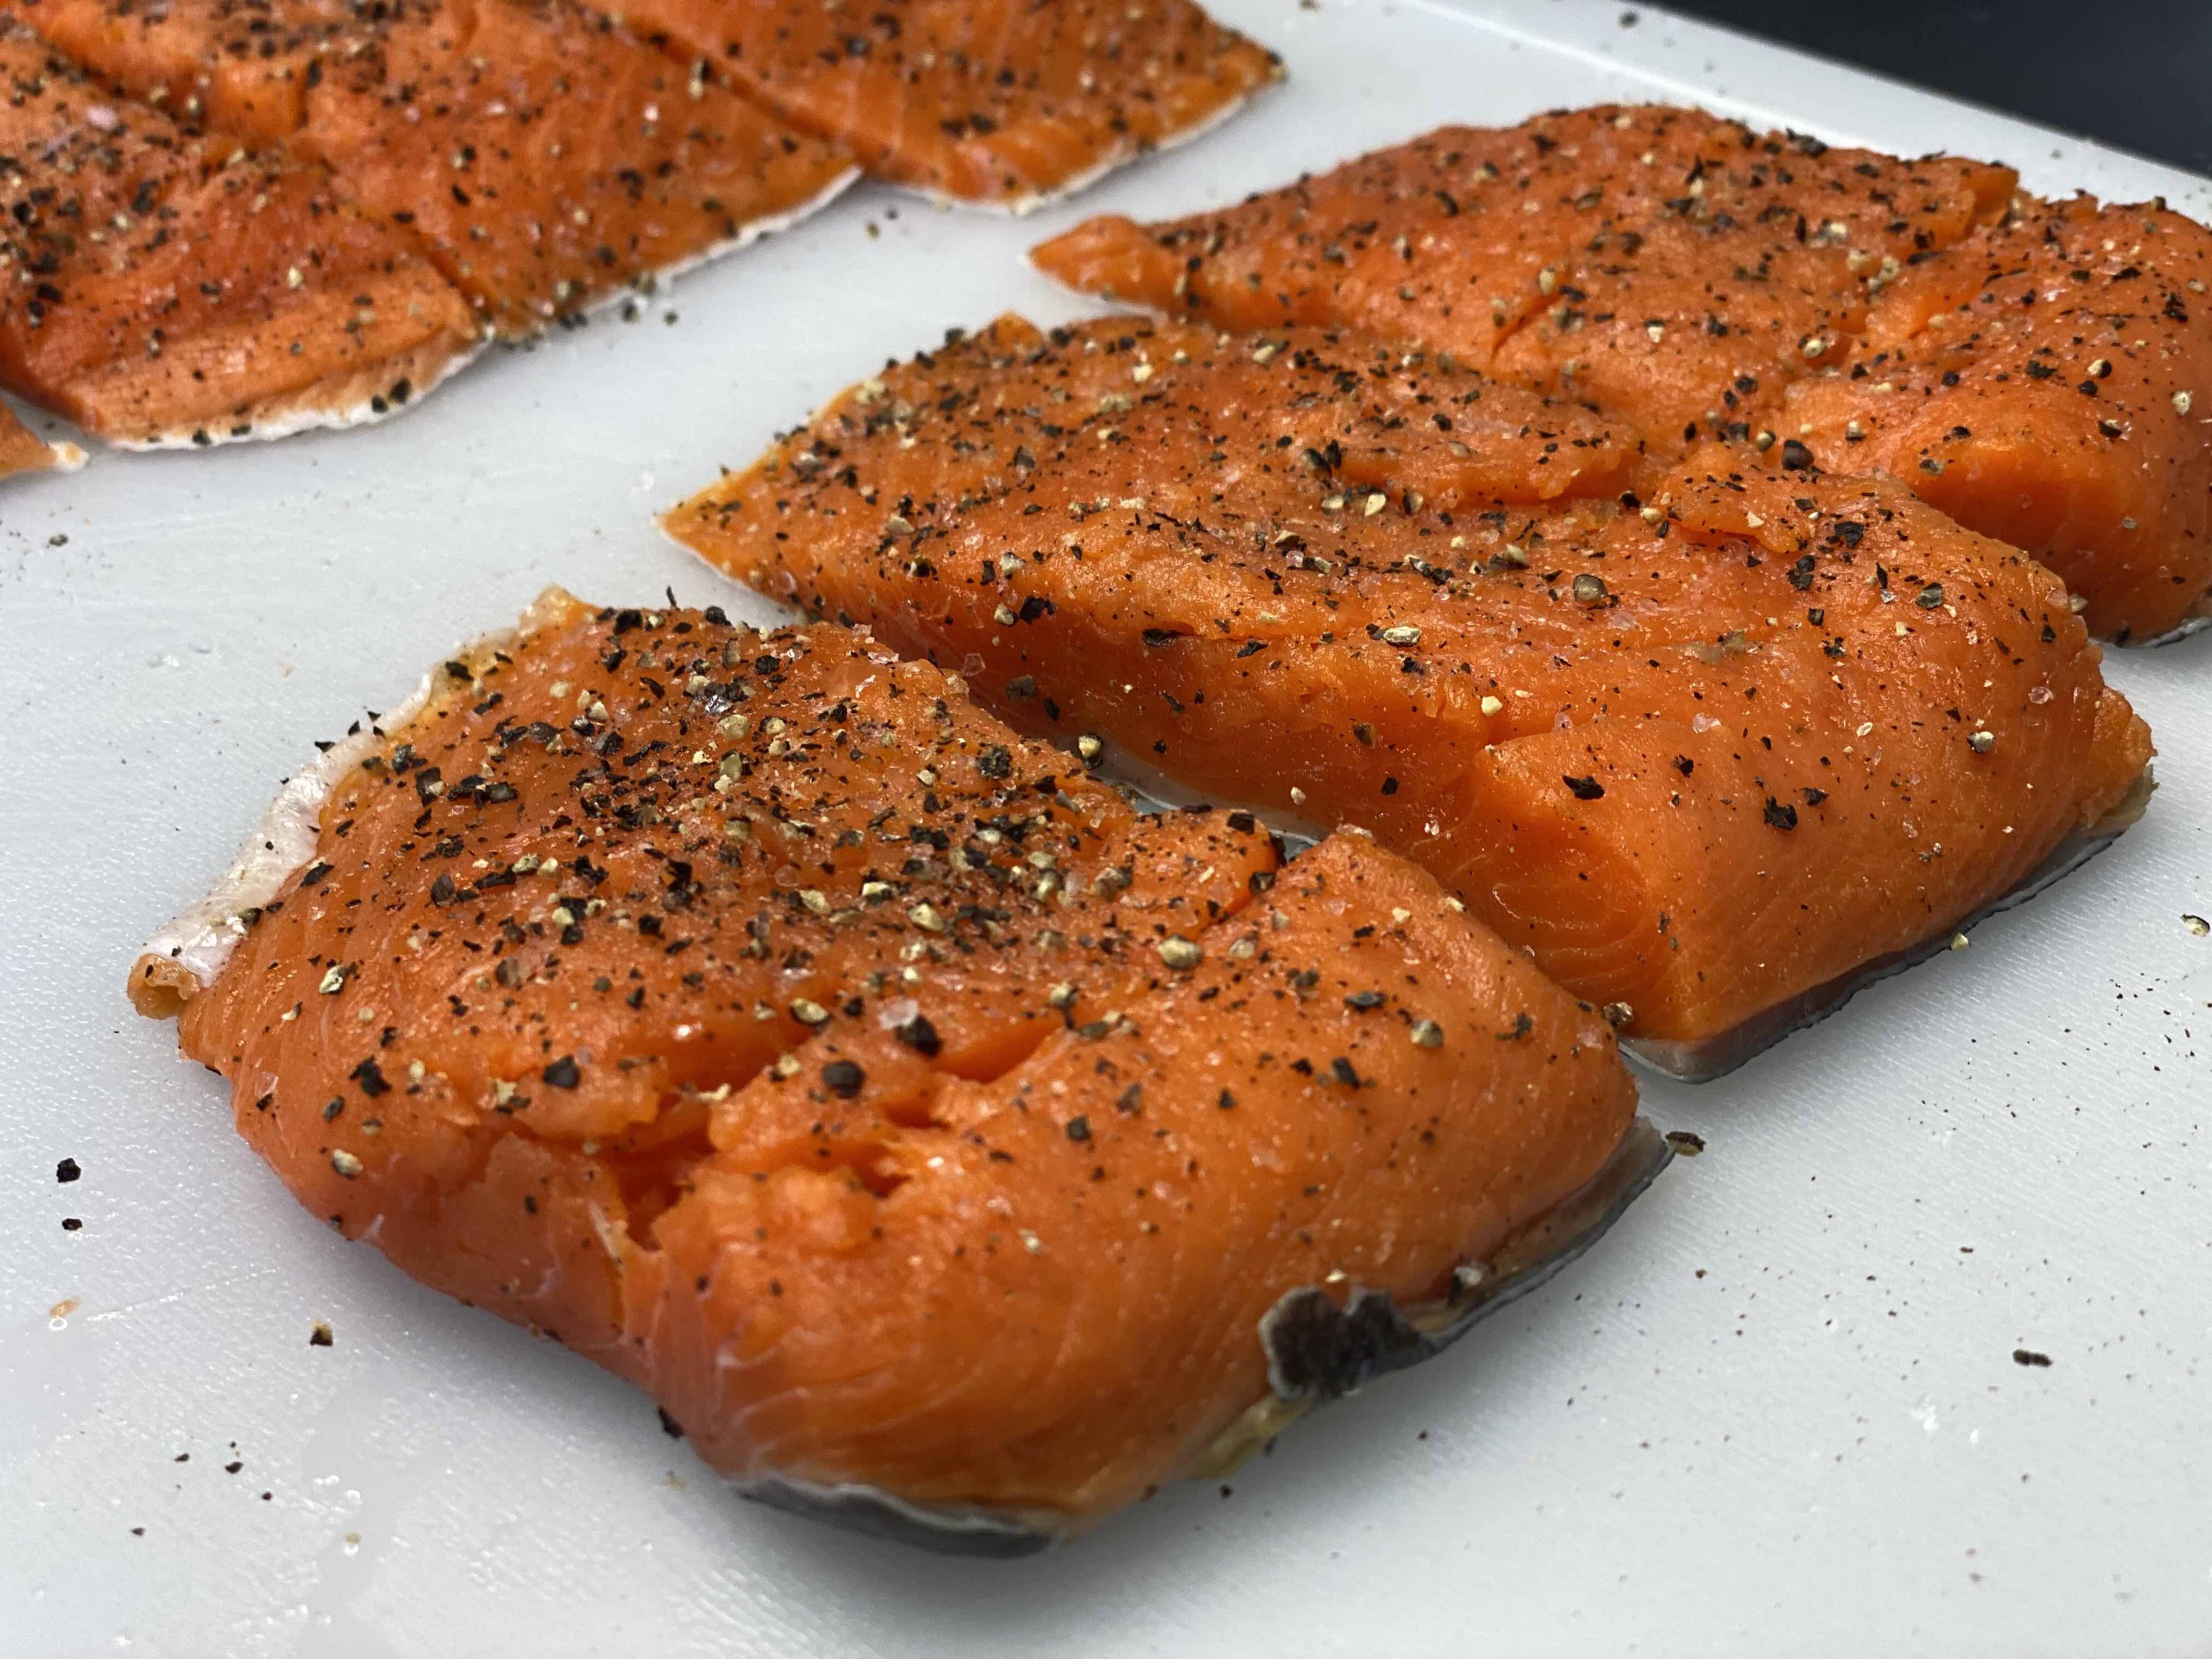
Season well with salt and pepper.
If you have time to let the salmon sit, put it on a rack in the refrigerator for 1-2 hours or longer. This keeps it juicy.
Pre-heat your stainless steel or cast iron skillet on medium-high heat until hot.
-
Once hot, drizzle oil into the pan.
Science Tip: turn down the heat to medium-low. Lower heat keeps albumen to a minimum.
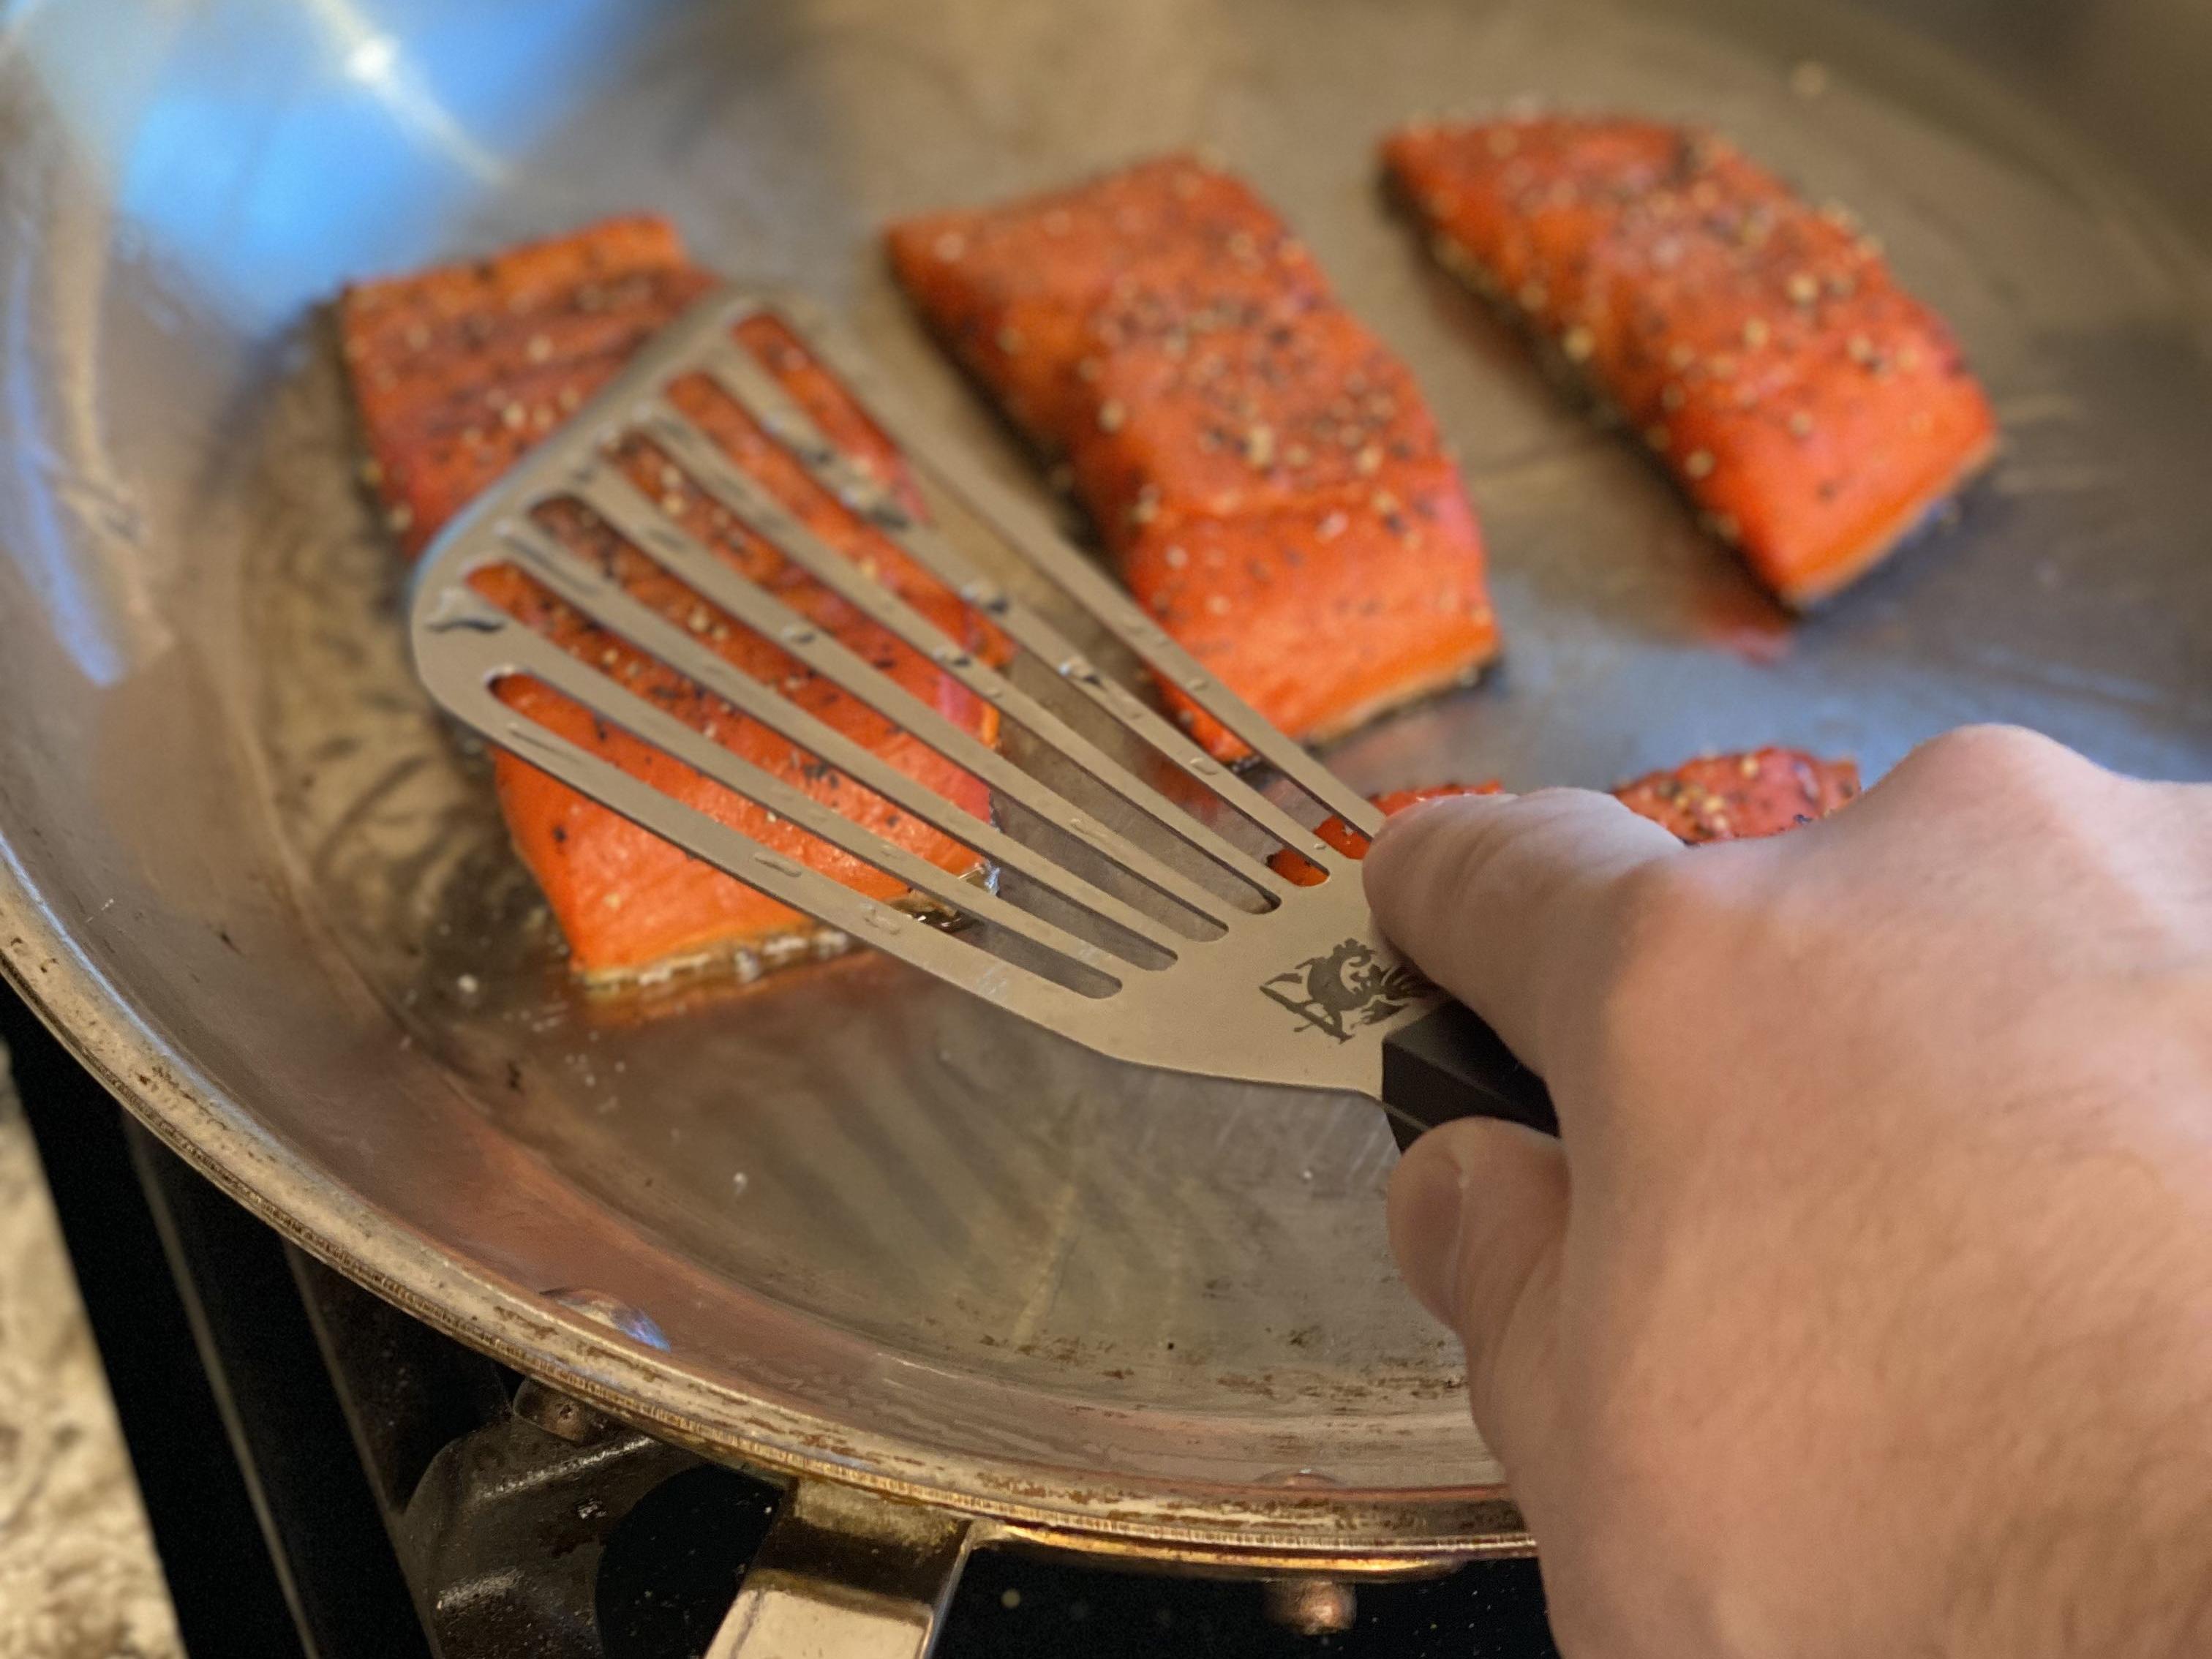
With a piece of salmon in hand, gently place the fish into the skillet, skin side down.
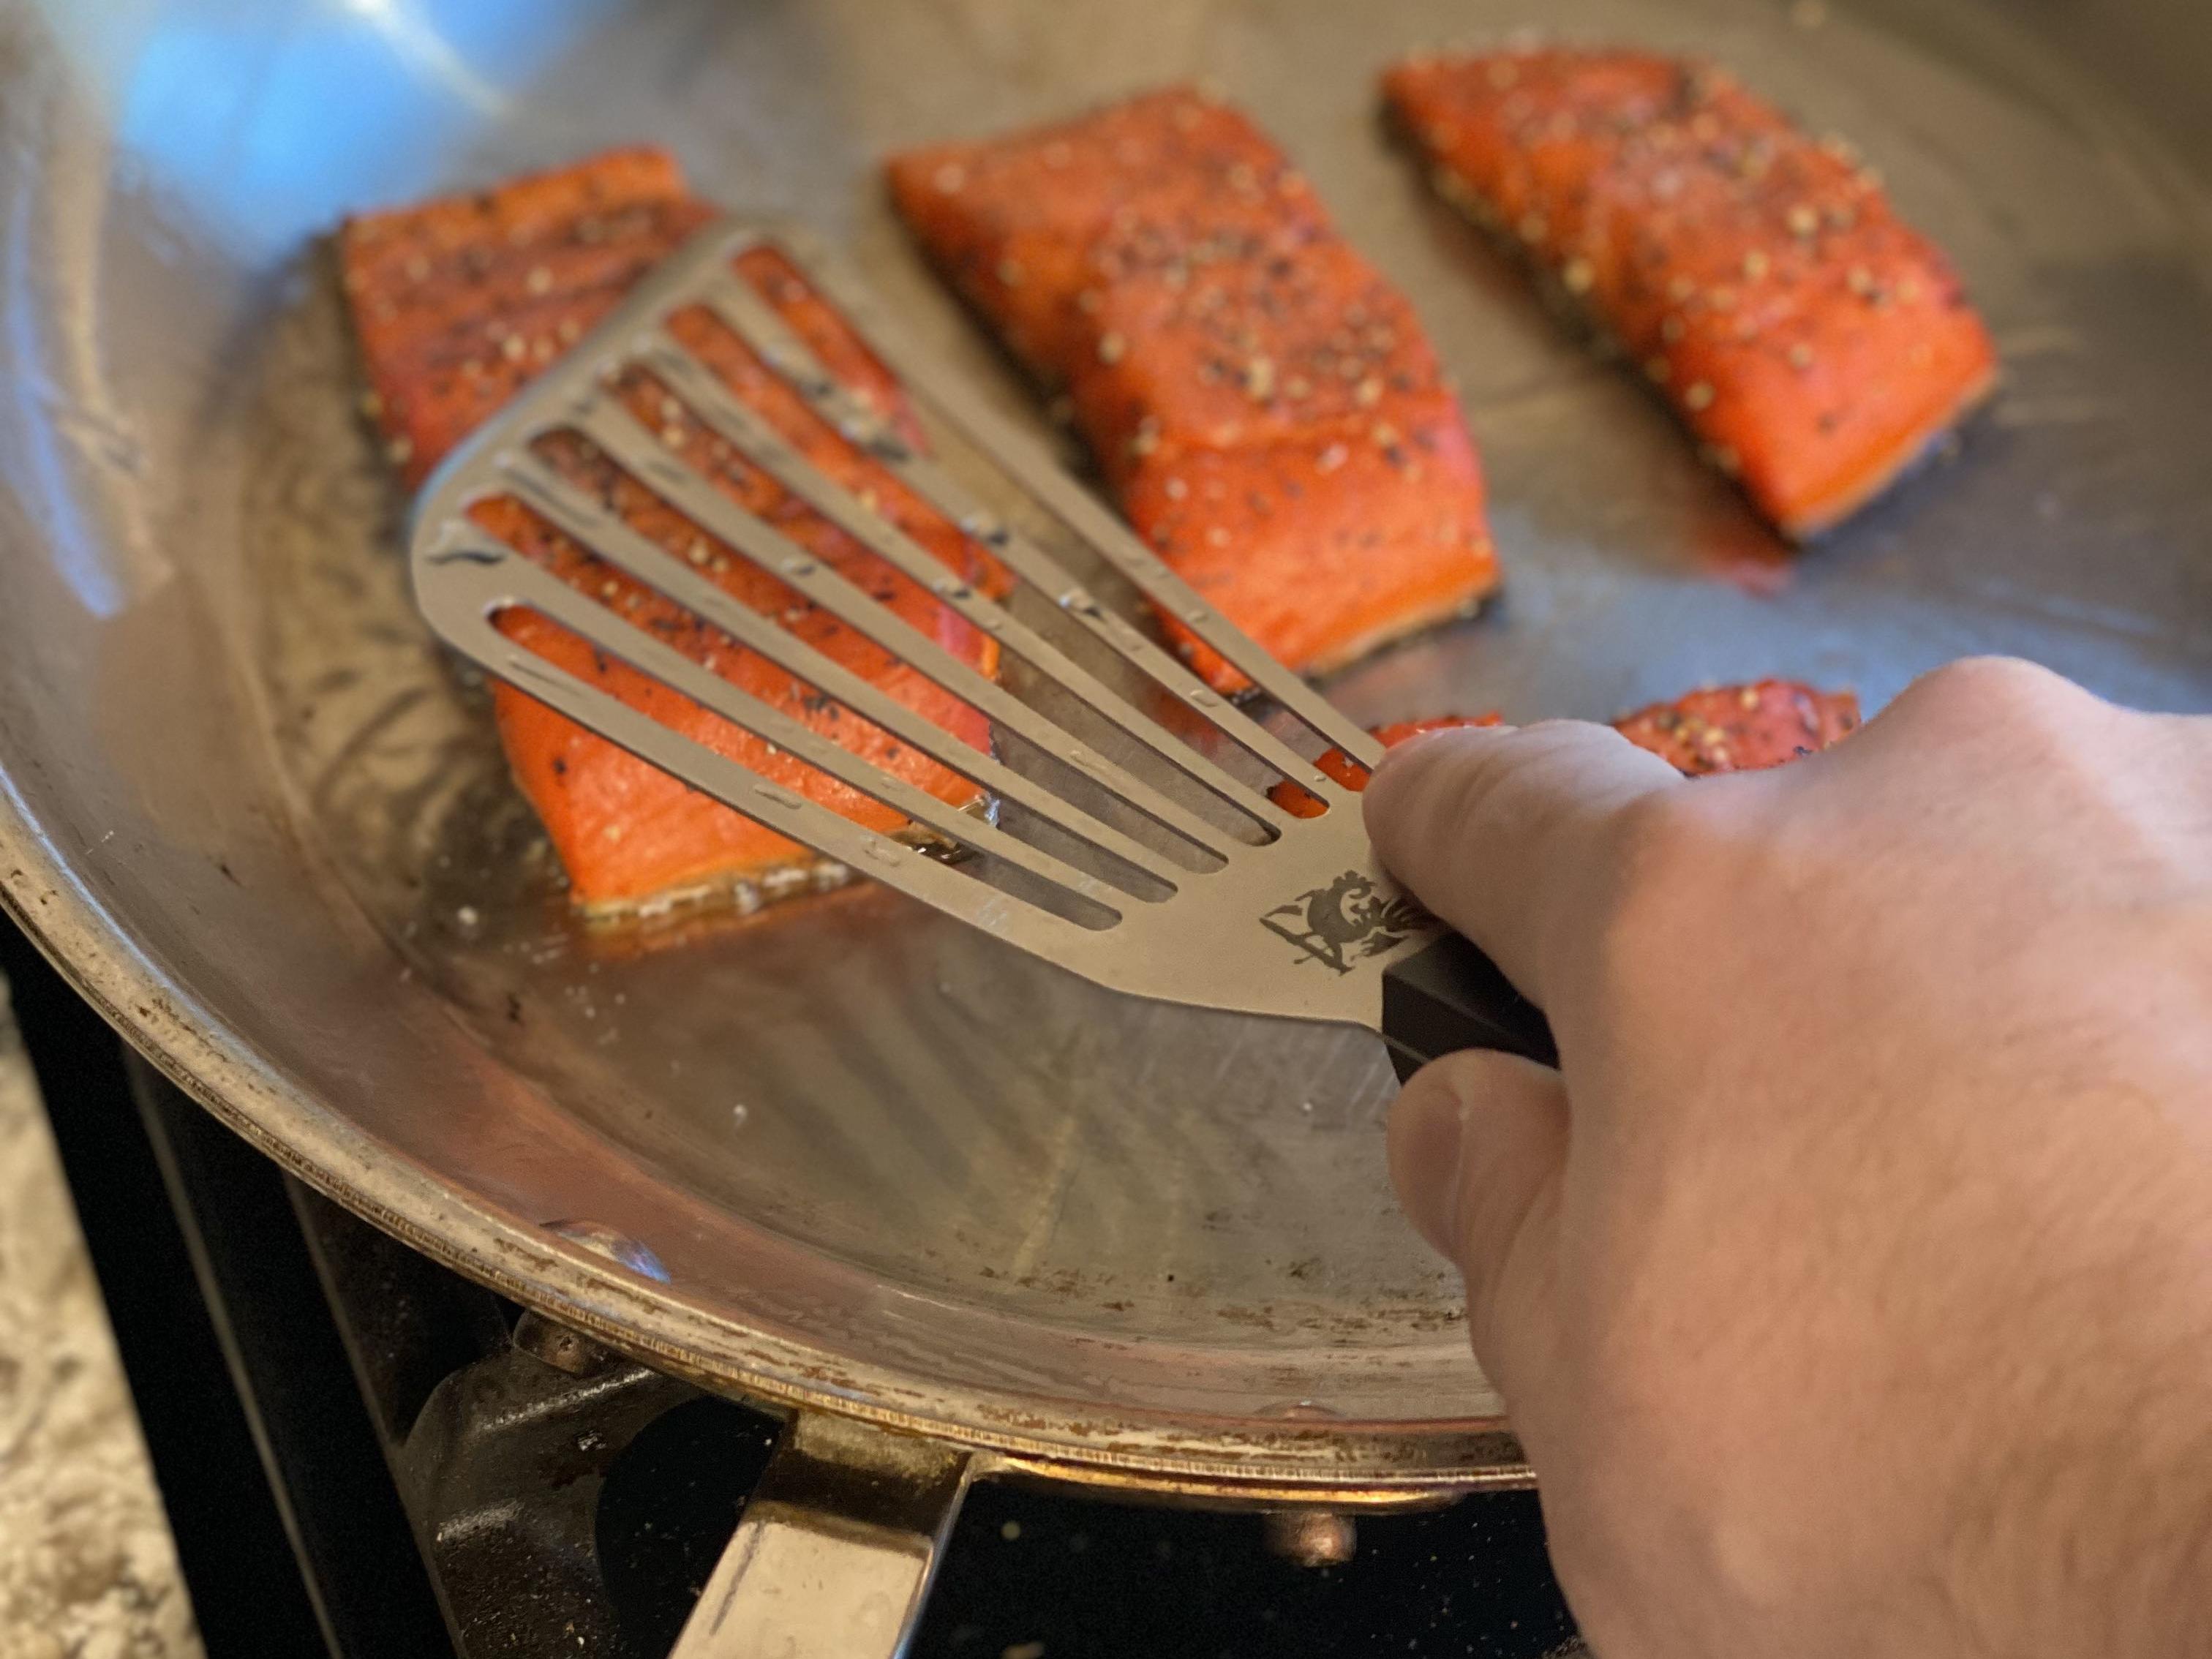
Press down with a fish spatula for 5-15 seconds so the skin is flush to the pan.
Repeat by adding additional pieces of fish and pressing each down with the spatula.
Cook for 4-6 minutes on medium-low.
Check the fish’s temperature with a thermometer. It should be about 120 F.
-
Flip the fish onto the flesh side for about 30 seconds.
Note 1: The skin should lift off the pan easily if it is sufficiently cooked and if you pressed it down well at the start of the cooking process.
Note 2: The easiest way to get under the skin is to slide your spatula under the corners.
-
Remove the fish and place it on a paper towel. Congratulations! You now have some delicious and crispy fish.


Shop Our Top Tools
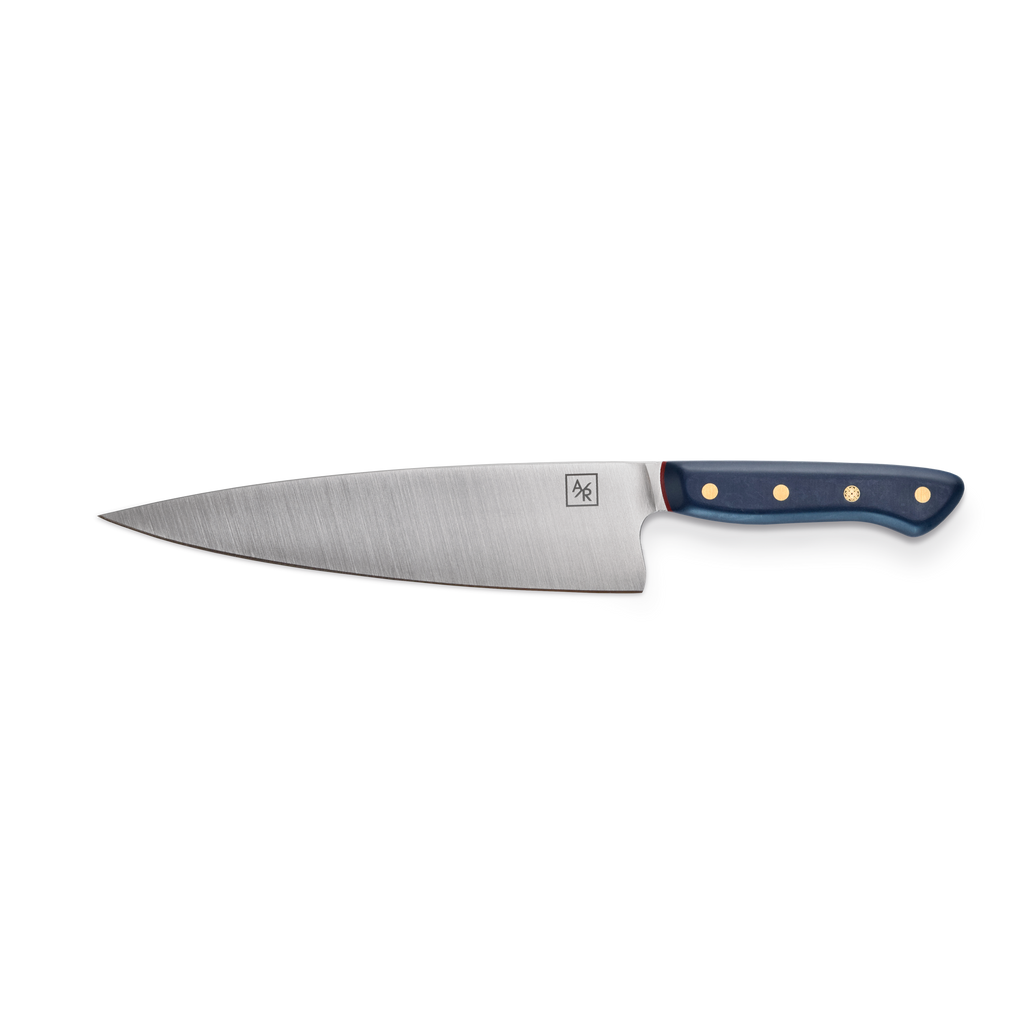
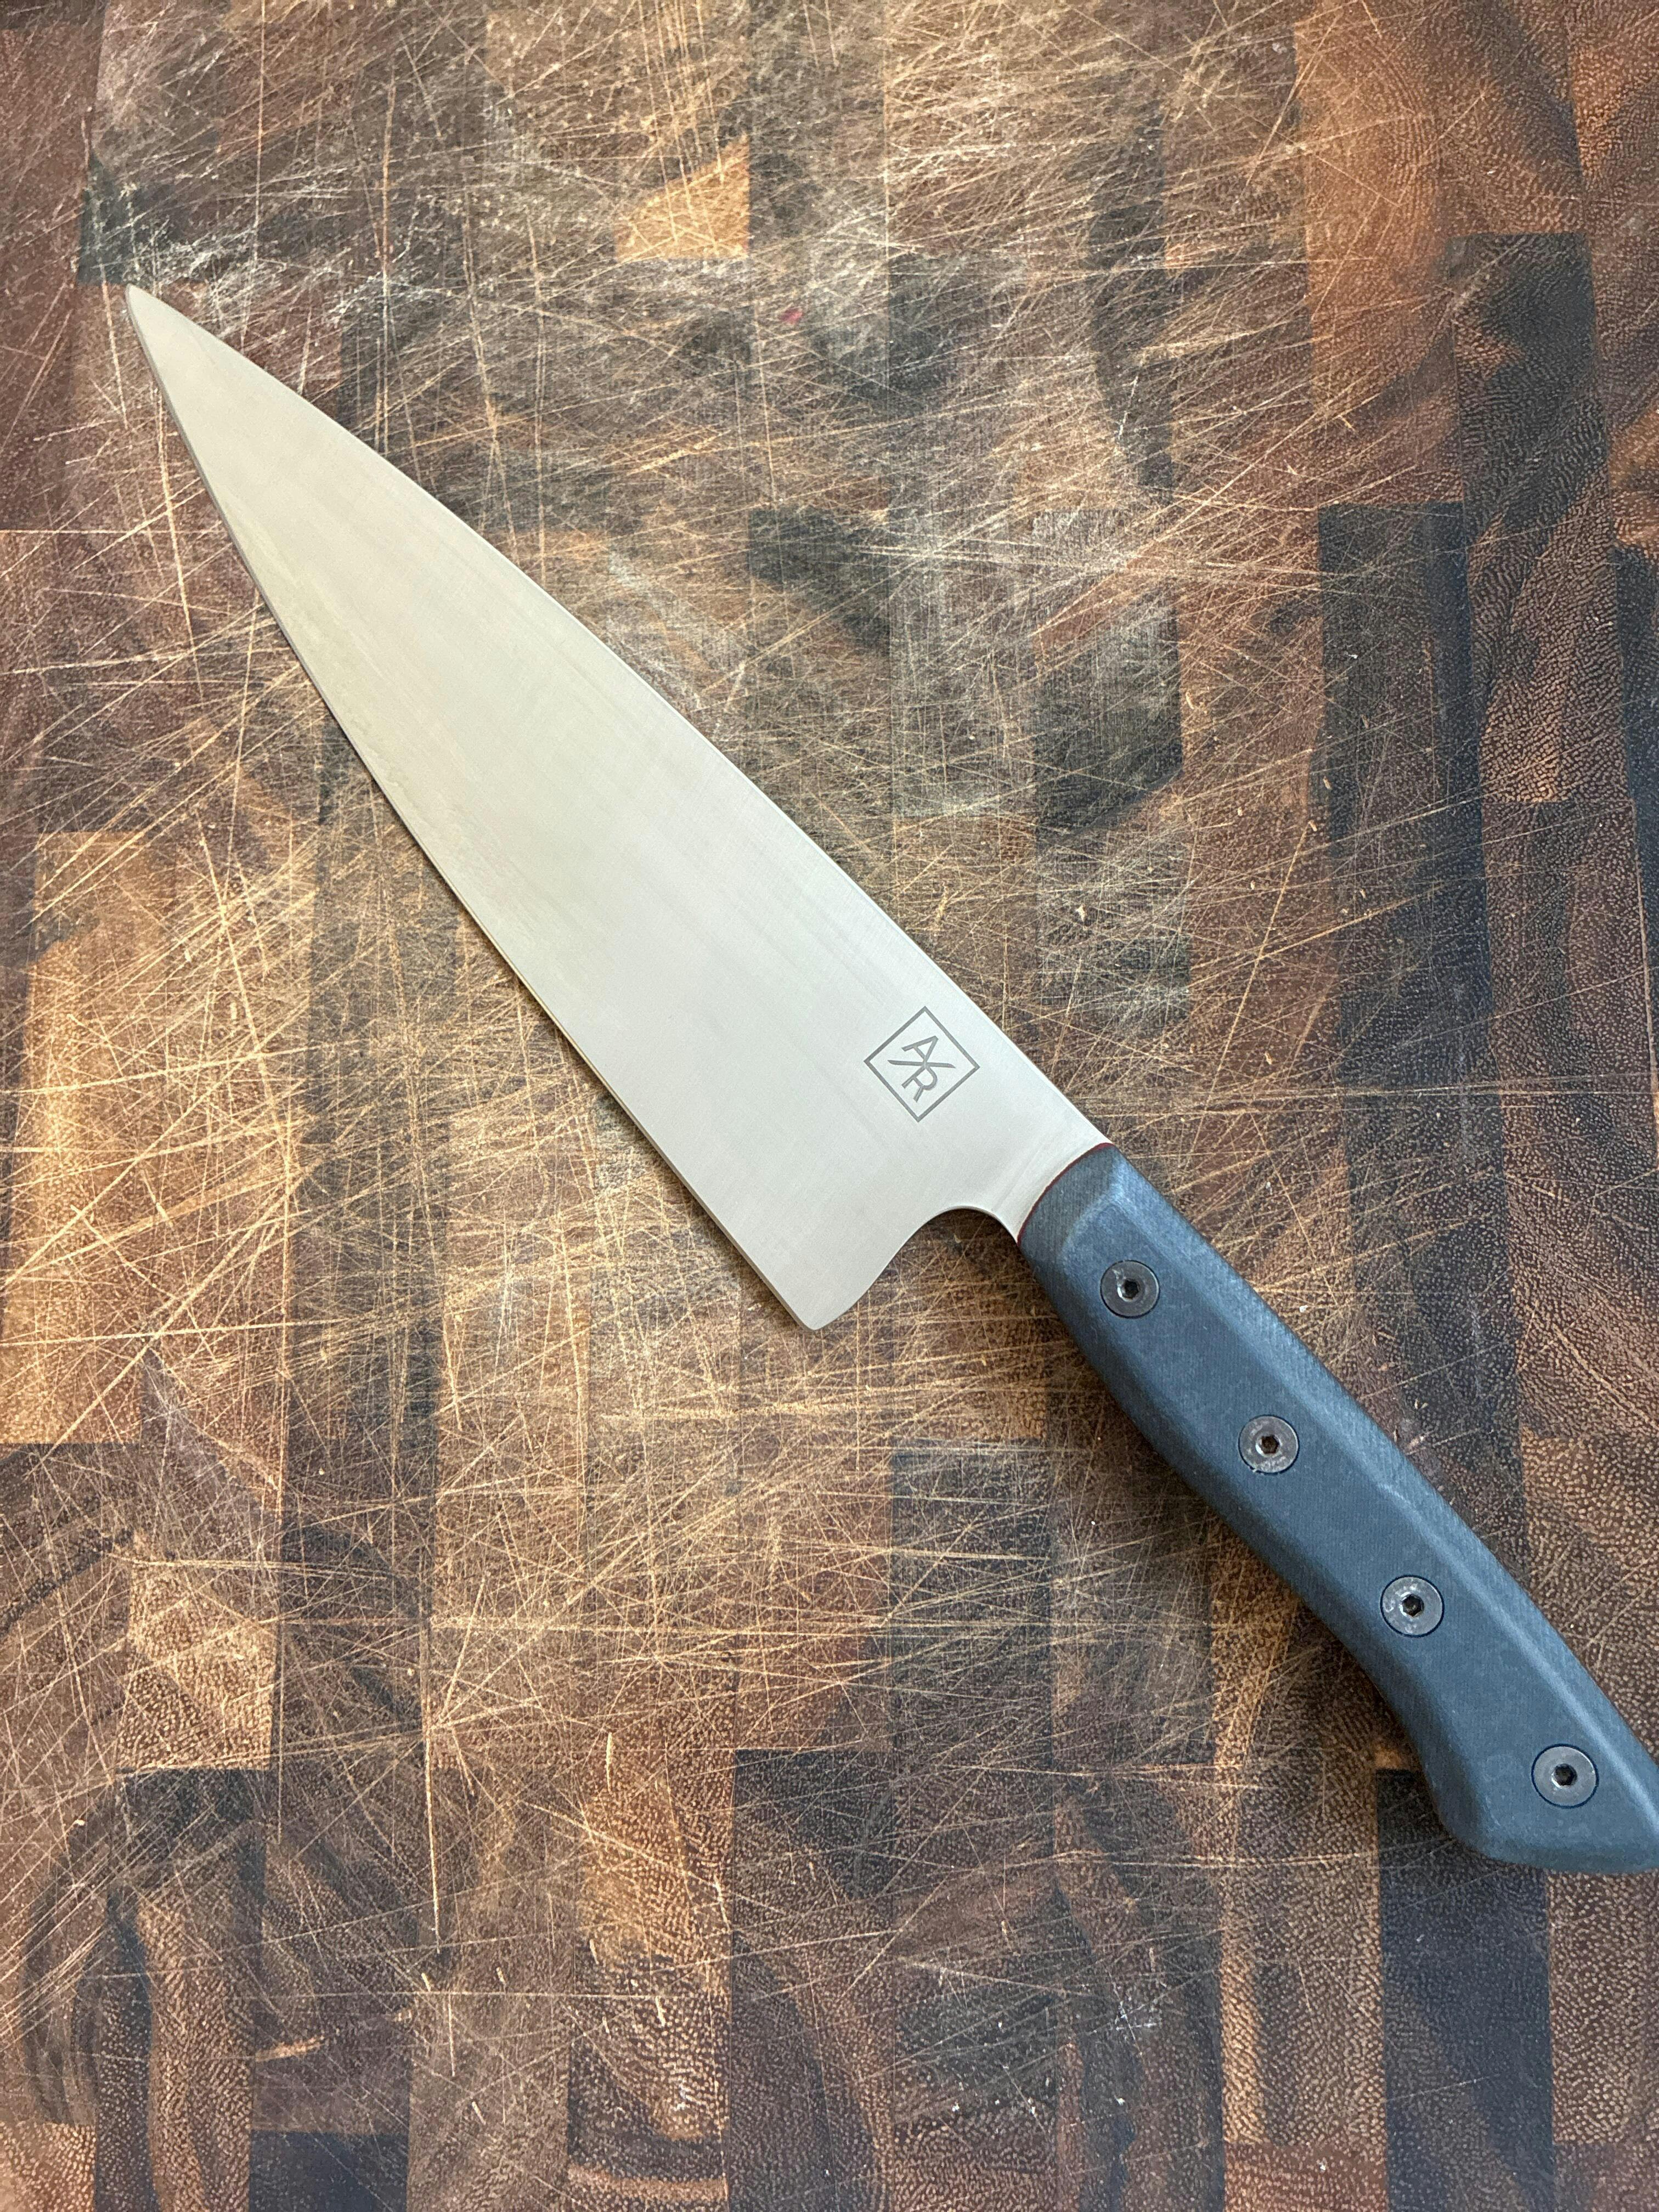
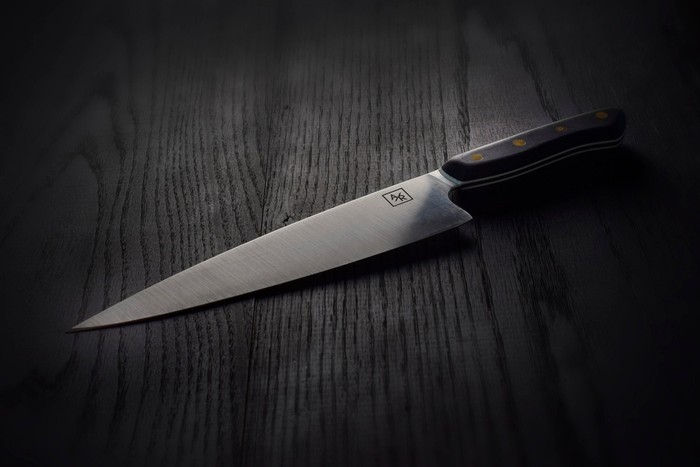
The Chef’s Knife
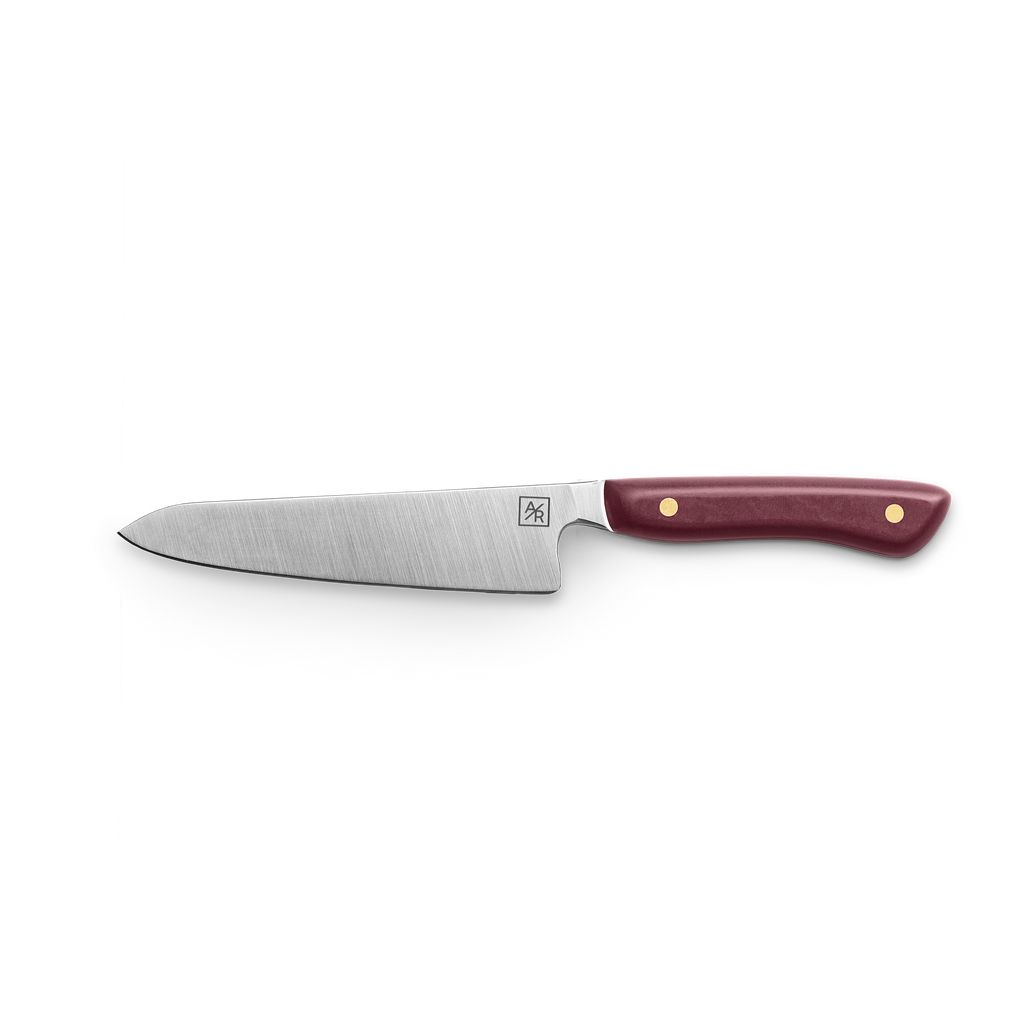
Small Petty Knife
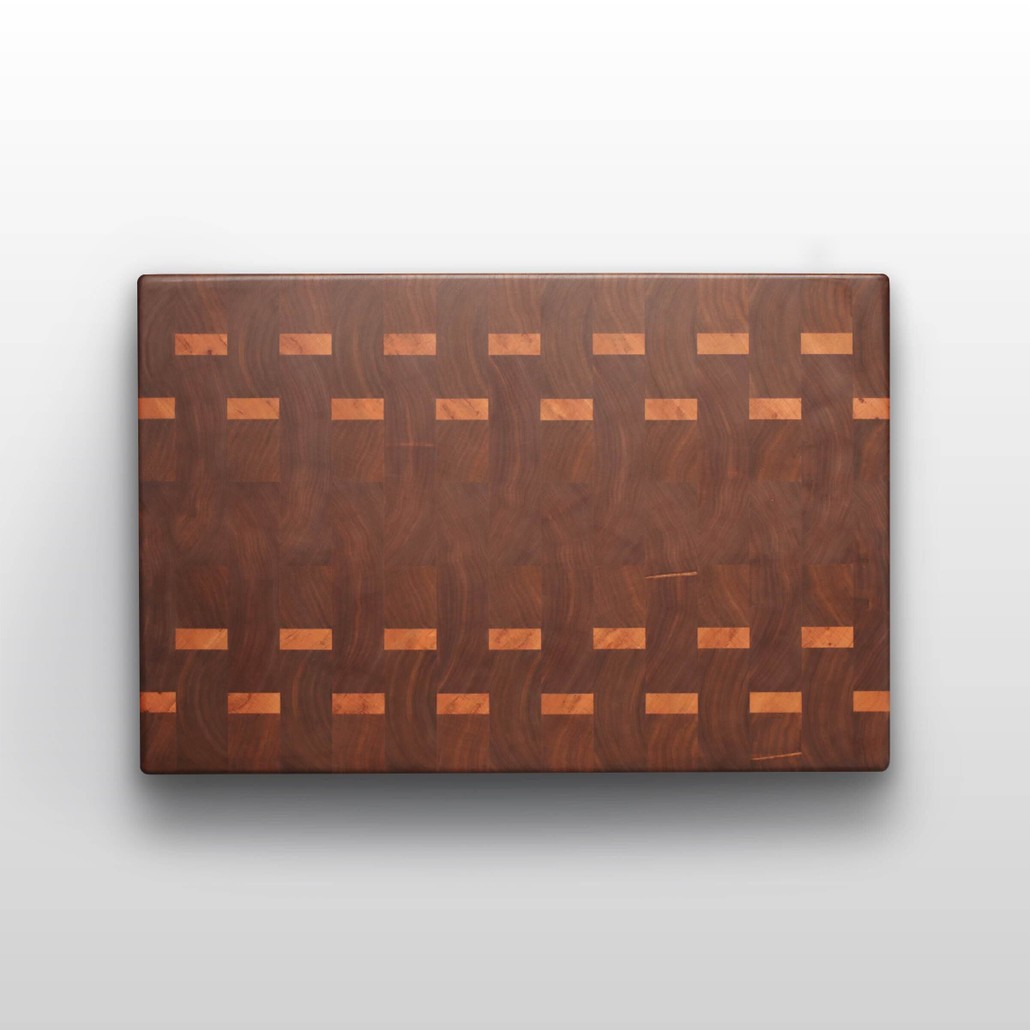
End-Grain Cutting Board
Detailed Salmon Preparation Process
Detailed Directions:
Let's get a bit deeper into the crispy salmon cooking process, with these more detailed instructions.
1. Start with good fish
Buy the best fish you can. Wild salmon is usually about $1-3 more per pound than farm-raised. It’s better for you than farm-raised, so, if you can afford it, go for the wild.
Health Tip: Wild vs. Farmed. Wild salmon has about 1/2 the saturated fat, dramatically lower levels of pollutants, and no antibiotics.
If you’re at a store that has a fishmonger, ask them for the freshest fish possible. If you’re like me, and you shop at Trader Joe’s to save money, you can look at the packed-on date. I usually find the newest fish is further back on the rack.
I also try to get fish that is thicker, i.e. no tails.


2. Dry the fish
This is one of the most important steps — don’t skip it! If your fish isn’t dry, two bad things happen. 1. The moisture from the outside of the flesh will immediately cool the pan leading to a longer cook time and that means the fish will have to spend more time on the pan, with the inside heating up more than you’d like. 2. The surface moisture will need to be boiled off, resulting in a skin that isn’t crispy, and flesh that is soggy.
Drying your fish is simple. Take two paper towels. Stack them on top of each other. Place the fish on them and gently but firmly press the paper to all sides of the salmon. Your last presses with the paper towel should be lifting almost no moisture from the fish.
3. Season well
Next, season generously with salt and pepper. If you have a bit of extra time, it’s worth popping the seasoned salmon back into the refrigerator for a few hours so it can cure. This is the same principle as dry-aging your steak.

4. Pre-heat the skillet
Starting with a hot skillet is important. A great cast iron, like the ones from Field Co. are superb. Also, a stainless pan works very well here. Heat the pan over medium-high heat for about 2-3 minutes. For cast iron, add an extra minute. Dropping a few drops of water on the pan should result in the water beading. That’s the temperature you want and it’s how you know your pan is ready. Lower the heat to medium-low. Remember, the pan should already be hot to prevent the skin from sticking, making it impossible to flip. You also won’t wind up with crispy skin.
5. Preheat the oil
Next, drizzle some light olive oil, avocado oil, or canola oil onto the pan. Give it about 30-45 seconds to heat up. Remember, you’re now at medium-low heat. This will help reduce the likelihood of the dreaded white albumen leaking out of the fish.
6. Press the fish down firmly on the skin side
Now that the pan and oil are nice and hot, add your salmon. You’ll want to carefully place the salmon into the pan to avoid splashing the oil, and potentially burning yourself. Add one piece of salmon at a time. Press down on it with a flexible spatula for about 5-10 seconds, to make sure the skin is flush with the surface.
Continue to add additional pieces one at a time. Don’t crowd the pan. As you place a new piece of fish into the pan, press down on it individually. This way, each piece of fish will cook evenly and the entire skin will get crispy.

7. Flip and finish on the flesh side
Once your salmon has been over heat for about 4-6 minutes, pop an instant-read thermometer into the thickest part of the fish. It may need another minute or two. You’re shooting for 120-125 F for medium rare. With your flexible spatula or fish turner and fork or tongs in your support hand, gently flip your fish. It’s best to begin your flip at a corner to ensure that the skin is crispy and will come off the pan easily. Cook for a further 15-30 seconds on the flesh side.
8. Dry the fish
Remove the fish from the pan with your spatula. Place it onto a paper towel, skin side down for the fish to rest. Serve warm.
There you have it. All you need to for a healthy, crispy, and delicious meal with salmon as your primary ingredient. If you have questions, please don't hesitate to reach out to us.
Customer Reviews
After a few weeks of using this knife it has quickly replaced all others as my go-to for all my prep work. This thing is sharp and feels great in the hand. My wife loves it because of how light it feels. This is a serious tool in the kitchen and I look forward to a lifetime of hard use.
My husband got me this knife for a Christmas gift. I cook all the time and I really wanted a good knife. This is definitely that!!! I cannot believe how easily it cuts through vegetables.. anything I am chopping up!! This is one Fantastic knife. We went back on your website to getting a chopping board now!!! 😆
This is the best knife I have used until now. It is extremely sharp and comfortable to use. What impressed me the most is how lightweight it is! I definitely recommend. This is one of those knives that can last a lifetime. One of these days I will save up money to get the other two.
As I've gotten older, I've begun to recognize the importance of eating handmade food from fresh ingredients. Not only is the food healthier, it tastes tremendously better.
However, a good knife is one of the areas I've neglected in my pursuit of crafting handmade food. For some reason, I've held the perception that a knife is a knife is a knife. I was wrong.
Before Christmas, I decided that I wanted to treat myself and invest in my last knife. To support my efforts in finding the right knife, I use the following prompt in ChatGPT:
== BEGIN PROMPT ==
You are a master chef who specializes in US independent knife makers.
I'm in the market for a new chef's knife. I am looking to spend less than $400. I want a knife that is known for flexibility, retaining its edge, and durability. Give me some of the best options from US independent knife makers.
Create a table with the top ten options with links to their sites.
== END PROMPT ==
Artisan Revere was one of the companies listed. After following up with other prompts to refine what I was looking for, everyday use retains its edge and ease of maintenance, it was clear that Artisan Revere was the best option for me.
Although I spent more than I initially planned, having used my Artisan Revere chef's knife for the past three months, I couldn't be happier with my investment and feel it was worth every penny.
Having such a good knife pushed me to invest in a better cutting board and has encouraged me to push my already fanatical passion for cooking even further, which has had a corresponding impact on my enjoyment of the entire cooking experience.
And while I could go on and on about the tremendous attributes of my knife, what I appreciated even more was David Olkovetsky, the CEO, calling me to understand my cooking style and confirm I had what I needed to take care of my knife. This level of hospitality, combined with a tremendous product, has made me a fan that will only ever use and gift Artisan Revere knives.
If you're on the fence about investing in a knife. You'll never regret investing in an Artisan Revere knife.


We bought 2 chef's knives for a couple of our customers as an end of project gift. It was awesome to find such high quality knives, they look and feel amazing. David the owner of Artisan Revere was very helpful and even helped us get the customers names engraved on the leather sheath and knife.
View Our Top Articles
Is Your Sponge Ruining Your Knife?
Take Care Of Your Knife So It Lasts Forever
How To Choose A Chef's Knife