The Ultimate Smash Cheese Burger Recipe
3 MINUTE TL;DR READ | 10 MINUTE FULL READ
BY: DAVID OLKOVETSKY
Prep time: 20 mins | Cook time: 10 mins | Servings: 8 servings
Ridiculously Flavorful & Juicy Smash Burgers They'll Ask For Again & Again
In the U.S., burgers and fries are practically a way of life, like trucks and baseball. At Artisan Revere, we've traveled all over the country and founds dozens of different varieties of burger, but our favorite is the smash burger. Thin 80/20 patties loaded up with bacon, cheese, fresh lettuce, tomatoes, and onions and a bit of special sauce are all it really takes, but like all great things, it's never that simple. We made numerous varieties as we experimented. Our final smash burger masterpieces are made with two 4 oz. patties, accompanied by turkey bacon, butterhead lettuce, tomato, onion, and a spicy special sauce. So, if you appreciate a juicy and crazy flavorful burger, pull out your sharpest knife and your stainless steel pan, open those windows, turn on the vent, and get those paper towels ready. Let's dive into the nuances to pump out some mouthwatering burgers.
Contents:
Ingredients & Tools
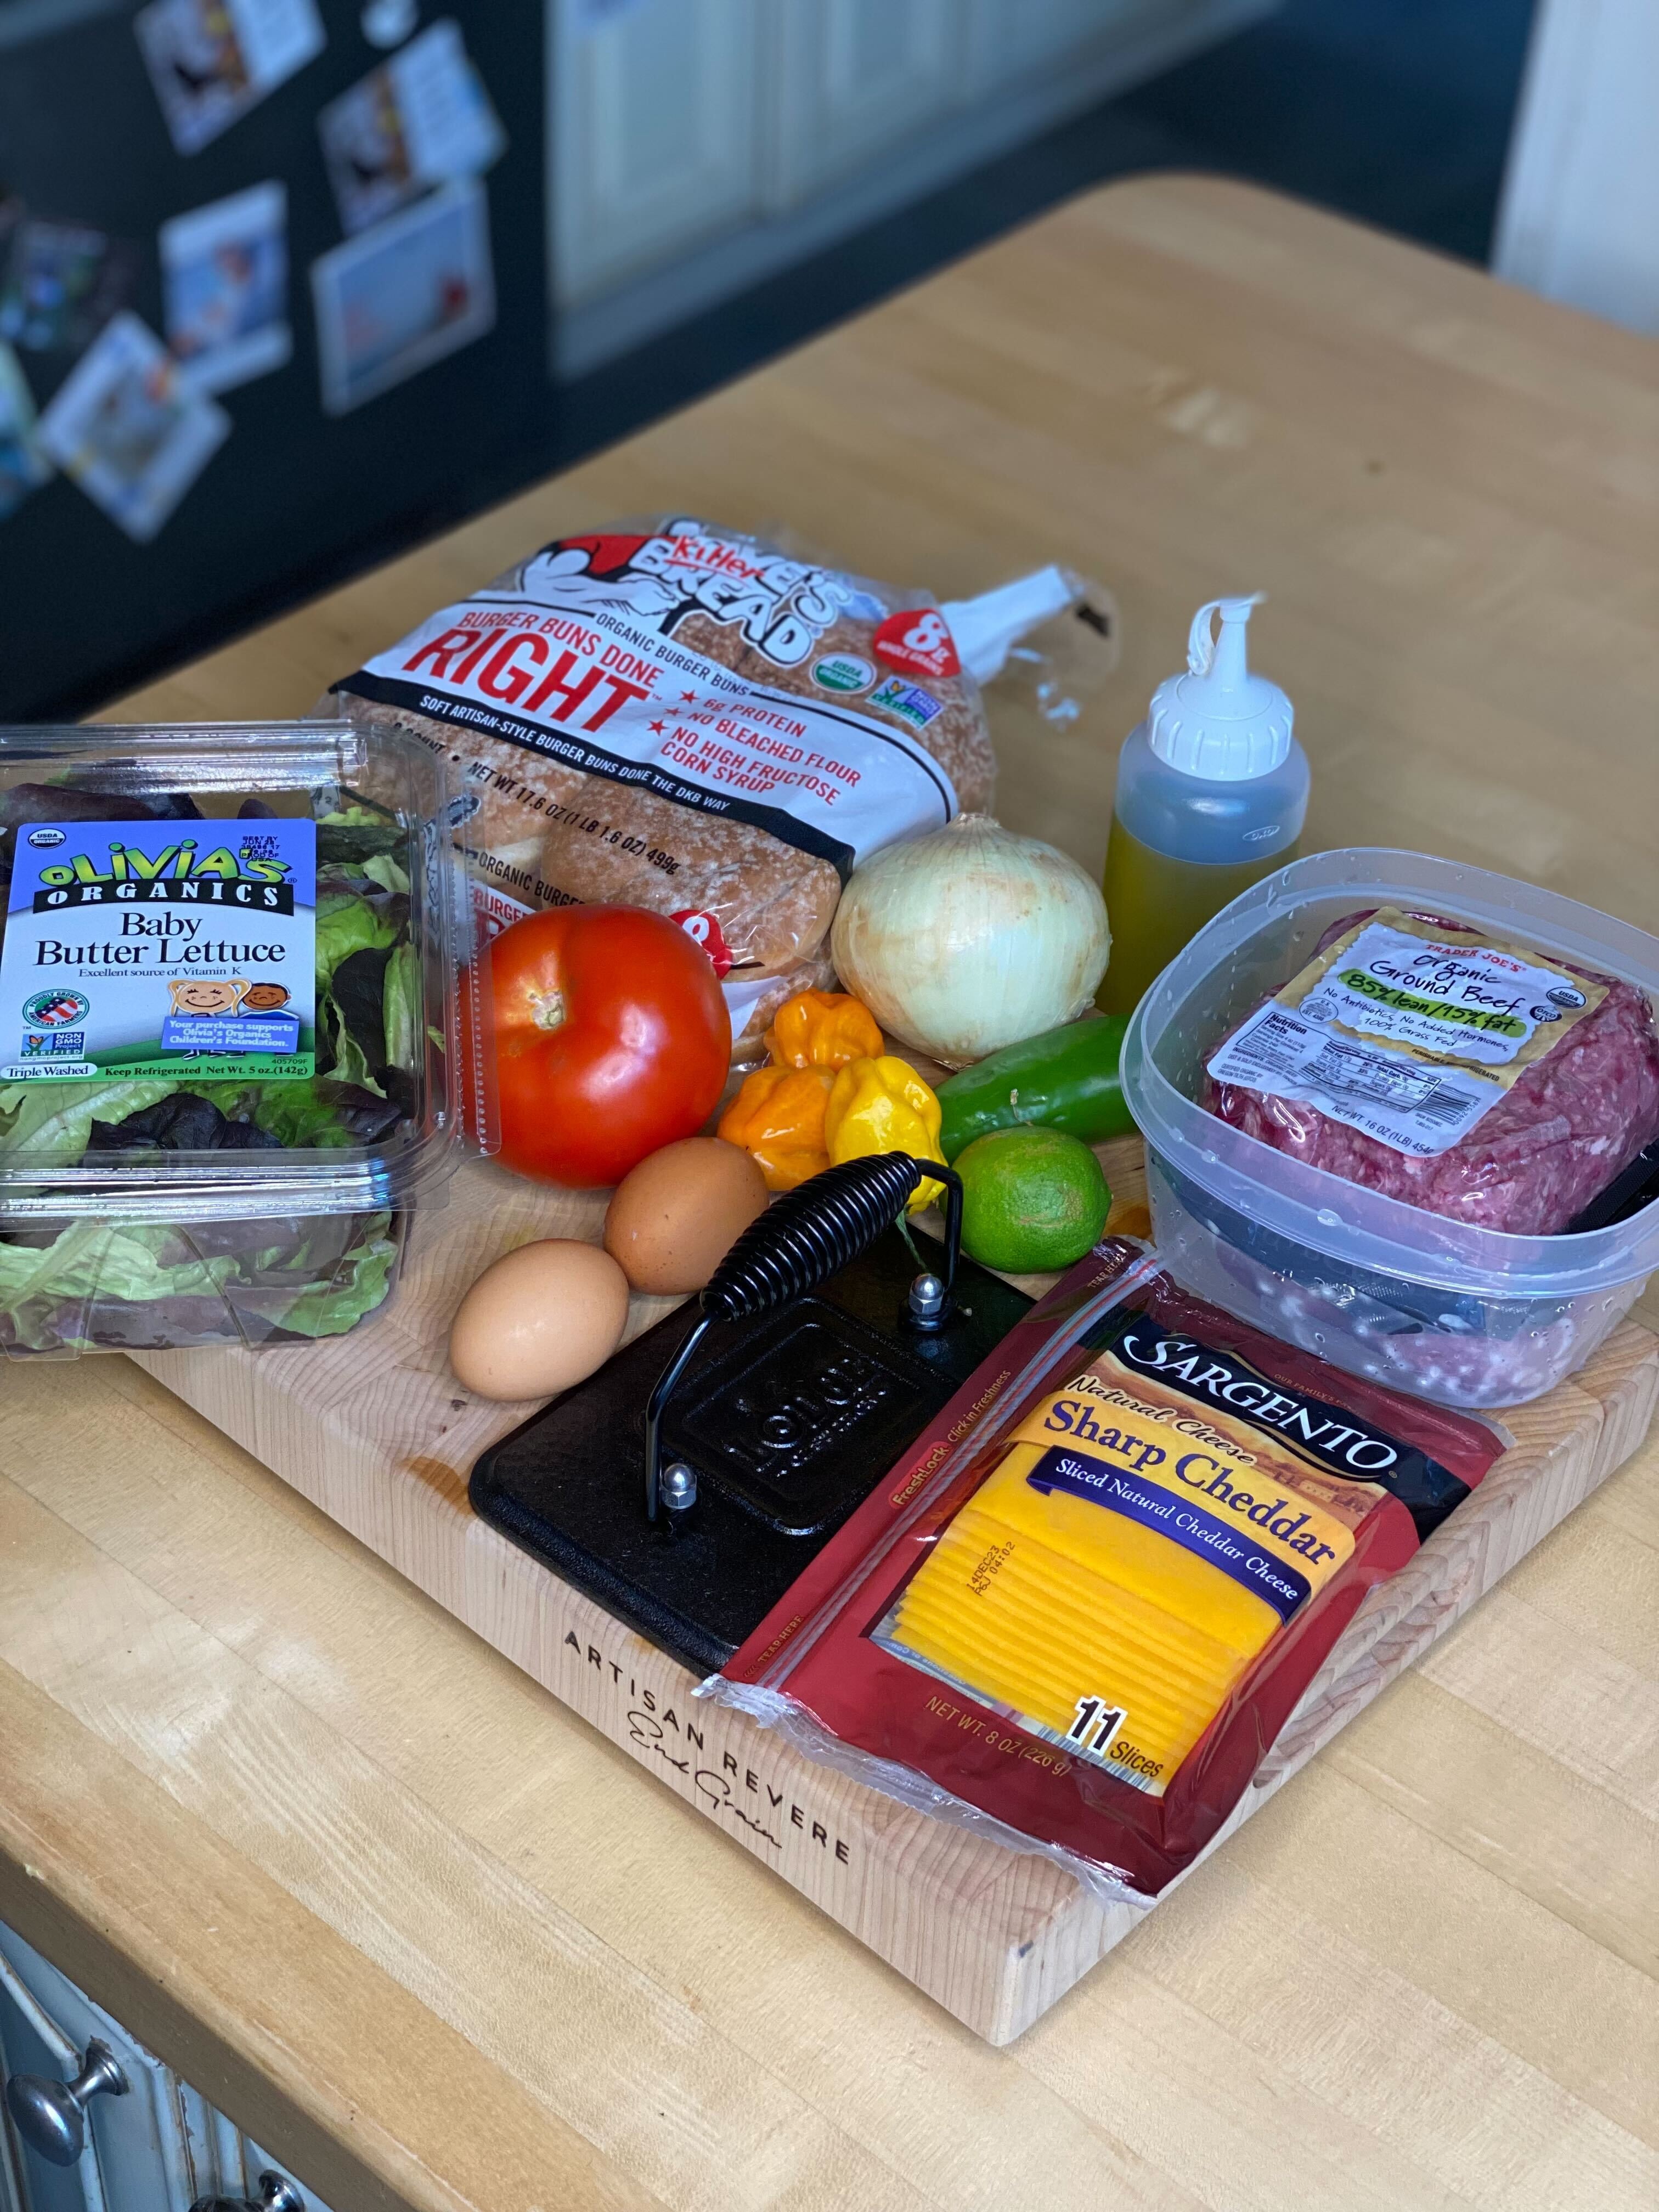
Primary Ingredients:
-
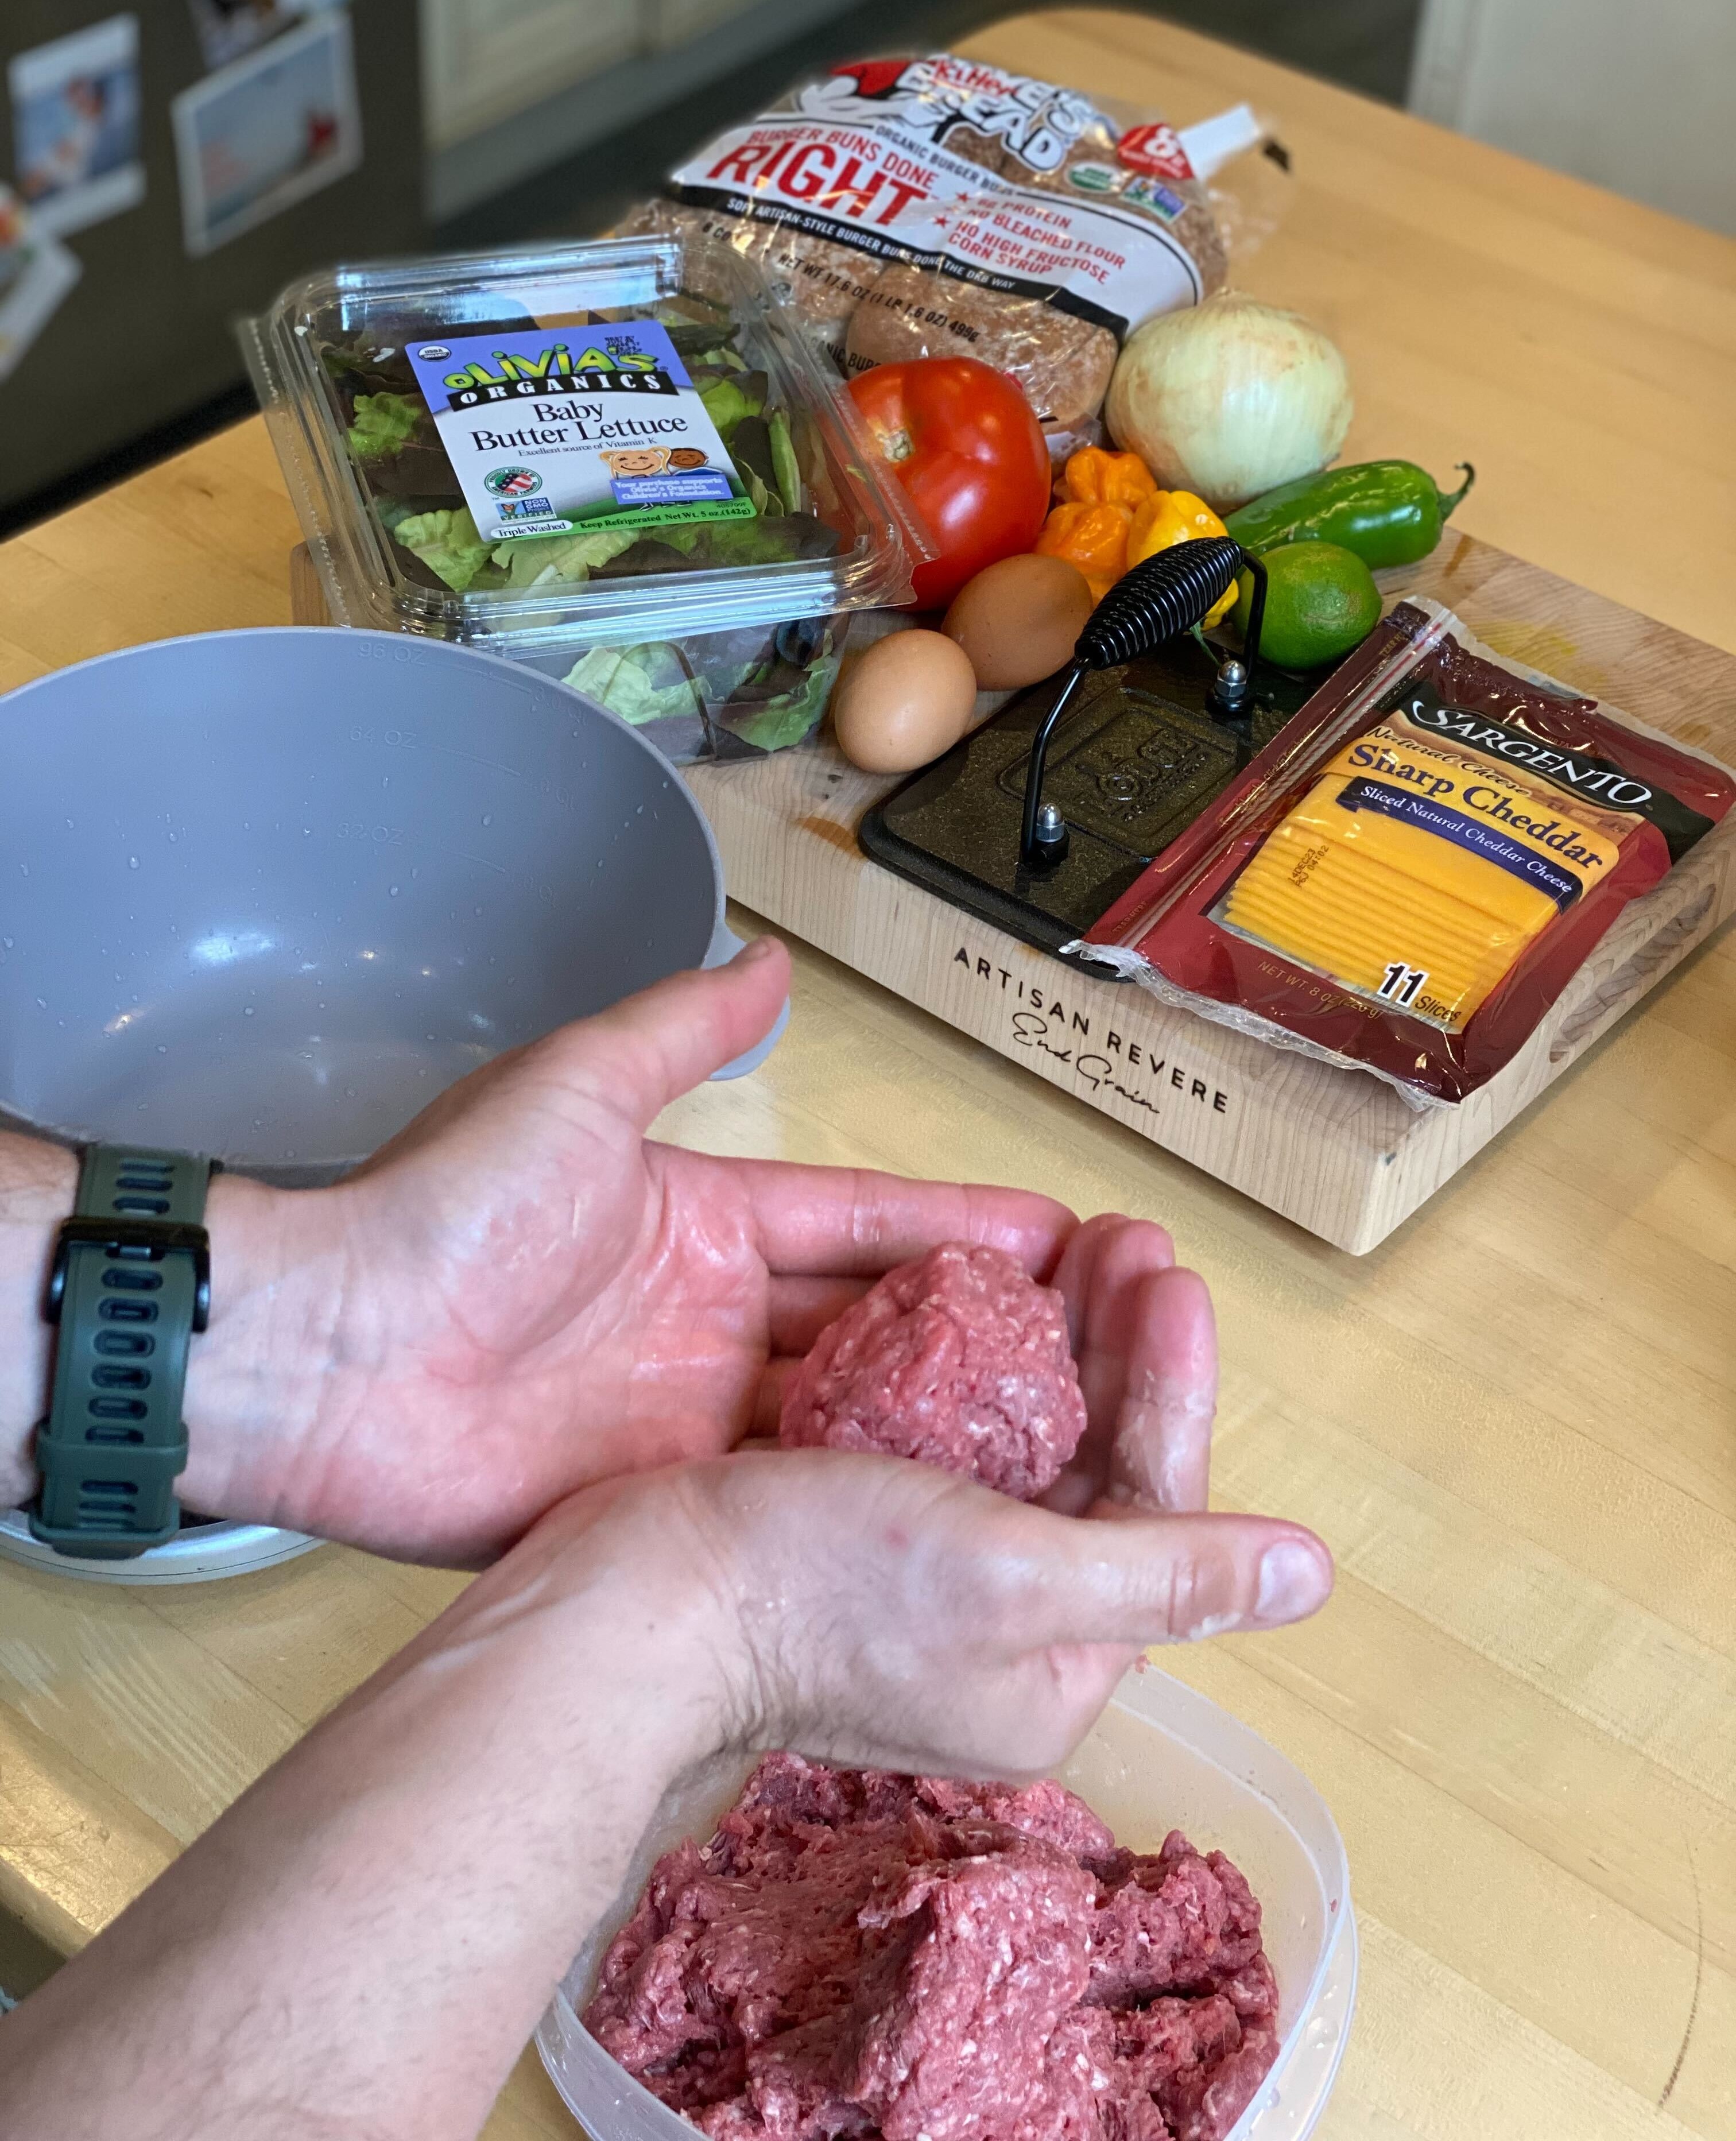
4 pounds of high-quality ground beef (75/25 or 80/20 lean-to-fat ratio)
-
8 potato buns, toasted and buttered
-
16 slices of crispy bacon
-
Fresh lettuce leaves (butterhead is best)
-
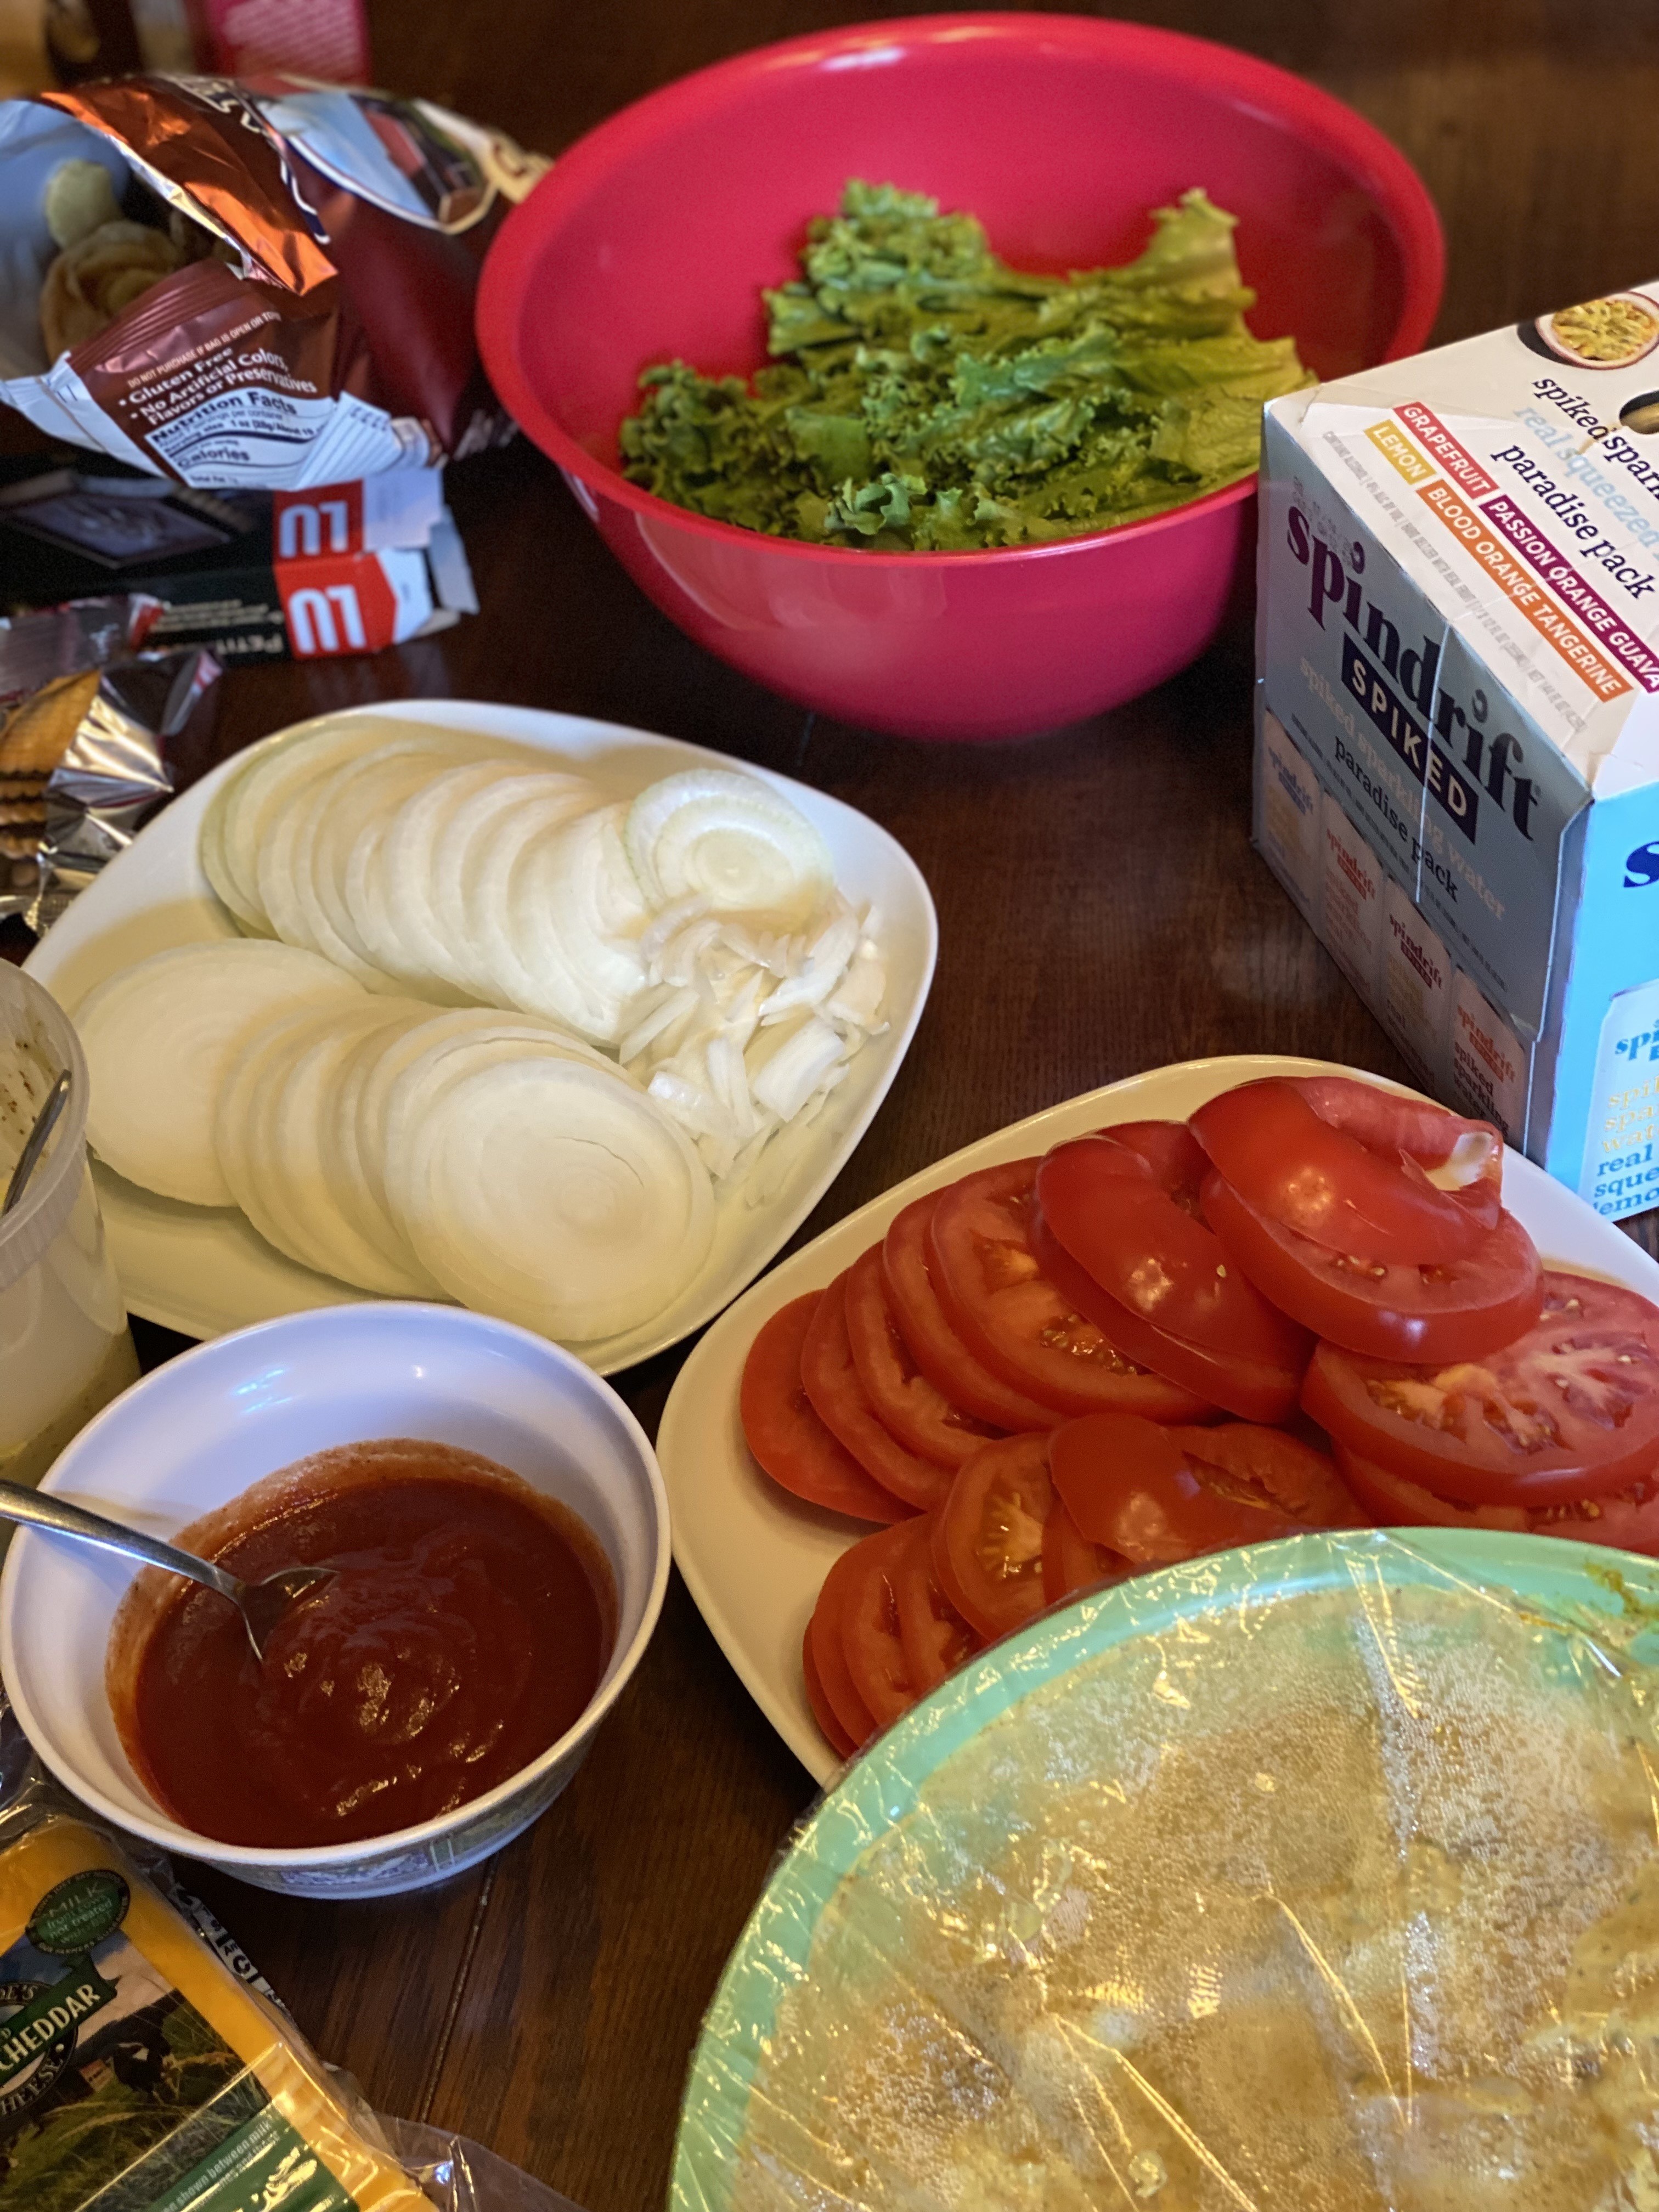
Thick slices of beefsteak tomatoes
-
Sliced onion
-
Salt
-
Pepper
-
Fat for the very hot cooking surface when prepping the bacon: canola oil, olive oil, ghee, or butter.
Special Sauce (optional: adds ~10 minutes):
-
½ cup mayonnaise
-
2 tablespoons sweet relish
-
2 tablespoons ketchup
-
2 tablespoon diced jalapeño peppers (for a milder kick, remove seeds and membranes)
-
2 teaspoon chipotle peppers in adobo sauce, minced
-
1 teaspoon paprika
Tools Required:
-
Sharp chef's knife & petty knife
-
Quality end-grain cutting board & plastic cutting board
-
Stainless steel pan, cast iron skillet or griddle
-
Hard spatula and grill press
-
Mixing bowls for burger preparation and special sauce
Preparation
TL;DR Directions (Short Version):
-
Start with the right beef. 80/20 or fattier is best for flavorful burgers. If you're trying to be healthier, use 85/15.
-
Prepare the special sauce: In a mixing bowl, combine mayonnaise, sweet relish, ketchup, finely diced jalapeño peppers, minced chipotle peppers, and paprika. Mix well and set aside.
-
Cut & prepare the toppings: Cut your onion and tomato slices. Wash & prepare the butterhead lettuce leaves.
-
Butter & toast the buns: Spread butter generously on the cut sides of the potato buns.
-
Preheat the pan, skillet or griddle: Heat over medium-high heat.
-
Shape the patties: Divide the ground beef into eight equal portions, 3 or 4 oz. each. Gently shape each portion into a loose ball.
-
Cook the bacon: Place the bacon slices on the hot pan and cook until crispy. Set aside on a paper towel-lined plate.
-
Smash the patties: Season each portion of ground beef with salt & pepper. Add other spices you enjoy (ex. paprika). Place a patty onto the already hot skillet or griddle. Using a grill press or sturdy spatula press down VERY firmly to create a thin, even patty, around 1/4 inch thick. Repeat with additional patty.
-
Cook the patties: Allow the patties to cook for approximately 2 minutes on the first side. Use your sturdy spatula to flip it. It should be nicely charred at this point. Heat another 60 seconds on the second side. Avoid pressing down on the patties during cooking, as this can release the juices and result in a drier burger.
-
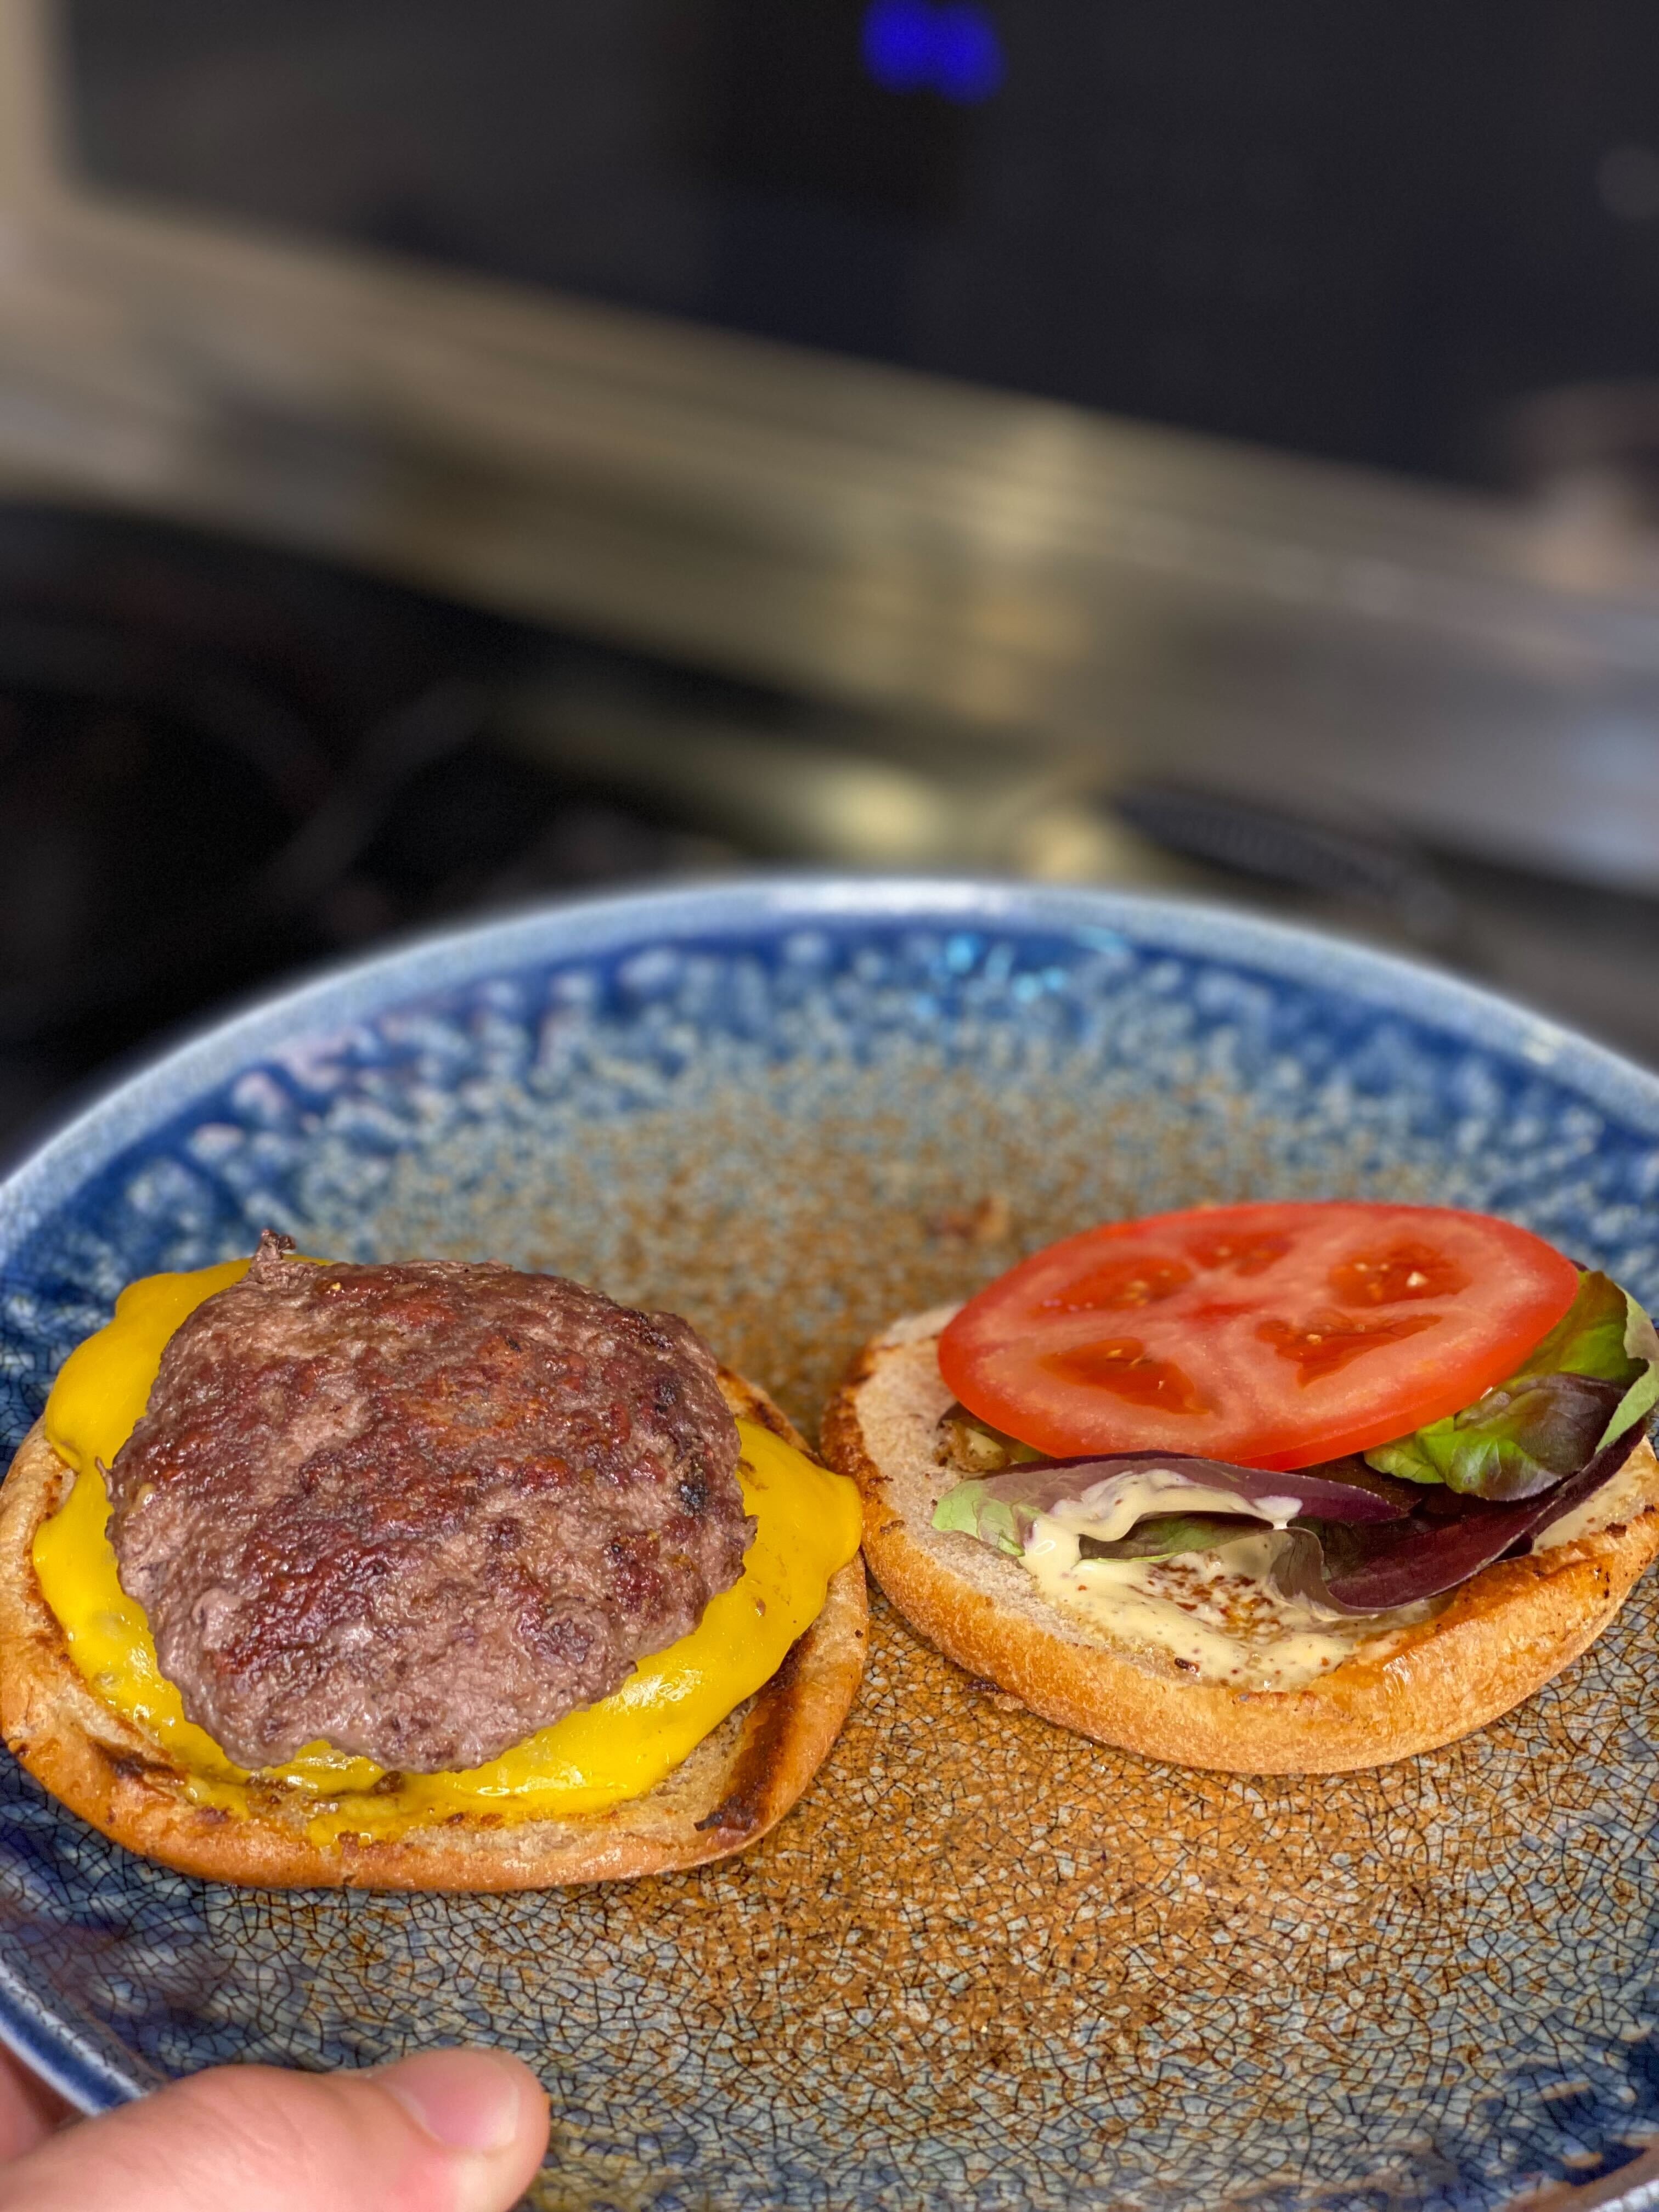
Add cheese: American is our favorite and makes the tastiest burgers. It melts and gets juiciest of all the cheeses.
-
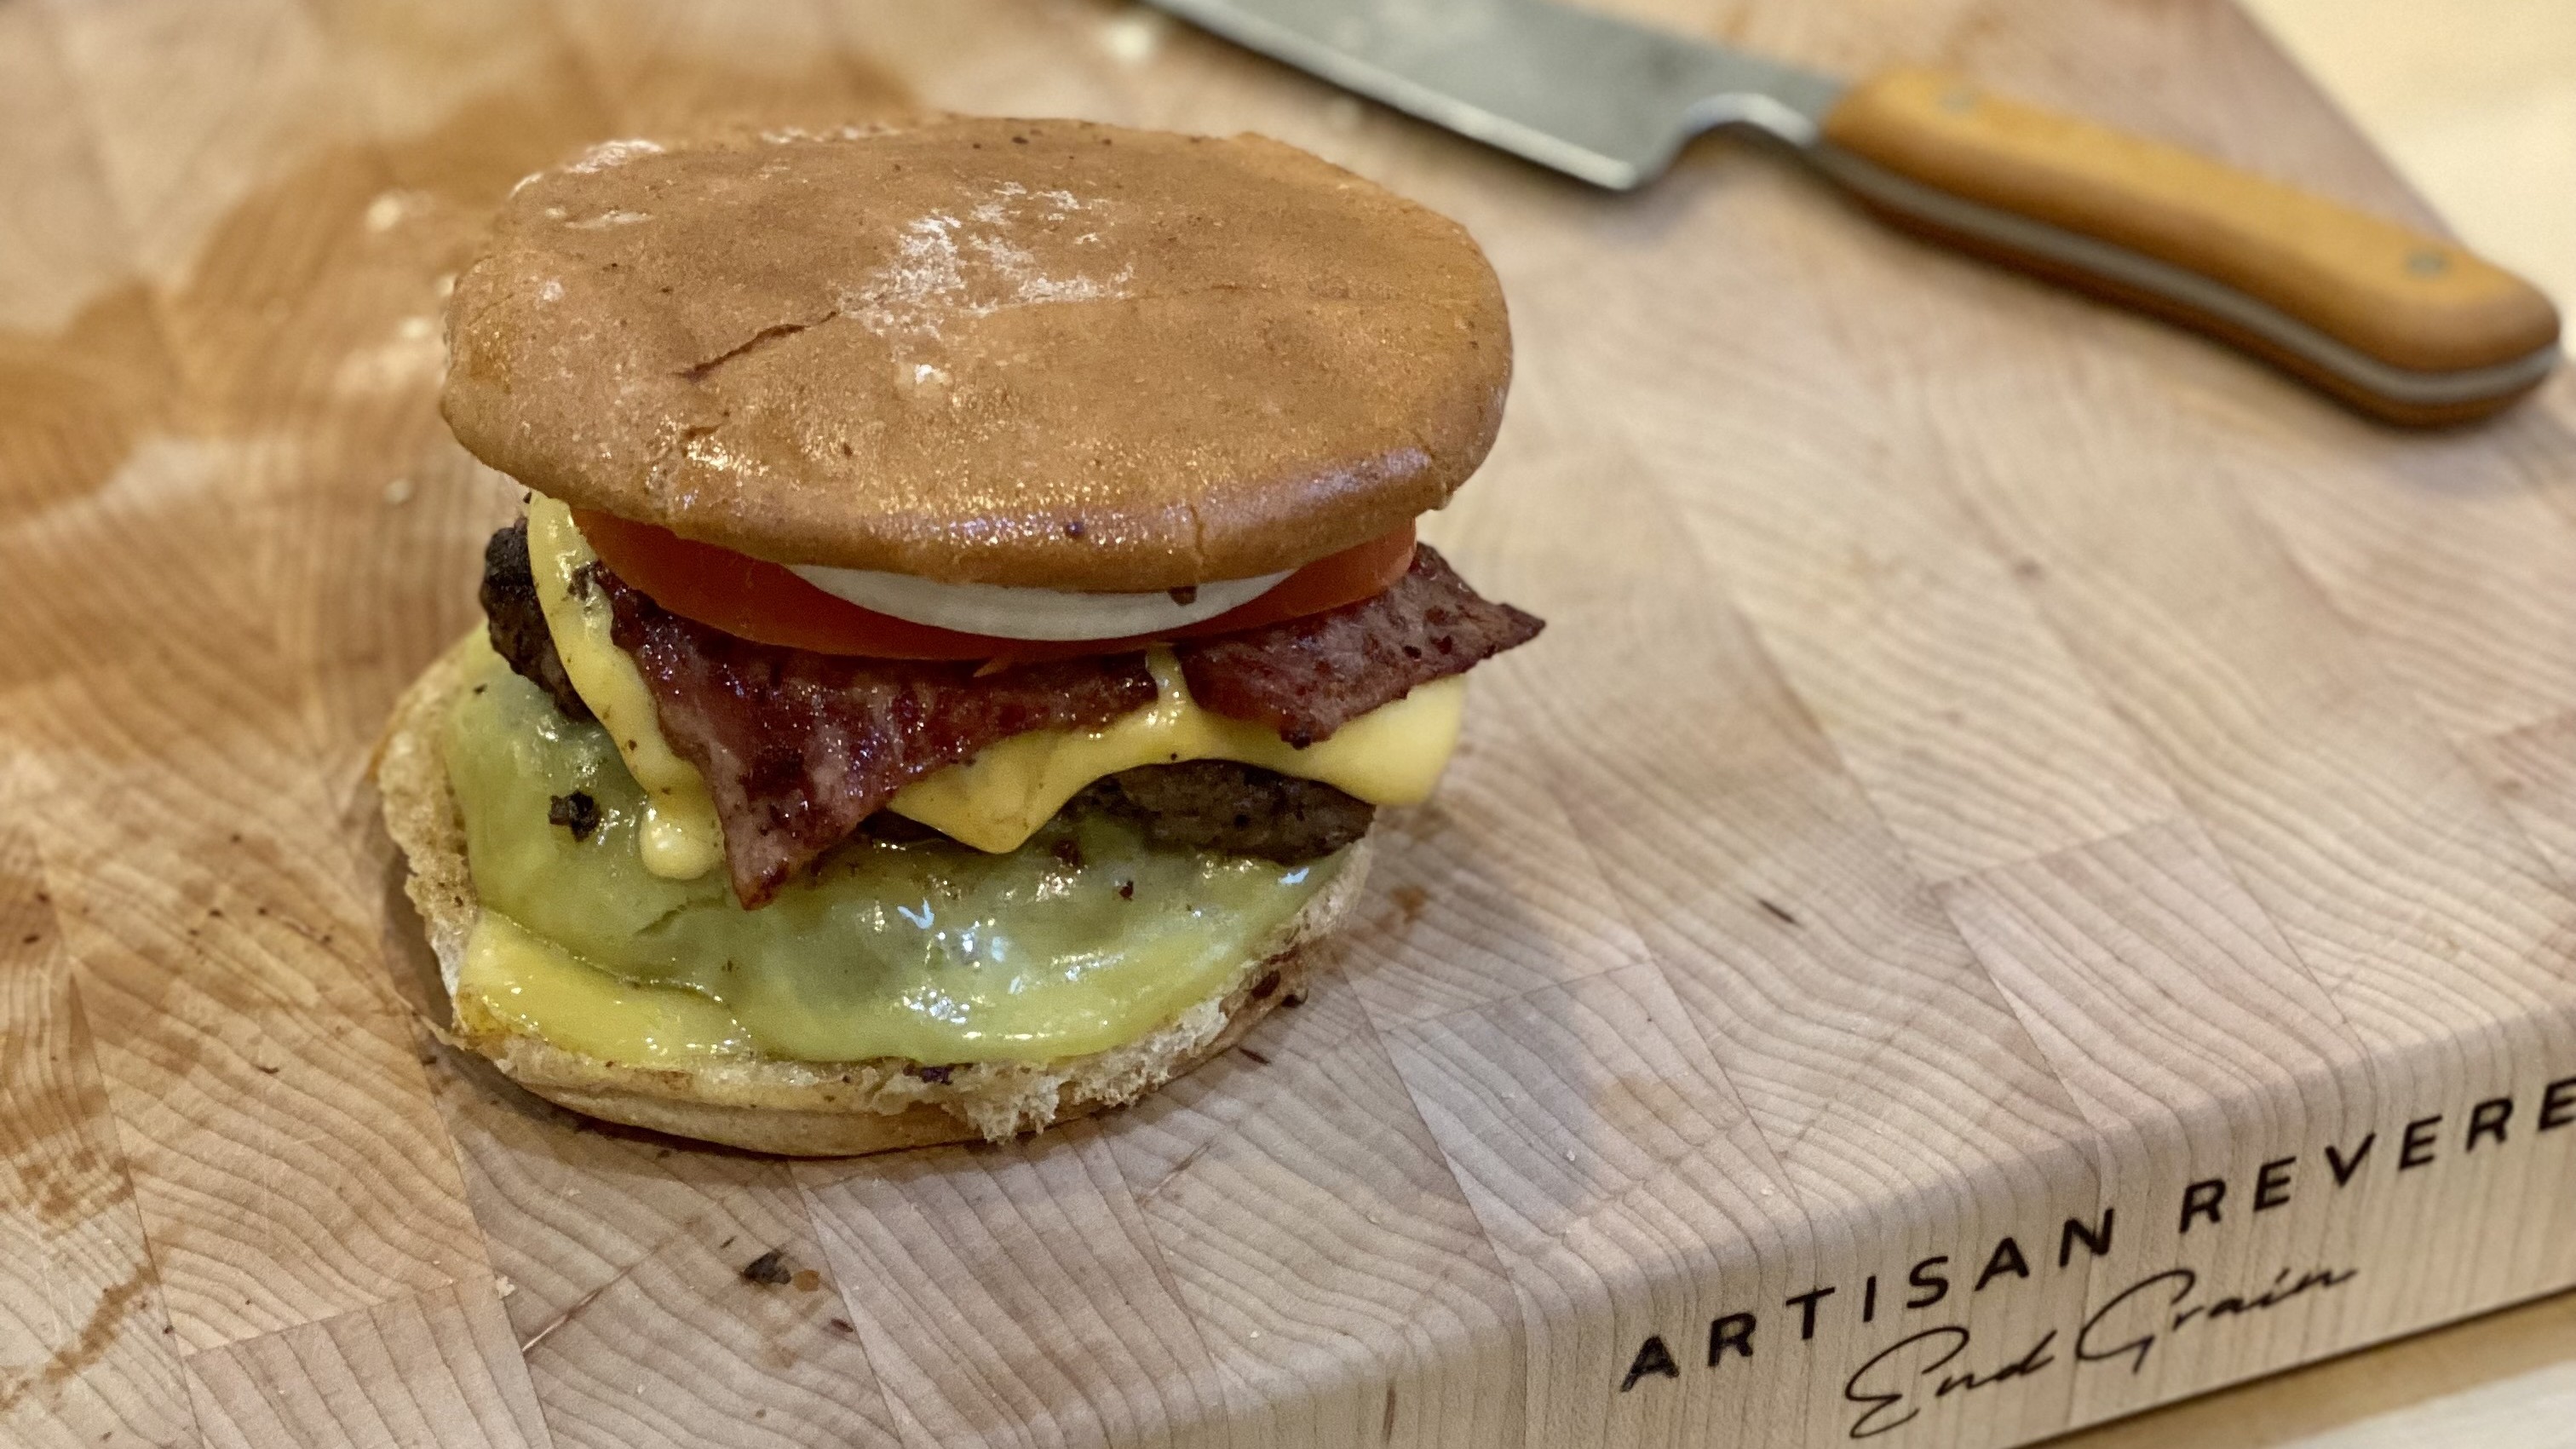
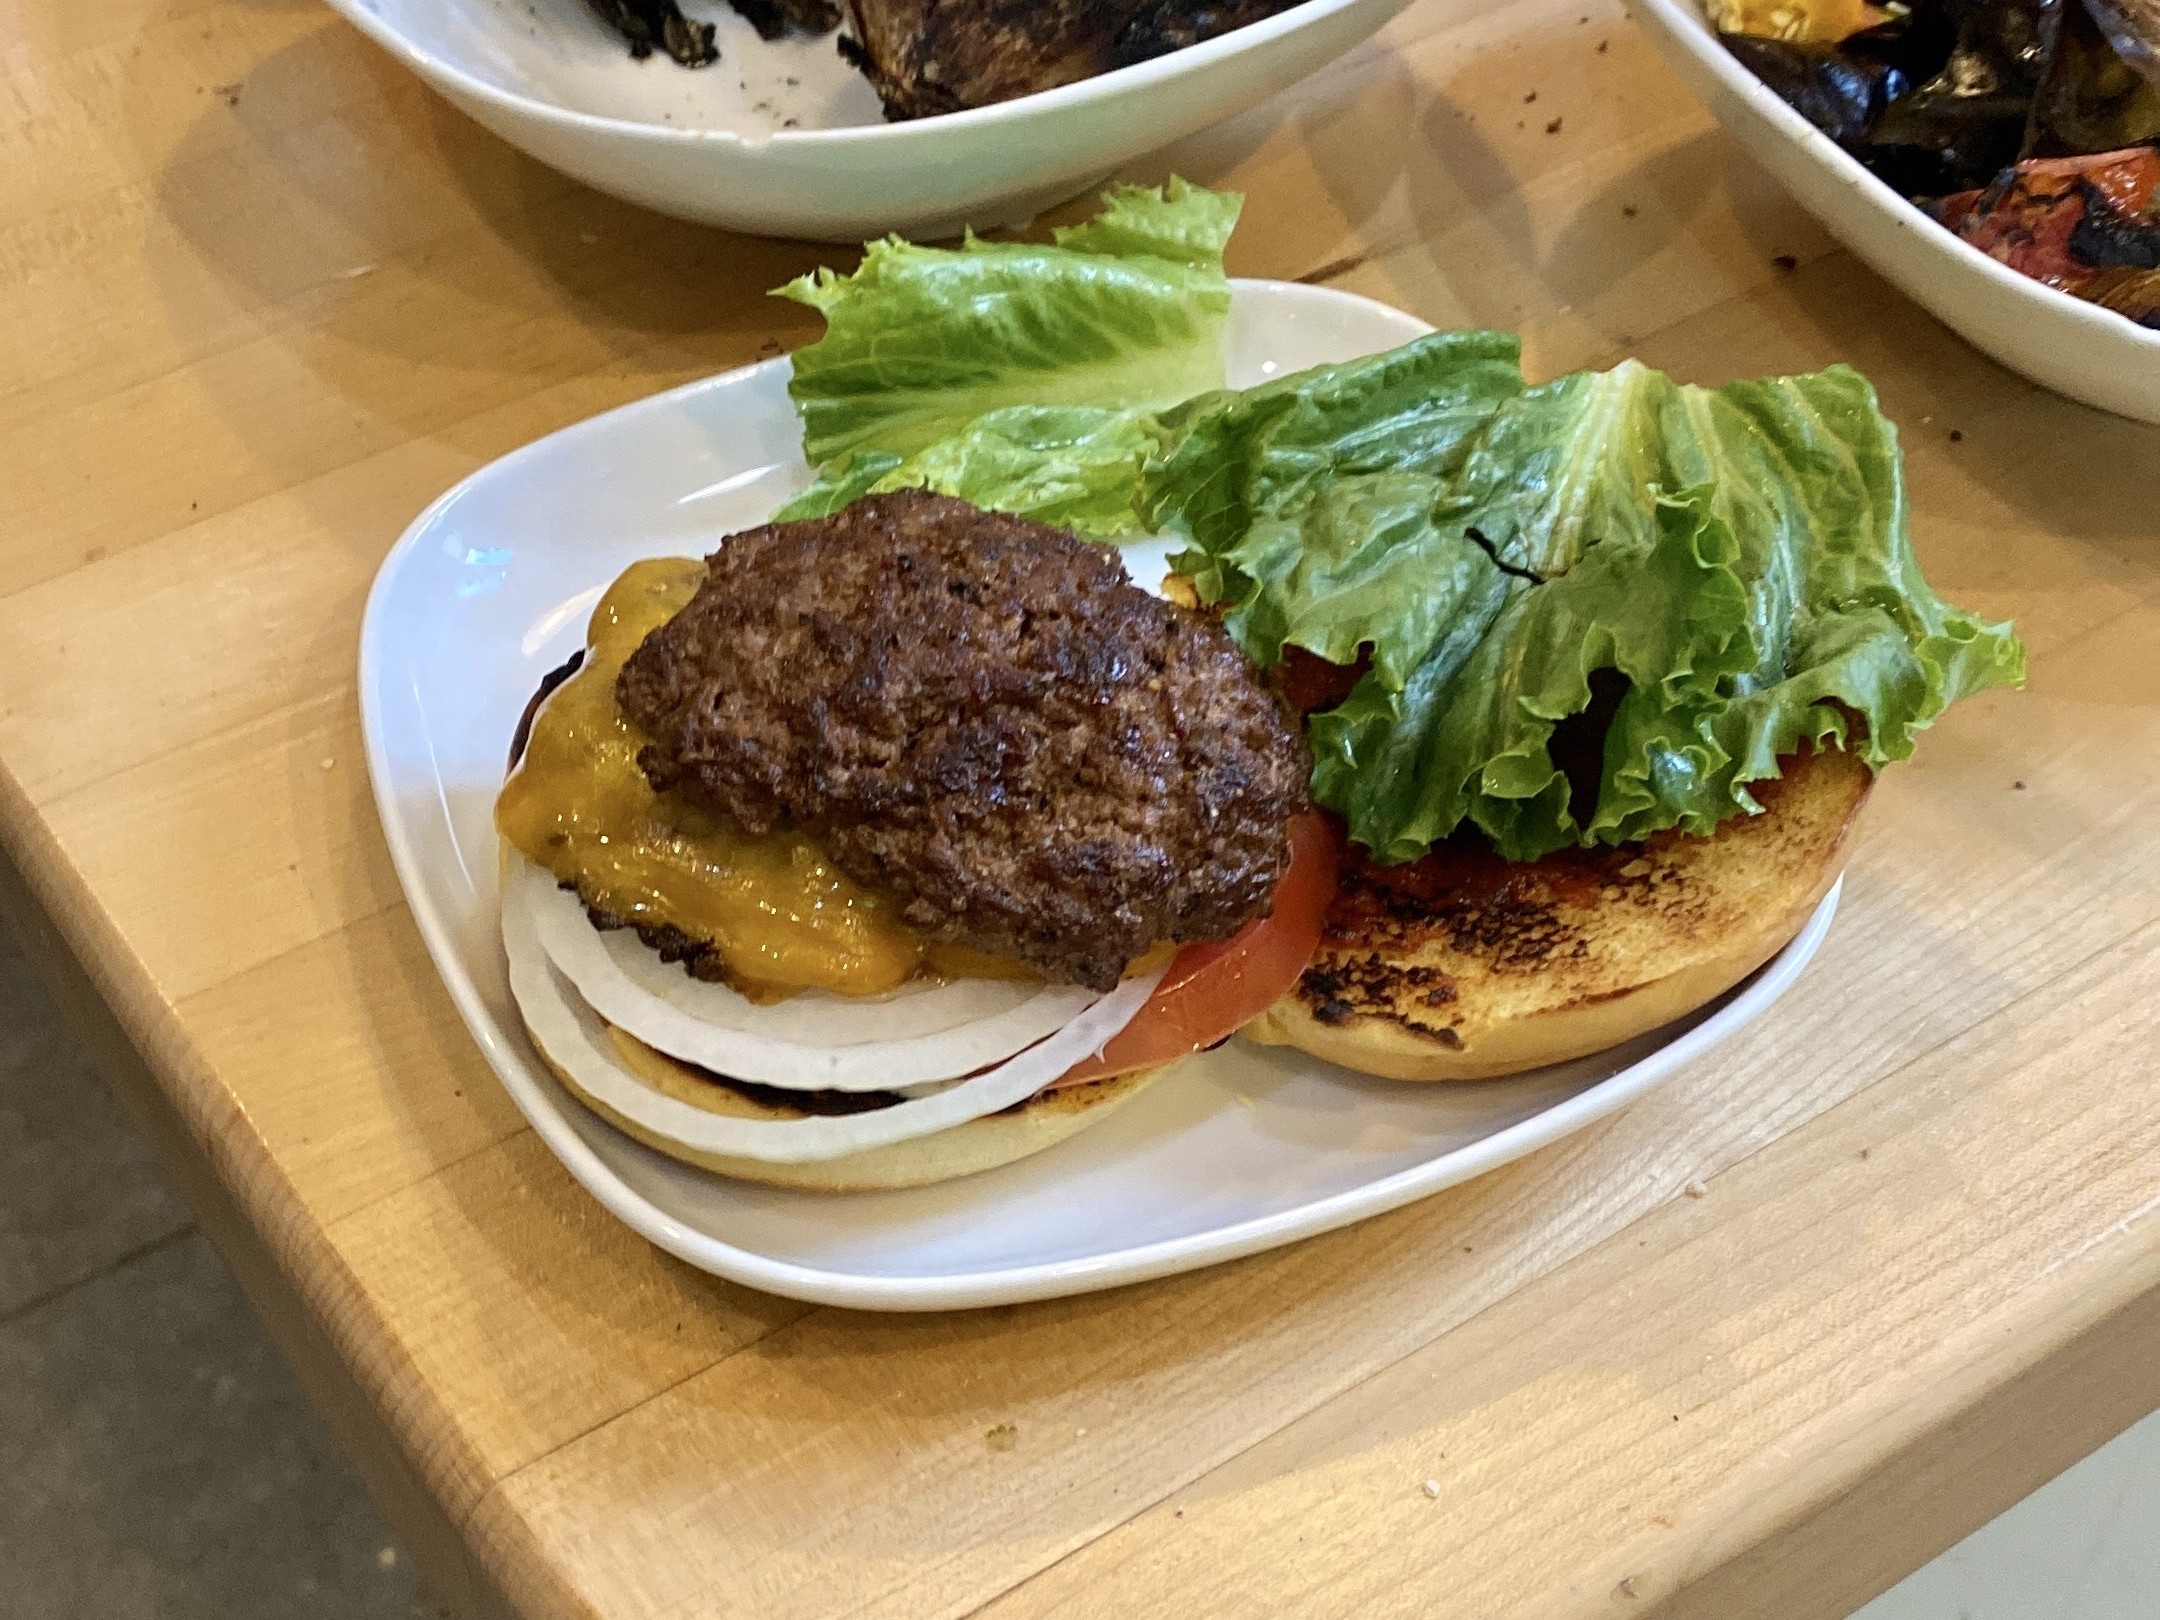
Assemble the burgers: Spread a generous amount of the special sauce on the bottom halves of the toasted and buttered potato buns. Layer each bun with lettuce, a tomato slice, sliced onion, two patties, two pieces of cheese, and two strips of crispy bacon.
-
Serve and enjoy: Top each burger with the buttered top bun. Serve alongside our ultra-crispy potatoes, or modify them to create fries.

Shop Our Top Tools
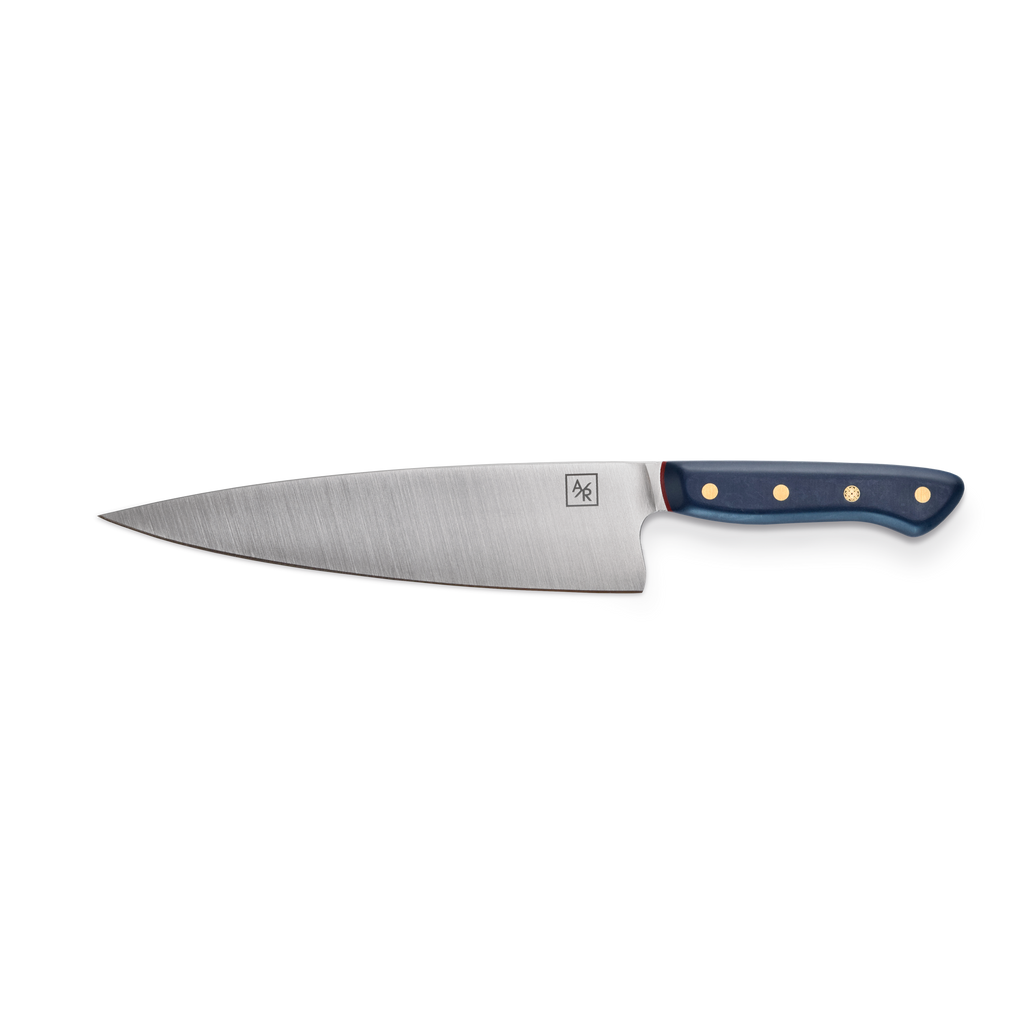
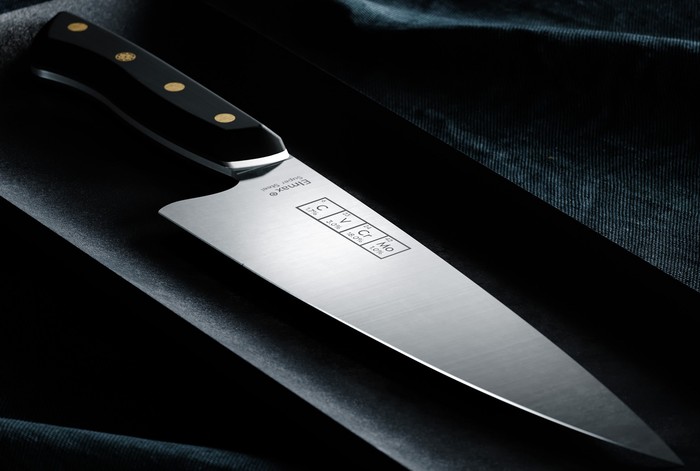
The Chef’s Knife
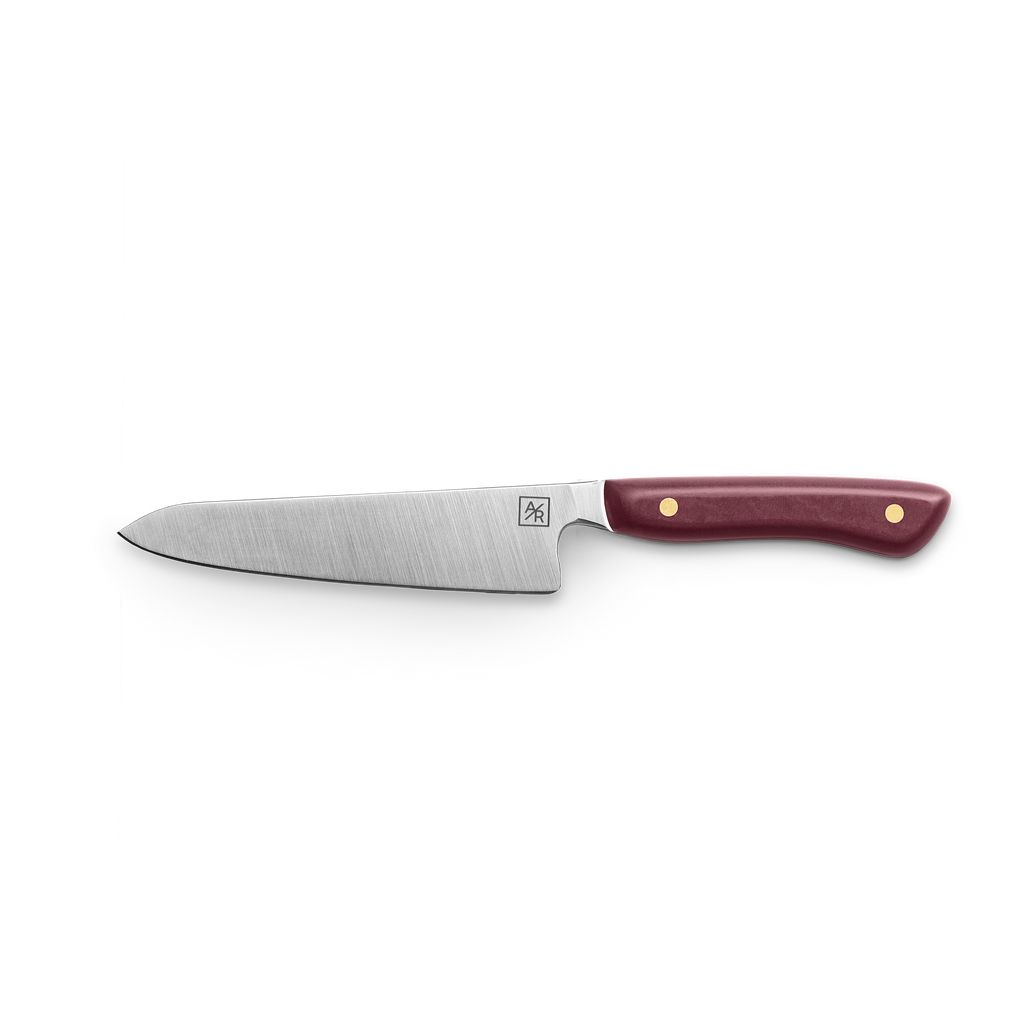
Small Petty Knife
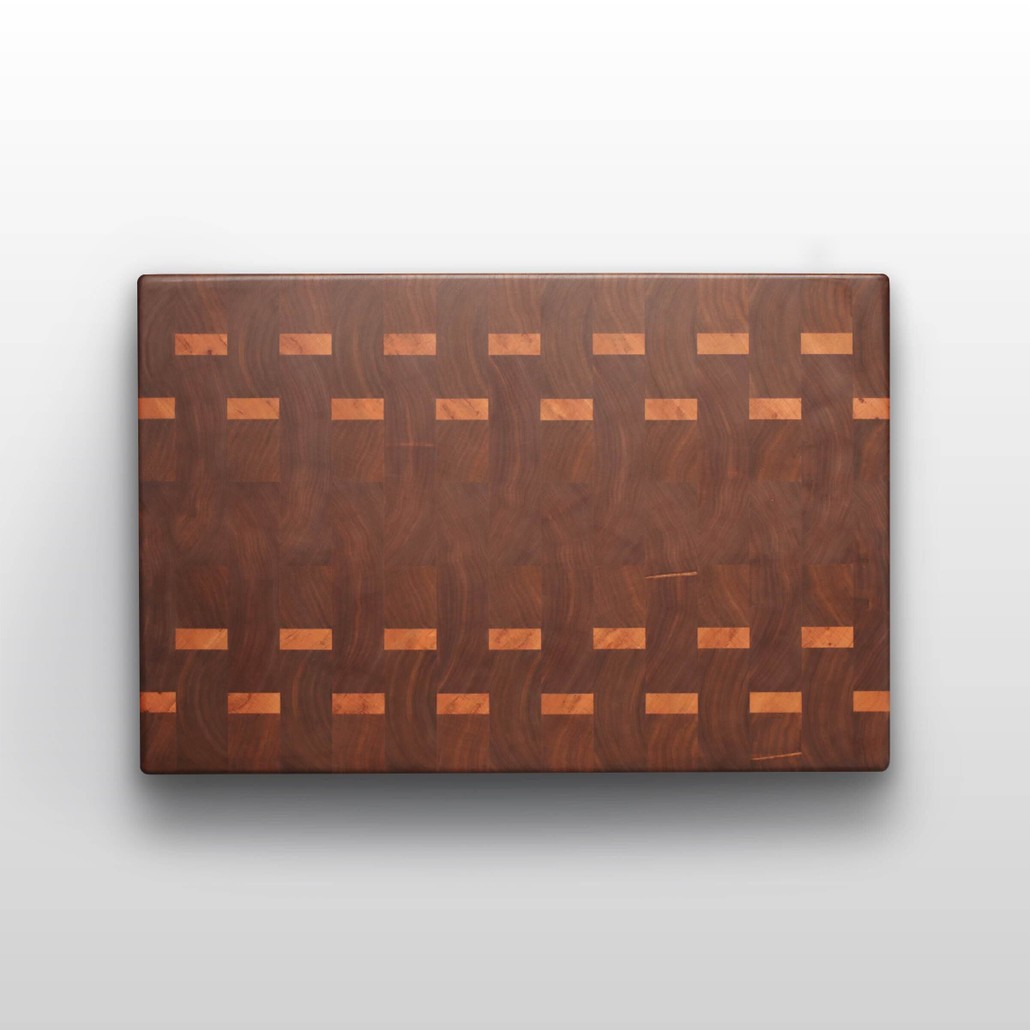
End-Grain Cutting Board
Detailed Smash Burger Preparation Process
Detailed Directions:
Doing smash burgers the RIGHT way isn't tough, but these thin beef patties can be unforgiving if you miss a key step. Let's make sure you get everything right.
1. Get the right meat
A freshly ground 75/25 or 80/20 meat is best. The fattier the better. If you go for 85/15 (like I do) or 90/10, your burger will not turn out as juicy. This can be somewhat overcome by adding the right cheese (American), or by adding additional butter to your buns.
Why Is Fattier Better? Simply put: fat = flavor. Lower fat ground beef will taste dryer and will require additional condiments to get that out of this world taste.
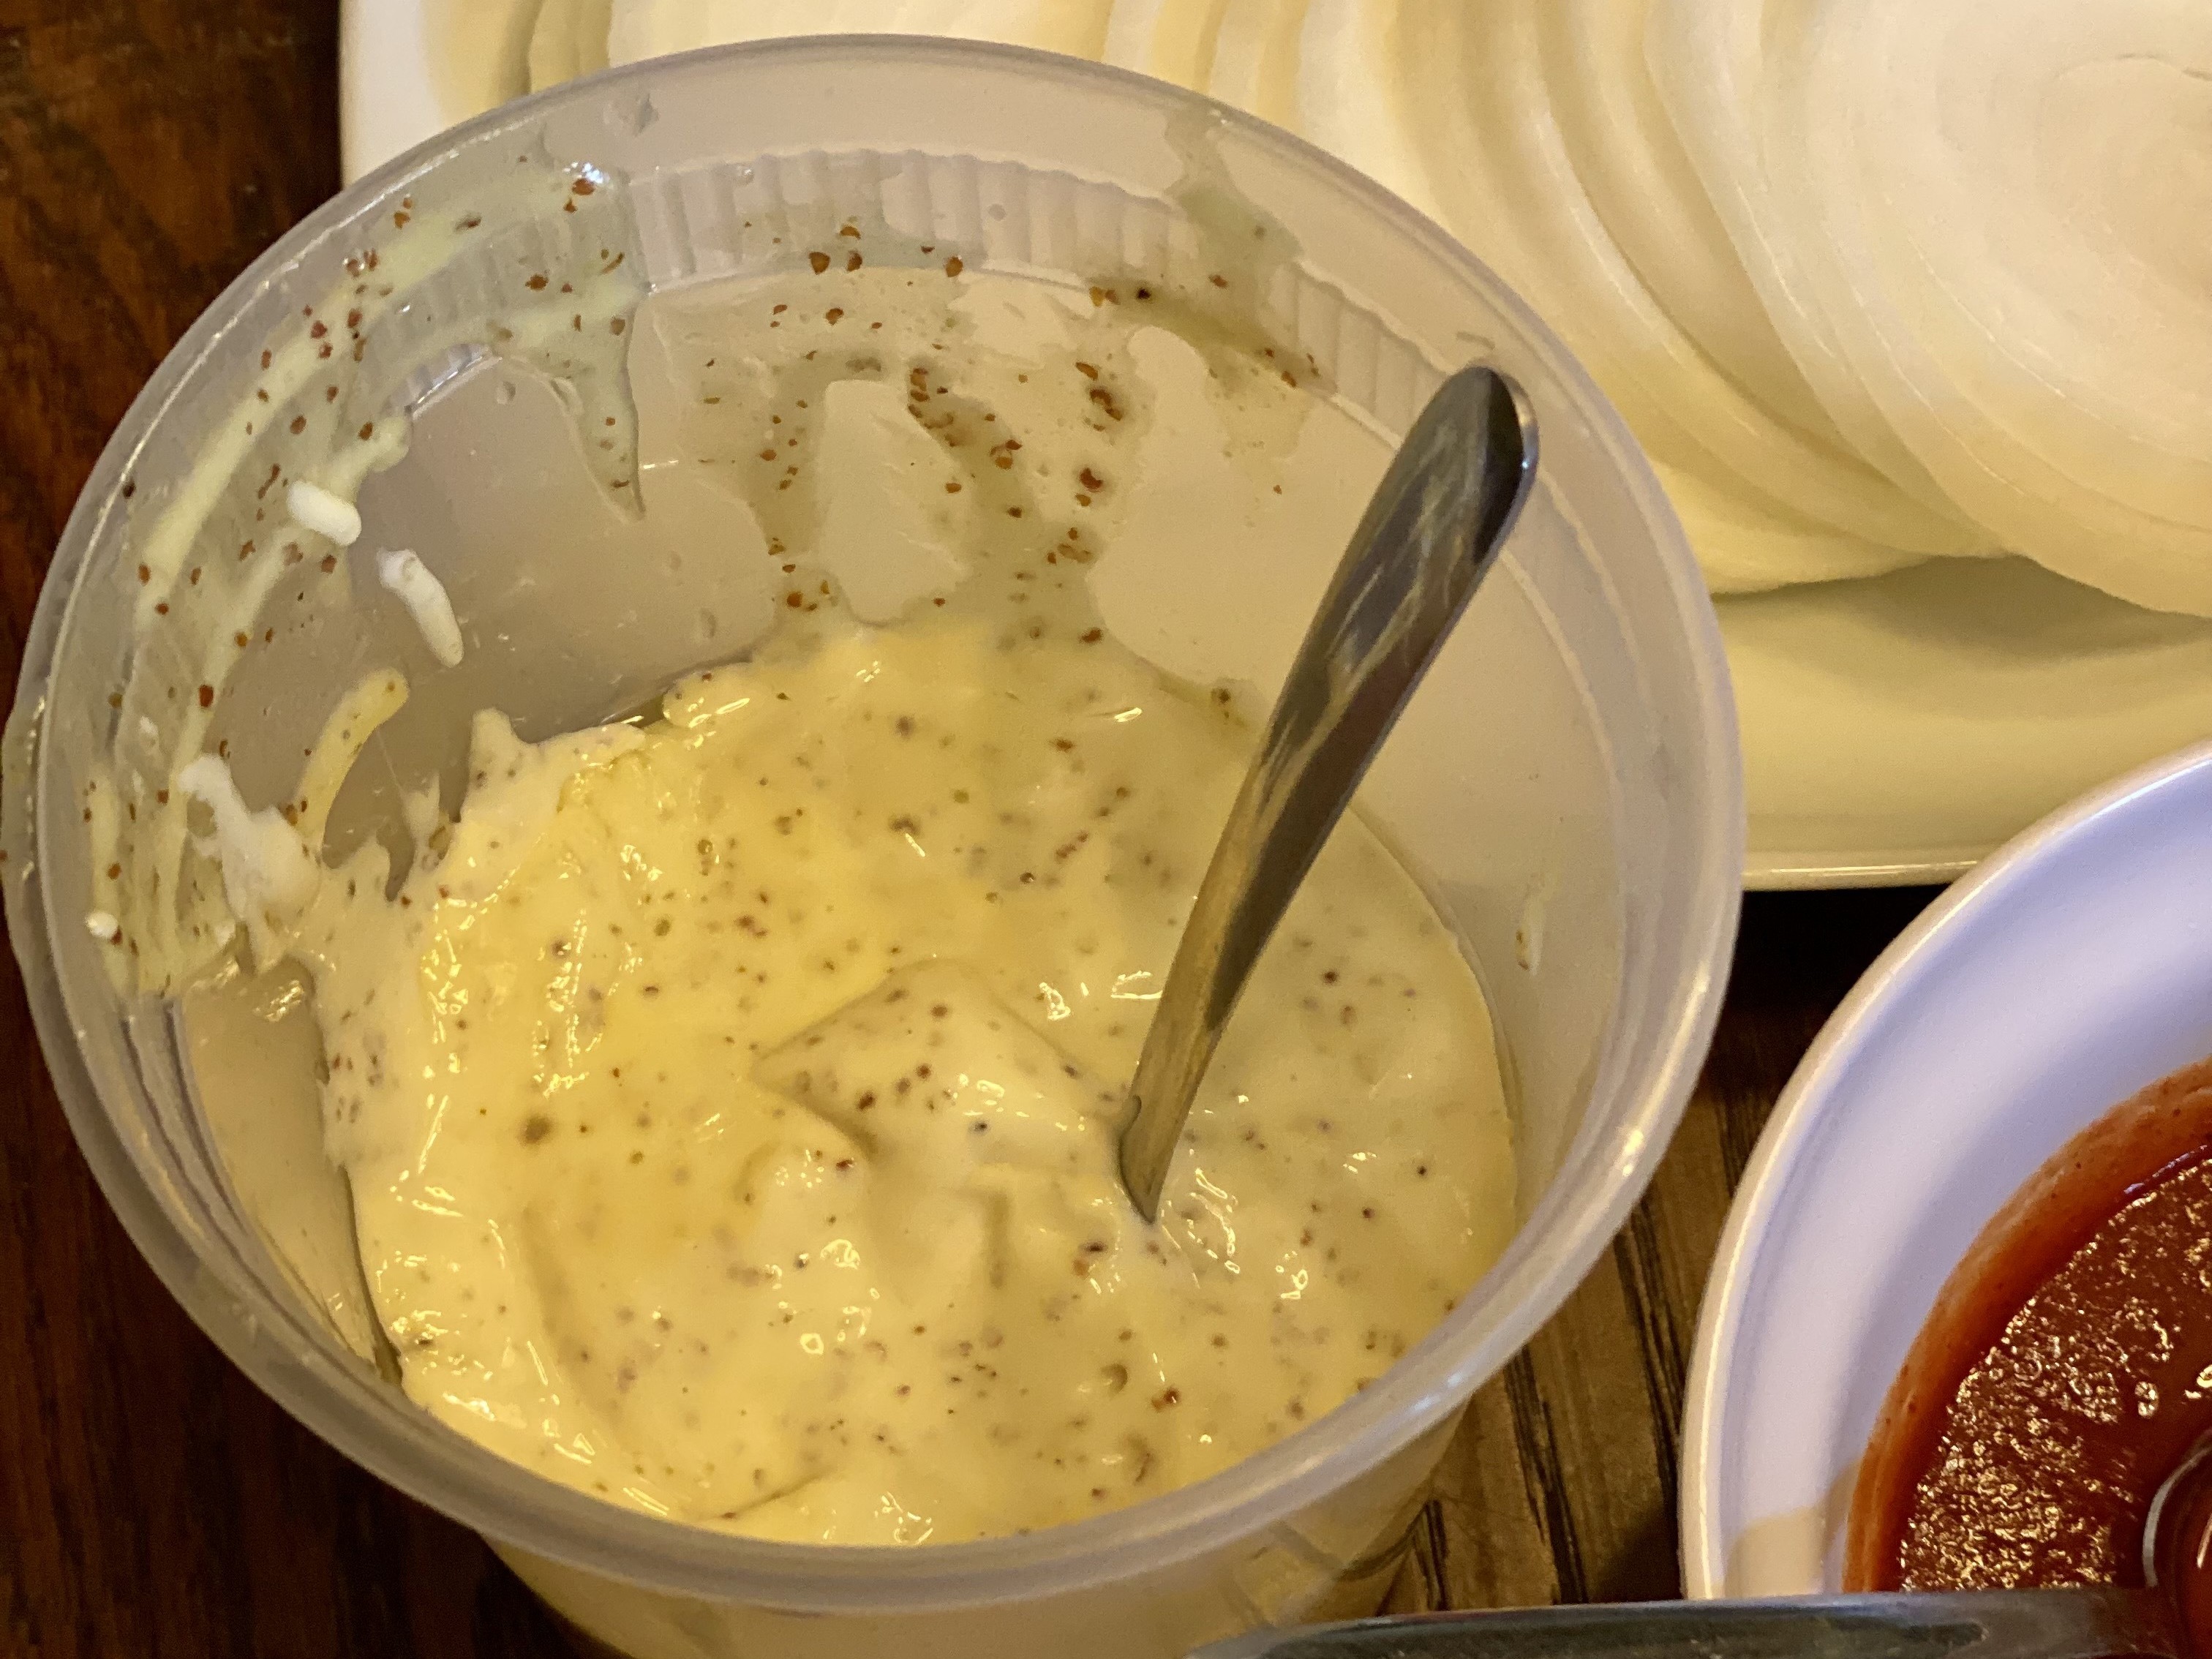
2. Prep the sauce
Prepare the special sauce: In a mixing bowl, combine mayonnaise (or you can make it yourself with eggs, oil, salt, pepper, and, if you choose, some dijon mustard), relish, ketchup, finely diced jalapeño peppers, minced chipotle peppers, and paprika. Use an immersion blender or food processor for best results. Remember to add oil last and in small amounts or it will not emulsify.
3. Get the toppings ready.
Cut your onion and tomato slices. Remember to use a sharp knife here — tomatoes and onions are easier to cut with a sharp thin knife. Wash & dry the lettuce leaves. Pictured left is Romaine that we used for a large party. Butterhead lettuce is our favorite. Cut your favorite pickles if plan to add them.
4. Toast & butter your buns.
Buns are an often overlooked ingredient. While we haven't been meticulous about our bun testing, we have really enjoyed Dave's Killer Bread—Burgers Done Right, and Orowheat Country Potato Buns. The buns are larger, sturdier (so your burgers won't fall apart) and melt in your mouth the way we liked most. Butter and toast your buns. Set them aside. Once your burger patties are cooked and off heat, you'll pop your buns onto your pan, buttered side down for 30 seconds to pick up the meat flavors.
5. Pre-heat your pan, skillet, or griddle.
At our home kitchen, we've tested: stainless steel, cast iron, griddle, and non-stick. Non-stick is horrible for burger patties. Skip it. If you're cooking for a large group, the griddle is going to be the fastest, most convenient, & easiest to operate, but we also really liked the way the our stainless steel seared the burger meat. It also seemed to smoke less than the cast iron, and thats why we prefer the stainless for most people. Assuming you're cooking indoors, we urge you to open windows and turn on your vent, before you turn the heat on. Ideally, open windows throughout the house. If you don't, cooking ground beef over high heat is very likely to set off your smoke alarms. It will also dramatically reduce the air quality in your home for a time and get into the furniture. Now that the windows are open, heat your pan over medium-high heat.
6. Shape your patties.
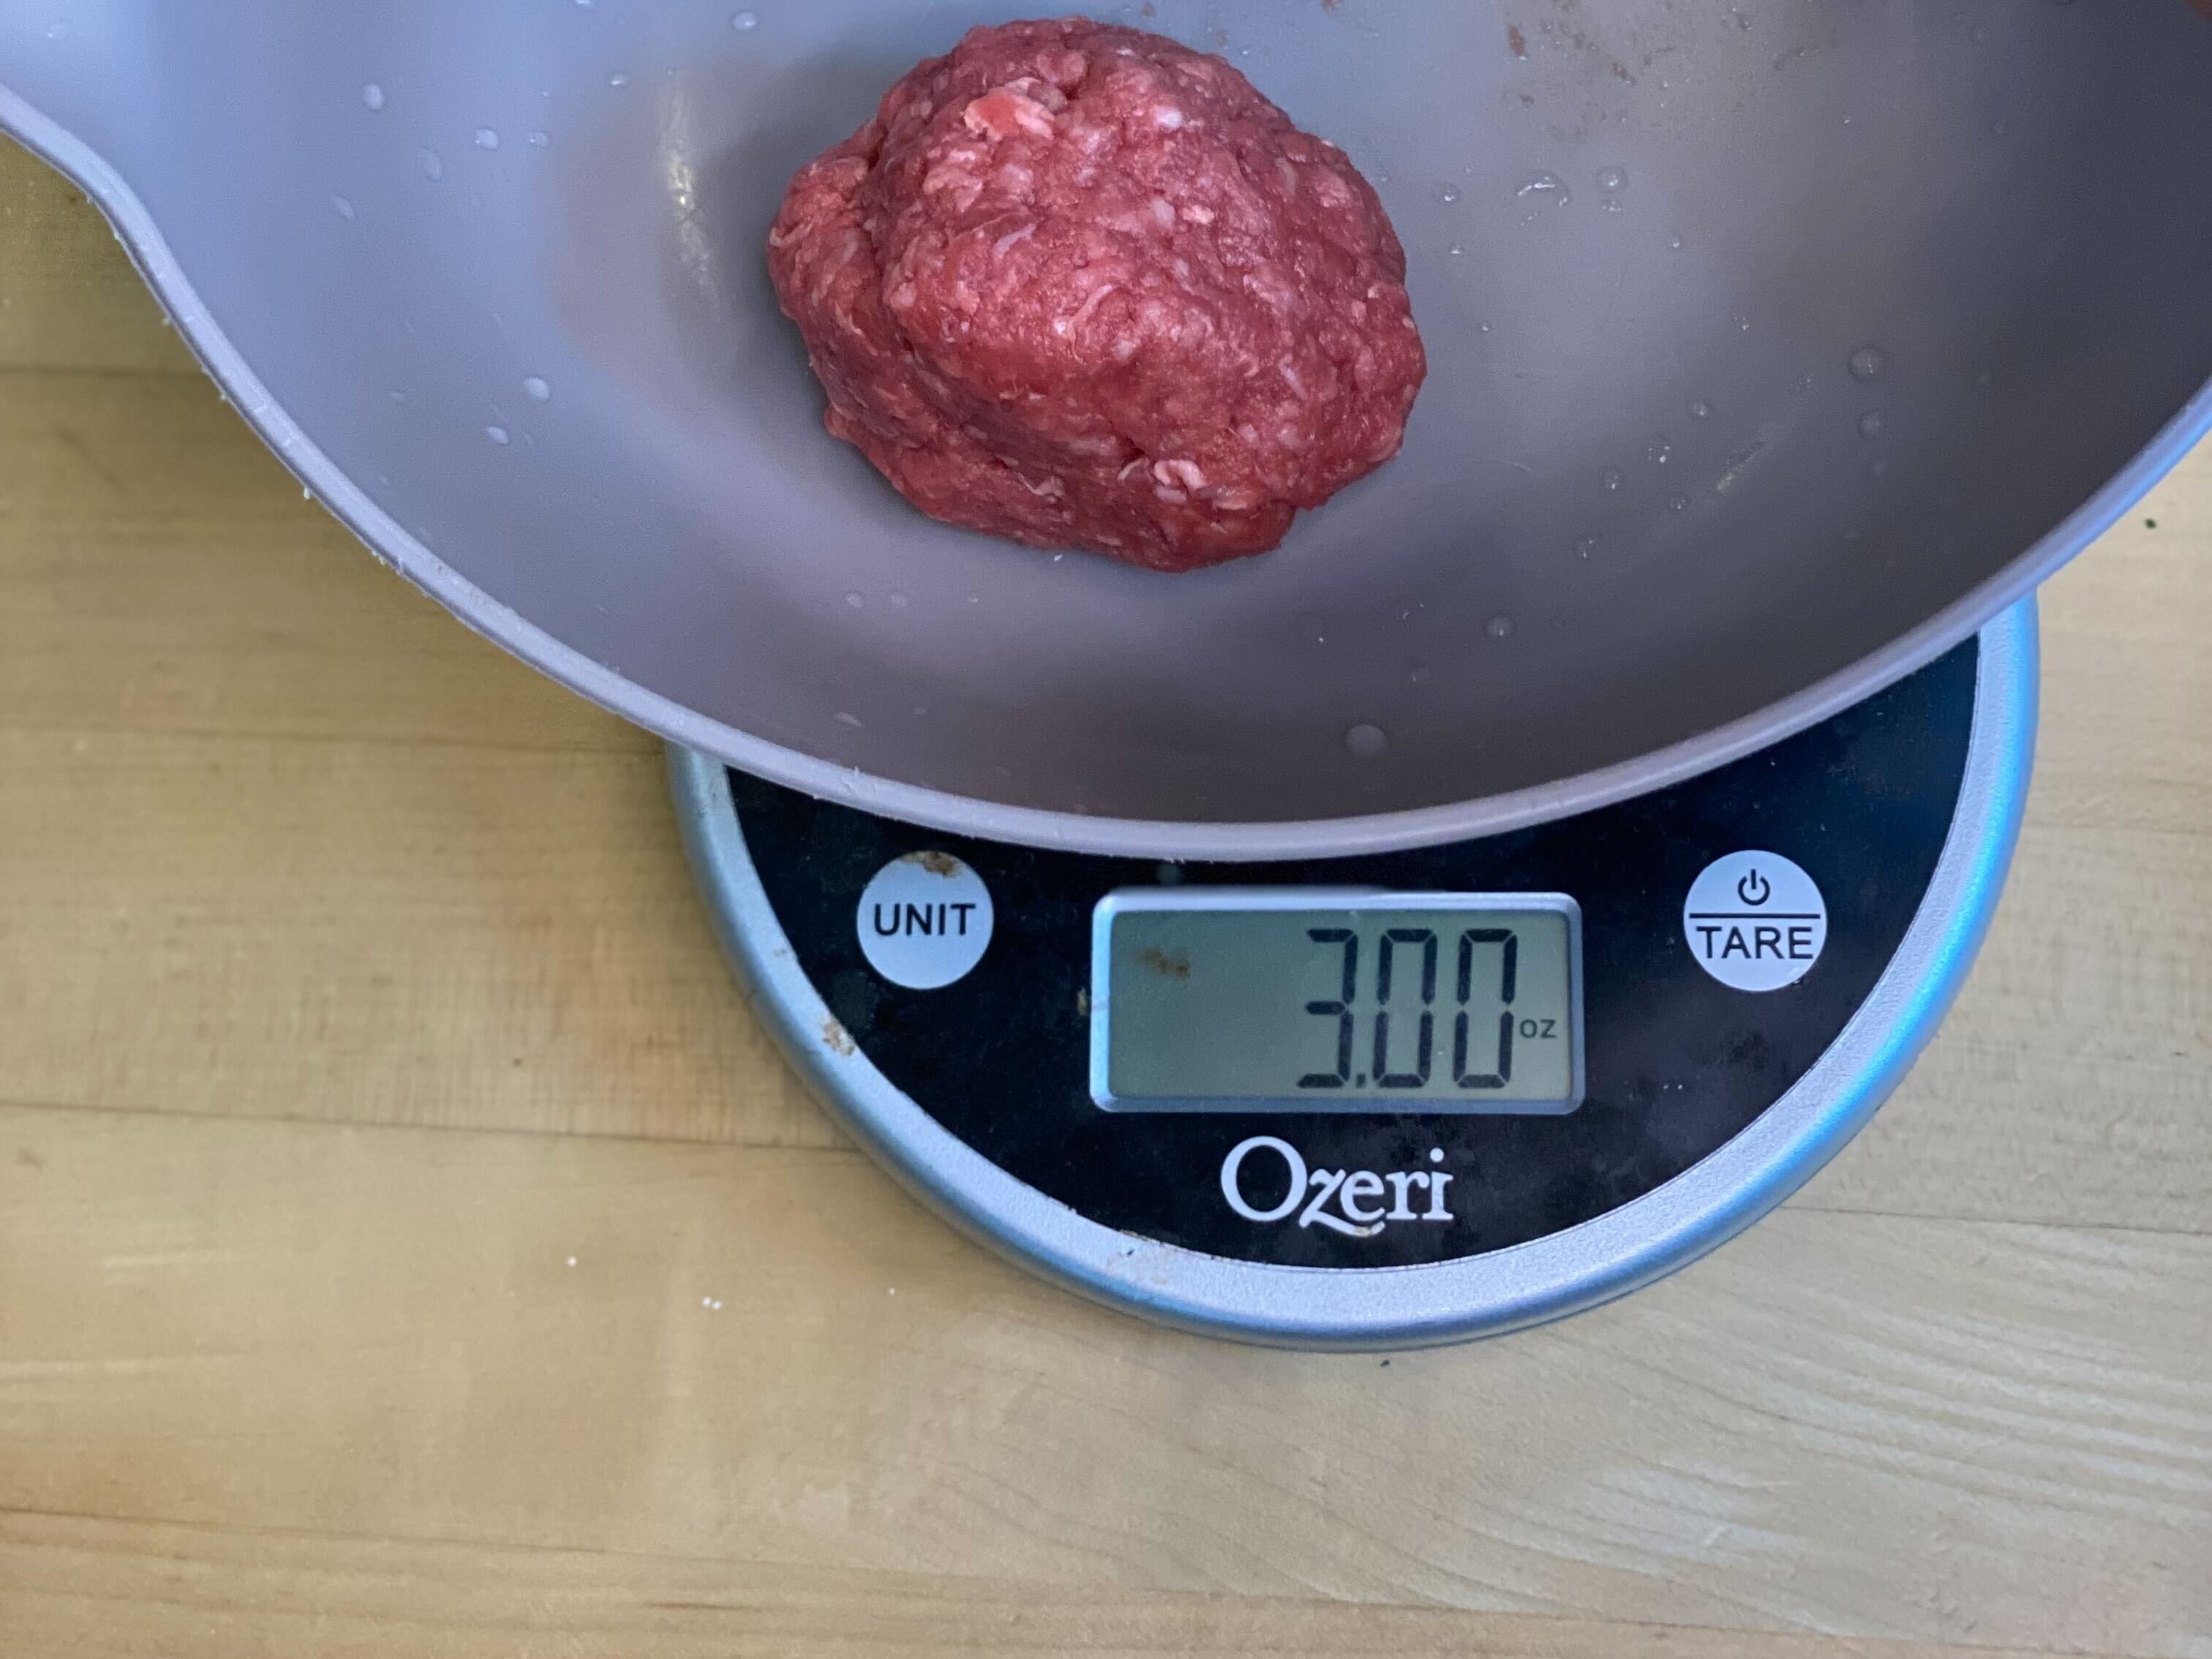
Divide the ground beef into equal portions, 3 or 4 oz. each. Gently shape each portion into a loose ball. Generously add salt, pepper, and any other spices you'd like to the patties. You may add some more salt & pepper once the burgers are on your pan or heat source.
7. Cook the bacon.
Now that the pan is hot, add a bit of fat to it. Place your bacon slices on the pan. Cook on one side. Flip to the other side. Cook until crispy. Once fully heated, remove and set aside on a paper towel-lined plate.
8. Place & Smash the patties.
Since you've already cooked bacon, your pan is thoroughly heated. Increase the heat on the pan to high heat for about 30 seconds. Add patties to the pan. If you're using high-fat beef, don't add a fat source. If you're using a lower fat beef (85/15 or 90/10) add a small amount of fat, but make sure to do so when your cooking surface is screaming hot. We like butter or ghee. Don't let it brown or burn. Immediately place one burger into the pan and smash down until it is as thin as you can make it. The thinner the better. Add a second burger patty if you can fit it without crowding the first.
Why Smash So Hard? The burger will not stay as thin you as originally smash it as the meat will contract. This is why it's important to smash is at hard as possible. The more surface area, the more deliciously browned Maillard reaction meat you'll have.
9. Cook the patties.
Allow the patties to cook for approximately 2 minutes on the first side. This assumes 4 oz. patties. If you prep with 2 or 3 oz. patties, shave this time down by about 30 seconds. Use a hard spatula or fish turner to scrape and flip the burgers. Cook for another 60-90 seconds on the second side. Aside from the initial smash, avoid pressing down on the patties during cooking, as this can release the juices and result in a drier burger. Remove the burgers and place them on a cutting board.
10. Add cheese.
Add a slice of cheese on top of both burger patties. Stack the patties.
11. Assemble the burgers.
Spread a generous amount of the special sauce on the bottom halves of the toasted and buttered potato buns. Layer each bun with condiments, such as lettuce, a tomato slice, sliced onion, two burger patties, two pieces of cheese, and two strips of crispy bacon.
12. Serve and enjoy.
Top each burger with the buttered bun lid. Serve alongside our Ultra-crispy potatoes, or modify them to create fries.
That's all there is to it. Incredibly flavorful and delicious smash burgers. If you have questions, please don't hesitate to reach out to us.
Customer Reviews
View Our Top Articles
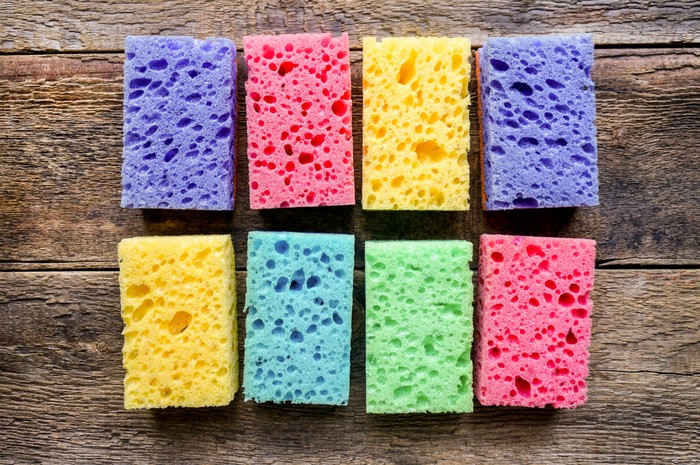
IS YOUR SPONGE RUINING YOUR KNIFE?
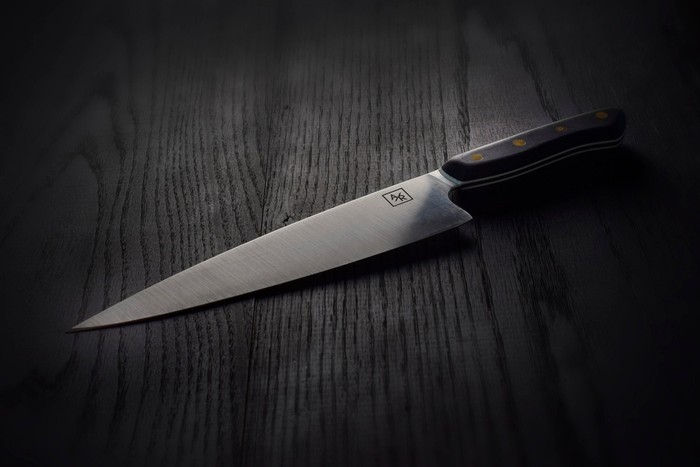
TAKE CARE OF YOUR KNIFE SO IT LASTS FOREVER
HOW TO CHOOSE A CHEF'S KNIFE