What is the Best End-Grain Cutting Board?
Better wood, better joinery, better glue, better fit & finish
5 MINUTE READ
BY: DAVID OLKOVETSKY & THE A/R WOOD TEAM
In our prior edition, we learned about the different types of cutting boards. We discussed why you should only be using wood, plastic or synthetic rubber. We also discussed the pros and cons of end-grain vs. face-grain. Here, we will explain how to make best-in-class end-grain boards. Boards that will not warp, fall apart, or stain. Like the End-Grain Cutting Boards we make at Artisan Revere. For a detailed refresher of all the types of boards on the market, as well as their pros and cons, click the link here: Definitive Guide to Cutting Boards.
In this edition, we’re talking about end-grain cutting boards and peaking under the hood to show what most makers get wrong, and only a few do right. Here's the TLDR:
Better wood selection, joinery & glue, process, beveling, finishing and feet, yield better cutting boards.
Contents
What are the Best Woods to Choose for End-Grain Cutting Boards?
Wood: Wooden cutting boards constructed from walnut, cherry, or maple, are your best bets for cooking. That said, at Artisan Revere, we strongly prefer American Black Walnut (scientific name: juglans nigra) and American Black Cherry (prunus serotina) as primary woods over Hard Maple (acer saccharum).
-
Walnut and Cherry won't stain as easily as a lighter wood such as maple. Translation: easier maintenance.
-
They're 30 and 35% softer, respectively. Translation: your knife stays sharper for longer!
-
They also weigh about 14-20% less! Translation: better maneuverability. It might not sound like a lot, but trust us, it makes a big difference when you're washing that board one-handed, like I do.
If you'd like to get deeper, check out https://www.wood-database.com/ for more easy-to-digest info about different woods, or you can simply trust that we've already done the work for you (hint: we have).
Wood Selection
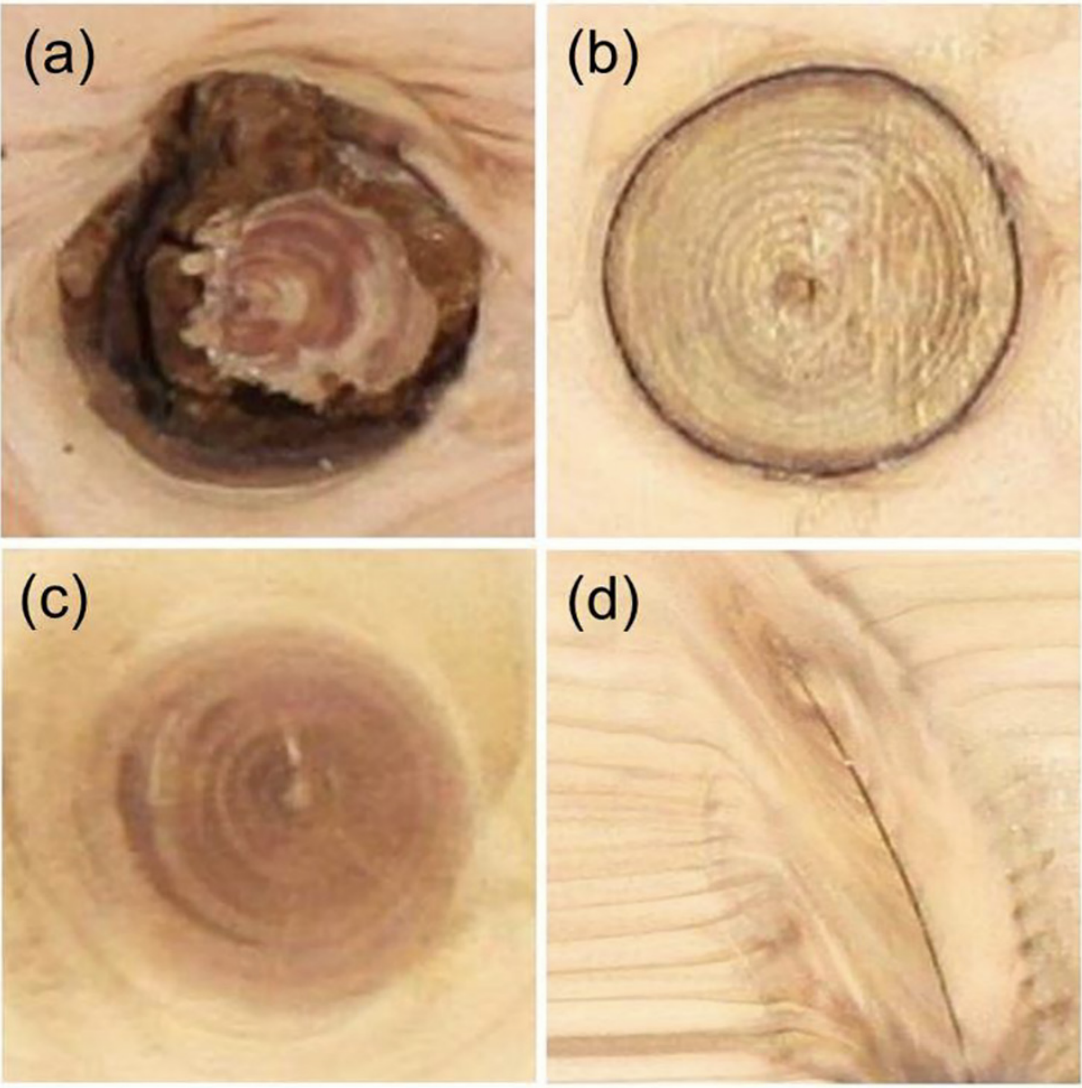
Knots: Lumber is often riddled with knots. Knots may not be visible when you start a project, but as you cut and rotate your lumber, frequently knots are found. The knot creates weakness around it, along with different grain patterns. The image shows 4 types of knots from the Journal Holzforschung. You may see the full article here:https://doi.org/10.1515/hf-2021-0051. They are: a) decayed, b) encased, c) sound, d) spike
Warpage: Some woodworkers will use warped wood and simply mill it flat. This doesn't work because wood has natural stressors in it and it will simply re-warp again.
Splits: You'll often see small splits at the end of wood pieces. Typically, this is not a serious issue as long as the split is minor.
Properly Dried: Wood is purchased kiln dried. Some lumber yards don't put in the time to do this correctly. The result can be wood that is too dry and brittle or wood that is too moist and will shrink as it dries, just like a sponge. It also creates problems when machining and when gluing & clamping. Either way, your board will be weakened and subject to fracture if the wood in improperly dried.
Good Wood Joinery is Essential for a Great End-Grain Cutting Board
End-grain cutting boards are connected via glue and clamps. So what can go wrong? Well, quite a bit. We'll mention only a few items here.
-
Surfaces that aren't perfectly flush. The individual planks may not be completely flush to each other. I.E. they may be concave (touch at the ends) or convex (touch at center but not the ends). This can cause serious problems with the structural integrity of your board.
-
Incorrect surface contact. Wood expands and contracts differently radially, tangentially, and volumetrically. To simplify, we need to put the right pieces next to each other, and make sure they're aligned correctly because wood swells and shrinks in differently based on axis. Put simply, correct alignment helps the glue do it's job correctly and ensures board stability. If we don't align correctly your board will be weak or fall apart (anyone read those Boos reviews on Amazon lately?).
-
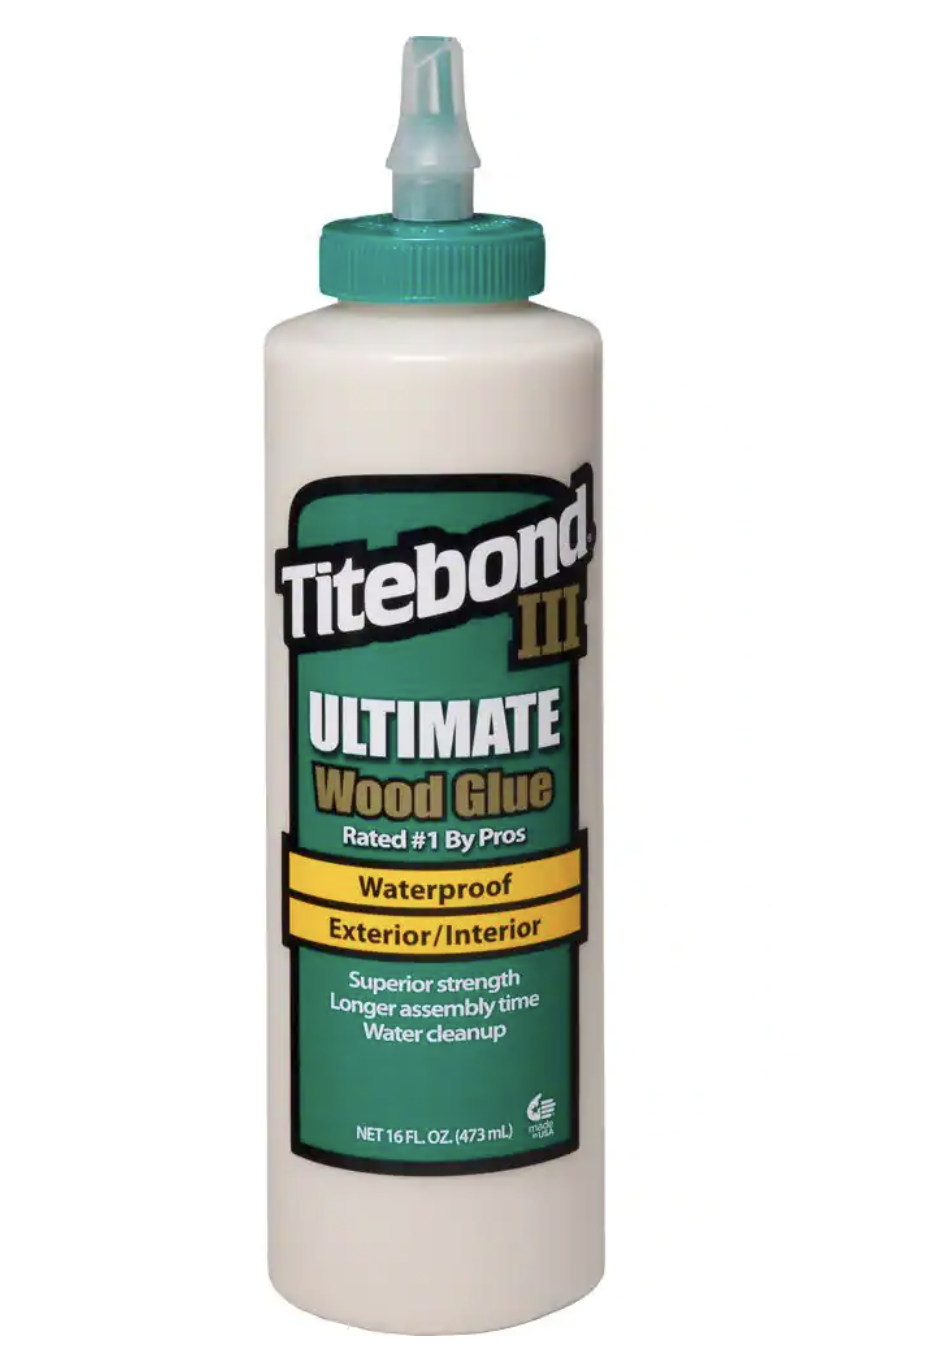
Wrong glue. Quality board manufacturers use TiteBond III. Period. It's what we use. Why? It's water proof (it passes the extremely rigorous Type I ANSI/HPVA water resistance test), and that means it won't absorb any water or moisture during meal prep or cleaning. If your cutting board manufacturer isn't telling you what glue they're using, it could be because they're engaging in what's called "planned obsolescence". In other words, they want your board to fail so you buy another one from them. We don't do business that way. Most other glues aren't even in the same league. The FDA also rates it safe for indirect contact. Not to worry, there is no contact between our glue and your food because all of the excess is removed during production.
👨🔬 Science Alert: The adhesion happens for two reasons. 1: the glue penetrates the porous surfaces of the wood, and 2: a phenomenon called specific adhesion. This is what happens when two surfaces with similar molecules stick together. It requires tight contact, compatibility of materials, and clean surfaces. Aside from just adhesion (glue sticking to the wood), the glue must also bond to itself. This is called cohesion. It's what happens when the molecules of the glue form strong bonds to themselves.
We could go on, and believe me, the chemistry gets much more nuanced, but this is more than enough to give you the idea. Lining up materials correctly is no small job. Big shops and inexperienced wood workers often do this wrong. At Artisan Revere, we go slow. We measure twice, and cut once. And we do our best to make sure every board is our best board.
Our End-Grain Board Making Process, Summarized
We're going to do a separate post on our full end-grain cutting board making process, along with details on why we choose to do things the way we do. Once it is up, we'll link back to it. For now, we'll summarize here:
-
Choose the best wood (aka Tier 1 lumber) we can. American Black Walnut and/or American Black Cherry.
-
Inspect all wood for knots and other issues. We reinspect frequently during the production process because it can expose flaws in the wood as we rotate and cut it.
-
Line up each plank obsessively, and meticulously apply TiteBond III glue. We want to overapply.
-
Clamp the planks together with consistent force throughout the board and ensure the board is perfectly squared off.
-
Clean off the excess glue. Leave clamped for a minimum of 24 hours so TBIII has maximum bonding.
-
Run the board through our industrial planer to ensure it is flat.
-
Cut to final dimensions on our industrial saw.
-
Use our router to cut in the handle grooves. We also sand the handles to make sure they are nice and soft.
-
Use a router to do our round-over edges. We don't like chamfers.
-
Use a random orbital sander on all six sides. Starting at 80 grit, and working our way up to 220.
-
Wet the board so the grain pops up.
-
Re-sand at 220 to finish.
-
Store the board until your order.
-
Once you order, we place your board in a tub of food grade mineral oil and leave over night to soak.
-
Screw in our 1/2" tall rubber feet. We only use screws made specially for wood.
-
Place your board, along with Artisan Revere conditioning paste and 2 applicator sponge into your box.
Beveling Your Board
Roundovers vs. Chamfers:
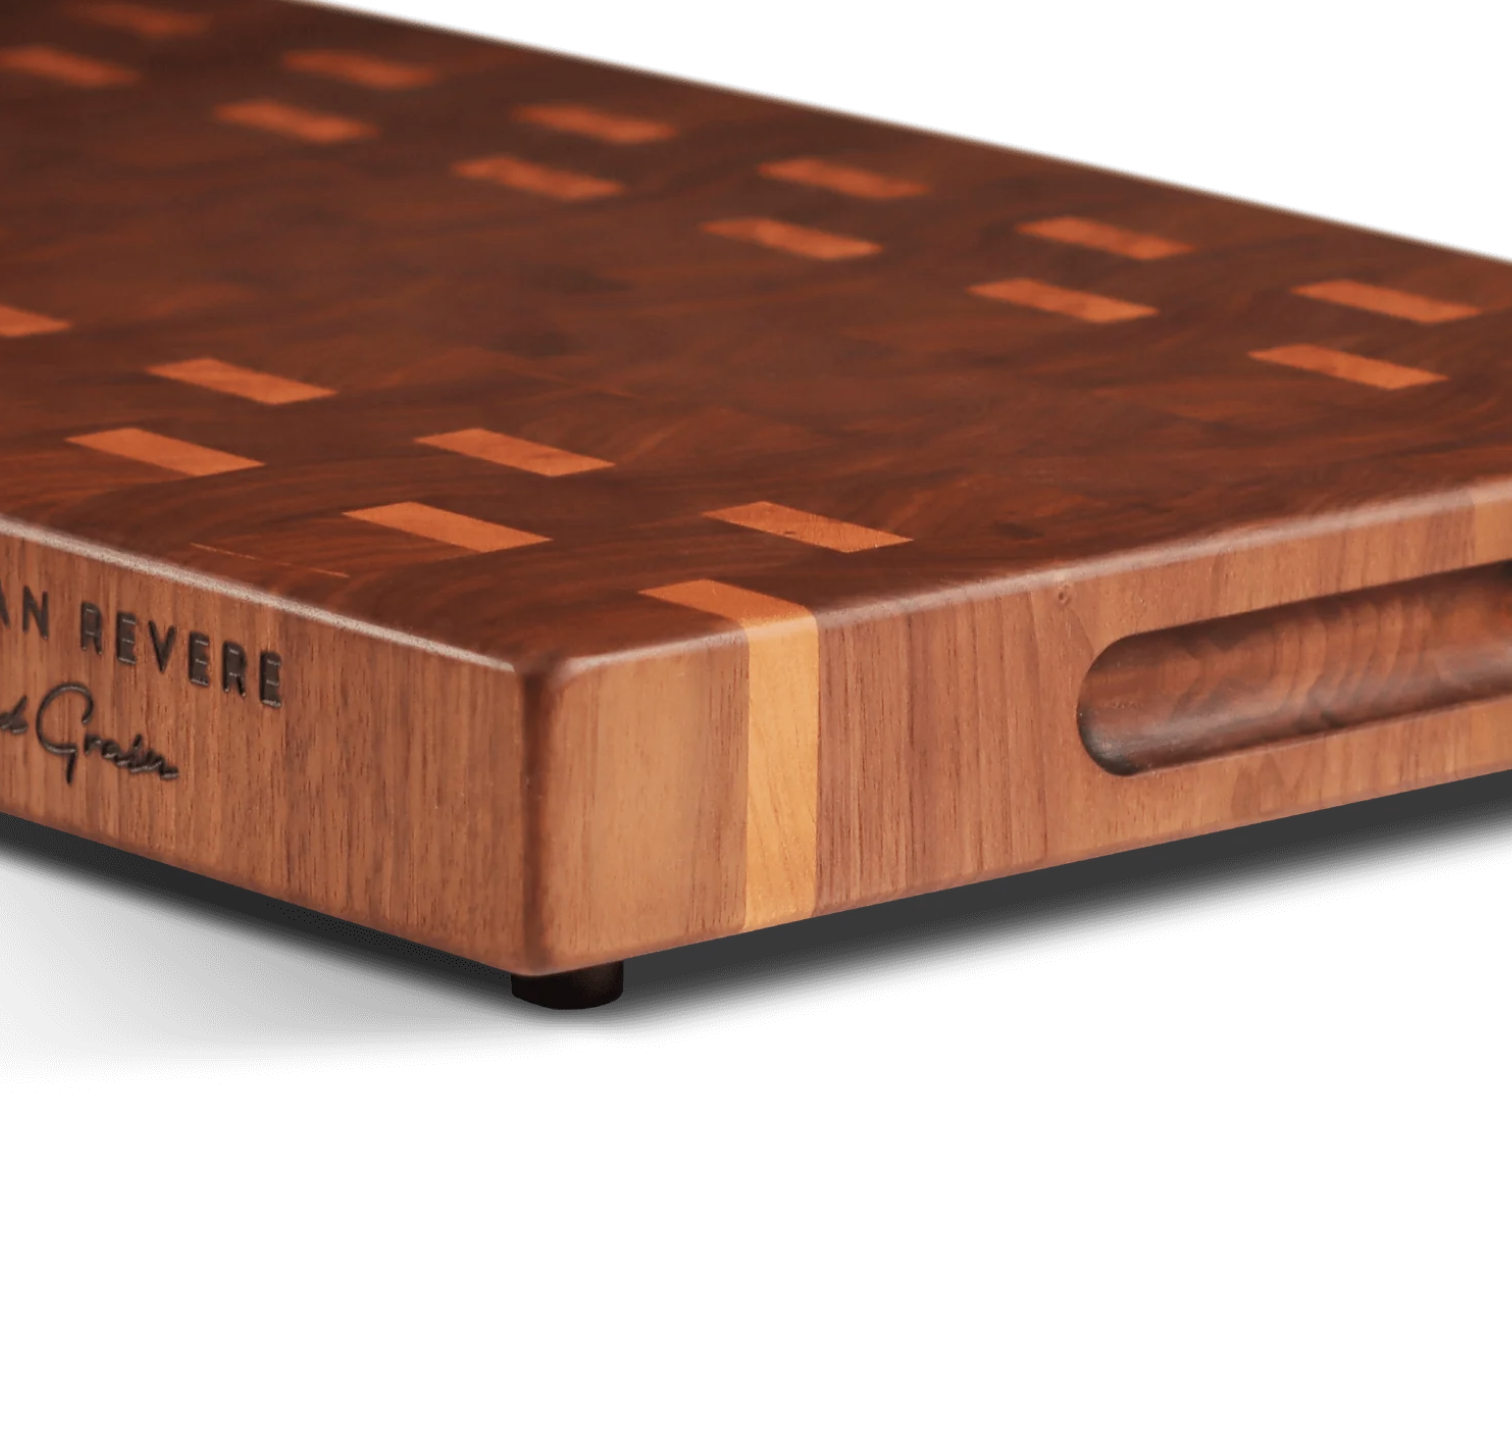
Some of you may be wondering what the heck is a chamfer, and why are we opting for roundovers instead? A cutting board chamfer is an angled cut around the perimeter of your board. It's usually between 30 and 45 degrees. Some think they look more intentional, however, like everything we do here at Artisan Revere, we are obsessed with ergonomics. Simply put, a chamfer doesn't feel as good as a rounded edge does, even if we run an orbital along it to soften it.
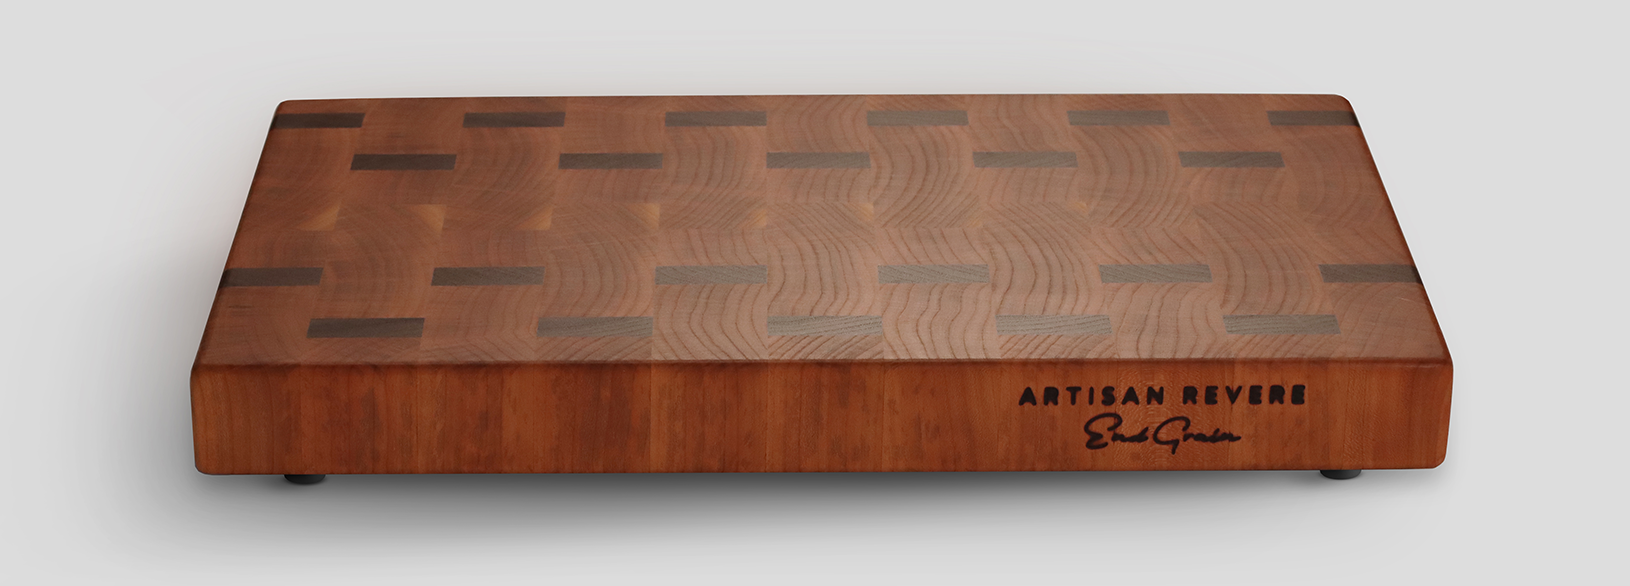
This is why we opt for rounded edges. To make them, we use a drill bit to create a smooth and ergonomic cutting and maneuvering experience for you. Remember, you aren't just going to be cutting on the board. You've got to wash it too. And to do that, you've got to pick it up. I absolutely love knowing that my hands are safe and protected from sharp edges and splinters because we've softened all 12 edges of the board. Have a peek at the image. Check out the corners and the edges. Soft. That's what you want.
Finishing Your End-Grain Cutting Board
Getting you that perfectly finished and seasoned board:
To some extent, we already gave away the store in the Process section. But let's zoom in a bit on why we finish the way we finish. First, you may be thinking: why the heck are you finishing at only 220 grit. Well, my knife aficionado friend, wood is quite different to steel. We could go do to 320 or 400, and some people do. But we've experimented with all three, and have found no material tactile difference. In other words, a properly sanded 220 grit finish feel just right in hand, if we first get our wood grains to rise (we do - described later).
👩🔬 Science Alert: So, how do we do that? First, we go up in grit from 80 to 120 to 180 to 220. Once we've gone over the entire board at 220 grit with our random orbital sander, we submerge our board in water. The water is soaked up by the capillaries of the wood. Remember, that wooden board used to be a tree and the way the tree got nutrients and water from the roots to the branches is through a capillary system, not disimilar to our veins and arteries. Now, it's important to remember that those capillaries go up and down the tree. When you're looking down at an end-grain board, you're looking down at the capillary openings. The sides of the board are what's called the face or edge grain of the lumber, and nutrients and water do not flow sideways.
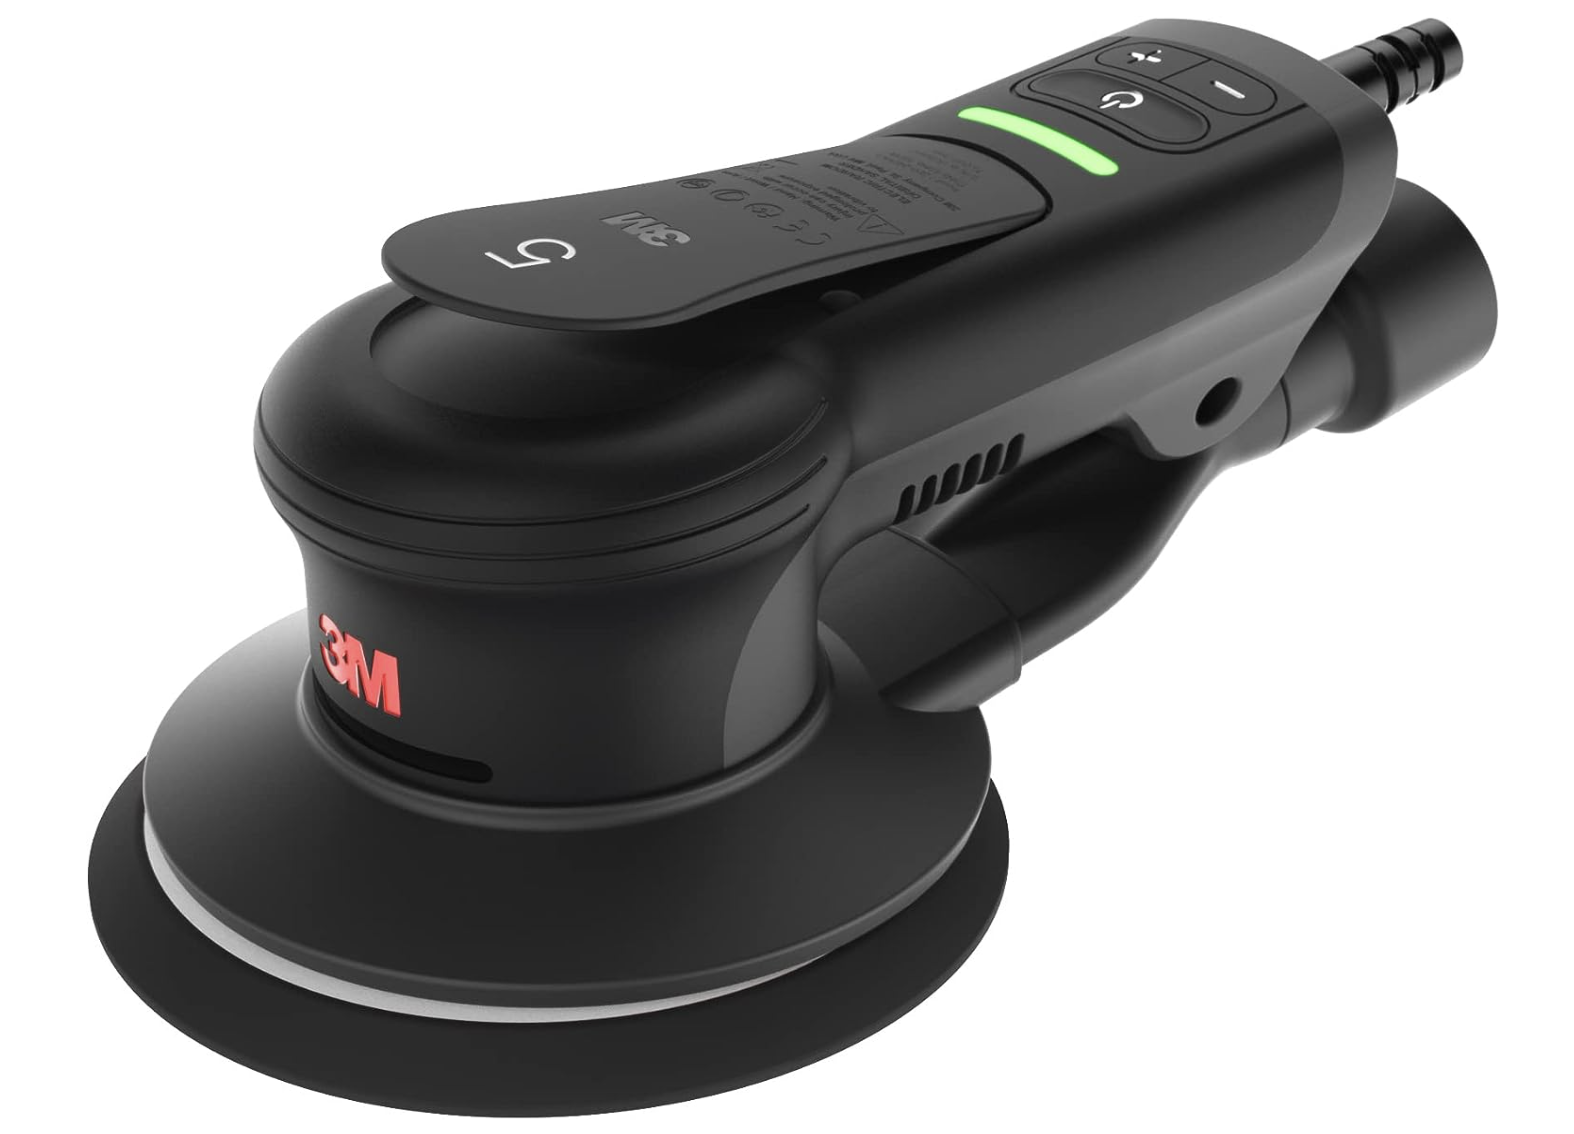
Now that we got the nerdiness out of the way, let's get back to it. We submerge our board in water. Let it air dry for a few minutes and then we go right back to the 220 grit orbital sander. This process pulls up the grain a bit (think of a static charge making your hair rise) and allows us to easily knocks off any that hairy feeling.
Now that your board is super smooth, we submerge it in food-grade mineral oil. We do that so that your boards capillaries are filled up. Food-grade mineral oil is a straight chain hydrocarbon. It has no reactive sites, and therefore never dries. When applied to end-grain cutting boards, it penetrates the wood until it can go no further. This is why after you apply mineral oil, you'll notice the board soaking up the oil until the surface is completely devoid of liquid. That means you can add more oil until it no longer soaks up the mineral oil. That is what we accomplish by submerging the board in food-grade mineral oil.
Finally, we finish up your boards by popping on 1/2" tall rubber feet. The feet serve multiple functions. #1, they absorb shocks. This is good for your arm and for your knife. #2, they keep your board's bottom dry which reduces the possibility of warpage. #3, they make it easier to pick up and maneuver your board. #4, they maximize board stability. #5, they are totally non-slip, meaning you no longer have to use a soaked towel below your board. This also helps ensure your board won't warp.
We Make Cutting Boards That Last Forever.
Our wood selection, joinery, product process, beveling, and finishing are set up so your boards can last forever. It's why we believe our end-grain cutting boards are the best on the planet. But, as you already know from 8 Steps For Maintaining Like-New End-Grain Cutting Boards article, you have an important role to play in passing that board down to the next generation. All it takes is 8 simple steps. Follow them, and your amazing new cutting board will serve you and the next generations reliably.
Shop Our Top Tools
Customer Reviews
The Artisan Revere cutting board is perfection. Solidly built, pre-seasoned, with rubber feet to keep it stable and in place my preparation of food has been improved remarkably. My knives keep their edge longer and it’s simply easier to cut garlic, onions, herbs and everything g else with greater ease and perfection because of the hardness of the end grain wood. Great product.
first of all - this board is stunning. I have already gotten so many compliments from guests who practically interrogate me about who makes it, where its from, etc. so there's that.
but as someone who cooks a lot, this board just knocks the others out of the park re: ease and functionality and tbh it's the only one I ever want to use. so easy, love the feet, and I feel very pro when I stand behind that thing. everything about cooking feels smoother.
Love these boards. We have 3 now and they make amazing gifts. The cutting surface is so beautiful I almost don’t want to use it but we are a cooking family. They get used daily. Helps protect my knives as well.
Keep up the good work.
WoW... I'm so impressed with the quality and awesome craftsmanship !!! Would highly recommend !!!!
We love this exceptional cutting board. It’s beautifully crafted, sleak lines, and leaves no knife marks- it was worth the investment. Treat yourself- it’s worth it.
View Our Top Articles
