KNIFE FAQ & PROBLEM SOLVING
Learn to handle the most common issues that affect your kitchen knives.
15 MINUTE READ
BY: DAVID OLKOVETSKY
In this article, we will guide you through the most frequently asked questions and issues that arise with kitchen knives.
Every single kitchen knife customer at Artisan Revere receives a detailed guide to knife care. We’ve summarized that guide down to 8 simple steps, most of which are proactive. Sometimes, things still go wrong. This article will teach you how to troubleshoot the most common kitchen knife problems.
First, the 8 steps to knife care are as follows:
-
Hand wash & dry right after use—never use the dishwasher.
-
Avoid bones, frozen food, and ceramic—they can chip your blade.
-
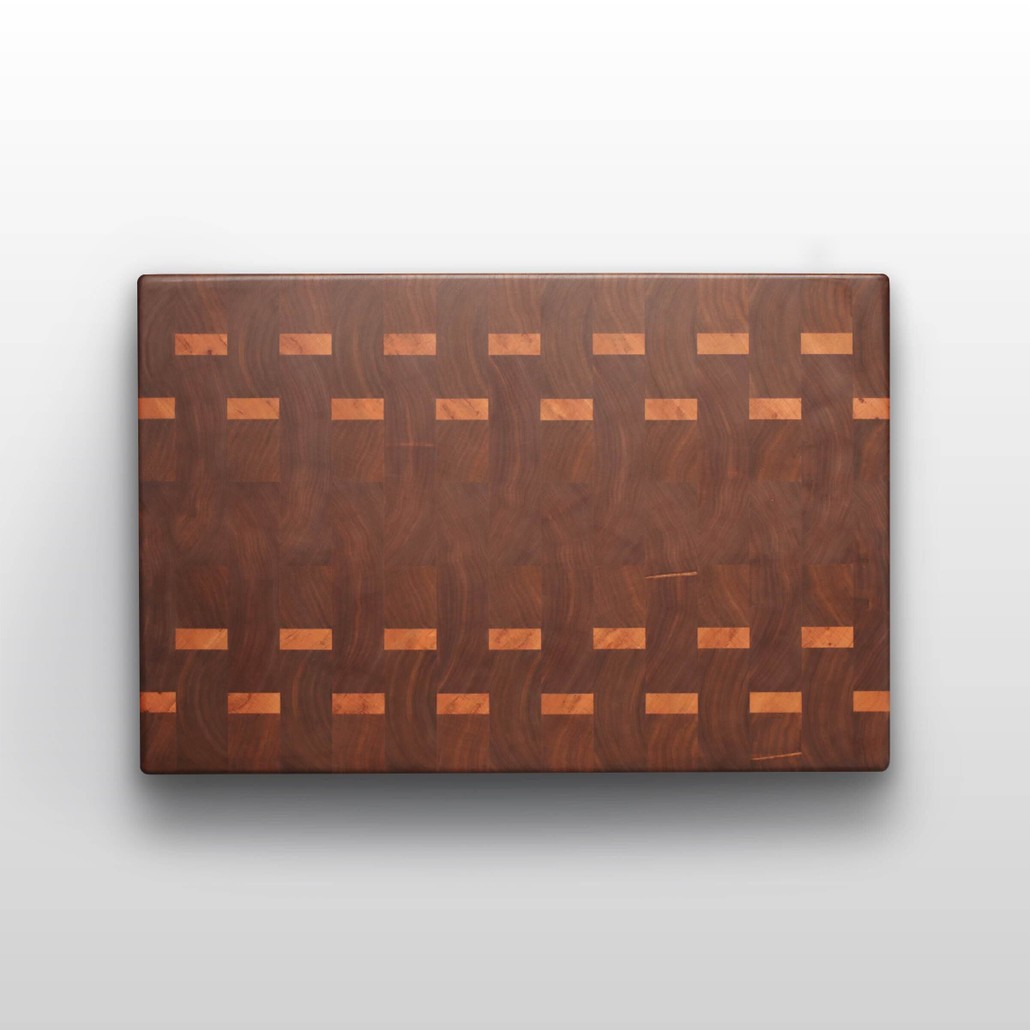
Cut on end-grain wooden or plastic cutting boards only.
-
Use the knife's spine for food collection, not the knife's edge.
-
Use food-grade mineral oil on the handle & blade regularly.
-
Hone daily with ceramic honing rods—avoid steel rods.
-
Sharpen on whetstones or a belt grinder regularly.
-
Store on a magnet or in a leather sheath—no knife blocks.
With that out of the way, let’s jump into knife troubleshooting:
Contents

My Knife Blade Has Started To Discolor Or Patina
The discoloration has come about as a result of oxidation. At Artisan Revere, we use a super steel called Elmax, which has plenty of free chromium to fight oxidation, but sometimes, if a knife is left in something acidic or salty, the oxidation process can start stripping that free chromium layer. Not to worry. It's very quick and easy to remove.
The product we like to recommend is called Shadazzle, which can be purchased for about $12 on Amazon. It is a mild abrasive and they include a circular applicator sponge. Simply wet the sponge, scoop a bit of the Shadazzle abrasive into it, and slowly scrub your knife blade. Remember to be careful around the edge, especially if your knife is sharp. Once your blade has been brought back to its original luster, remember to wash and dry your knife as soon after cooking as possible. Don't leave it in the sink or on the cutting board after you cook.

My Knife Is No Longer Flying Through Food
When your knife stops flying through food, it's time to sharpen it. Or send it to us to sharpen.
Here's the hard truth that nobody else will tell you. We think its much better if you don't let your knife get dull in the first place. That's because it takes much more work to sharpen it at home, especially if you're new to sharpening. This is why we always recommend sharpening before your knife gets dull — it will be a much quicker sharpening job and you're less likely to feel frustrated.
Preventative Maintenance, AKA Honing: One way to keep your knives sharp for longer is to hone them. Think of it like an oil change. Instead of every 3,000 miles like you would for a car (or 5-7k miles depending on the caliber of synthetic oil & filter), honing once every week or two is good for home cooks. We recommend frequent honing on ceramic or diamond rods for super steel blades like Elmax. We recommend ceramic rods for Japanese blades and German blades. We would urge you to avoid most steel honing rods — the majority of them are ridged these days, and they have will rip up your finer edges. Ceramic and diamond hones will keep your knife sharper for longer. Both are harder than the steel in your knife. Diamond hones will actually abrade metal and therefore sharpen your knife. Watch the video, and you'll see th best technique for honing. That said, even with frequent honing, your knives will dull. That’s when you should sharpen your knives. Or, if you're like me, you'll pop your knives on a belt grinder at 1,000 grit and in 30 seconds, you have a 100% sharp knife... but more on that later.
Stones & Belts: The two sharpening methods we recommend are with Silica Carbide or Diamond whetstones and with a powered belt-based sharpener. More details on both forms of sharpening is available later in this article.

How Do I Sharpen My Knife? What Tools Should I Get?
Whetstones are a great option. To learn good sharpening technique, we recommend Murray Carter’s Blade Sharpening Fundamentals, available on Youtube.
Note: It's a 3 hour long video, so it may be too long unless you really want to get into the weeds. We will be releasing our own, much shorter video guide, along with a companion booklet very soon. So look out for that.
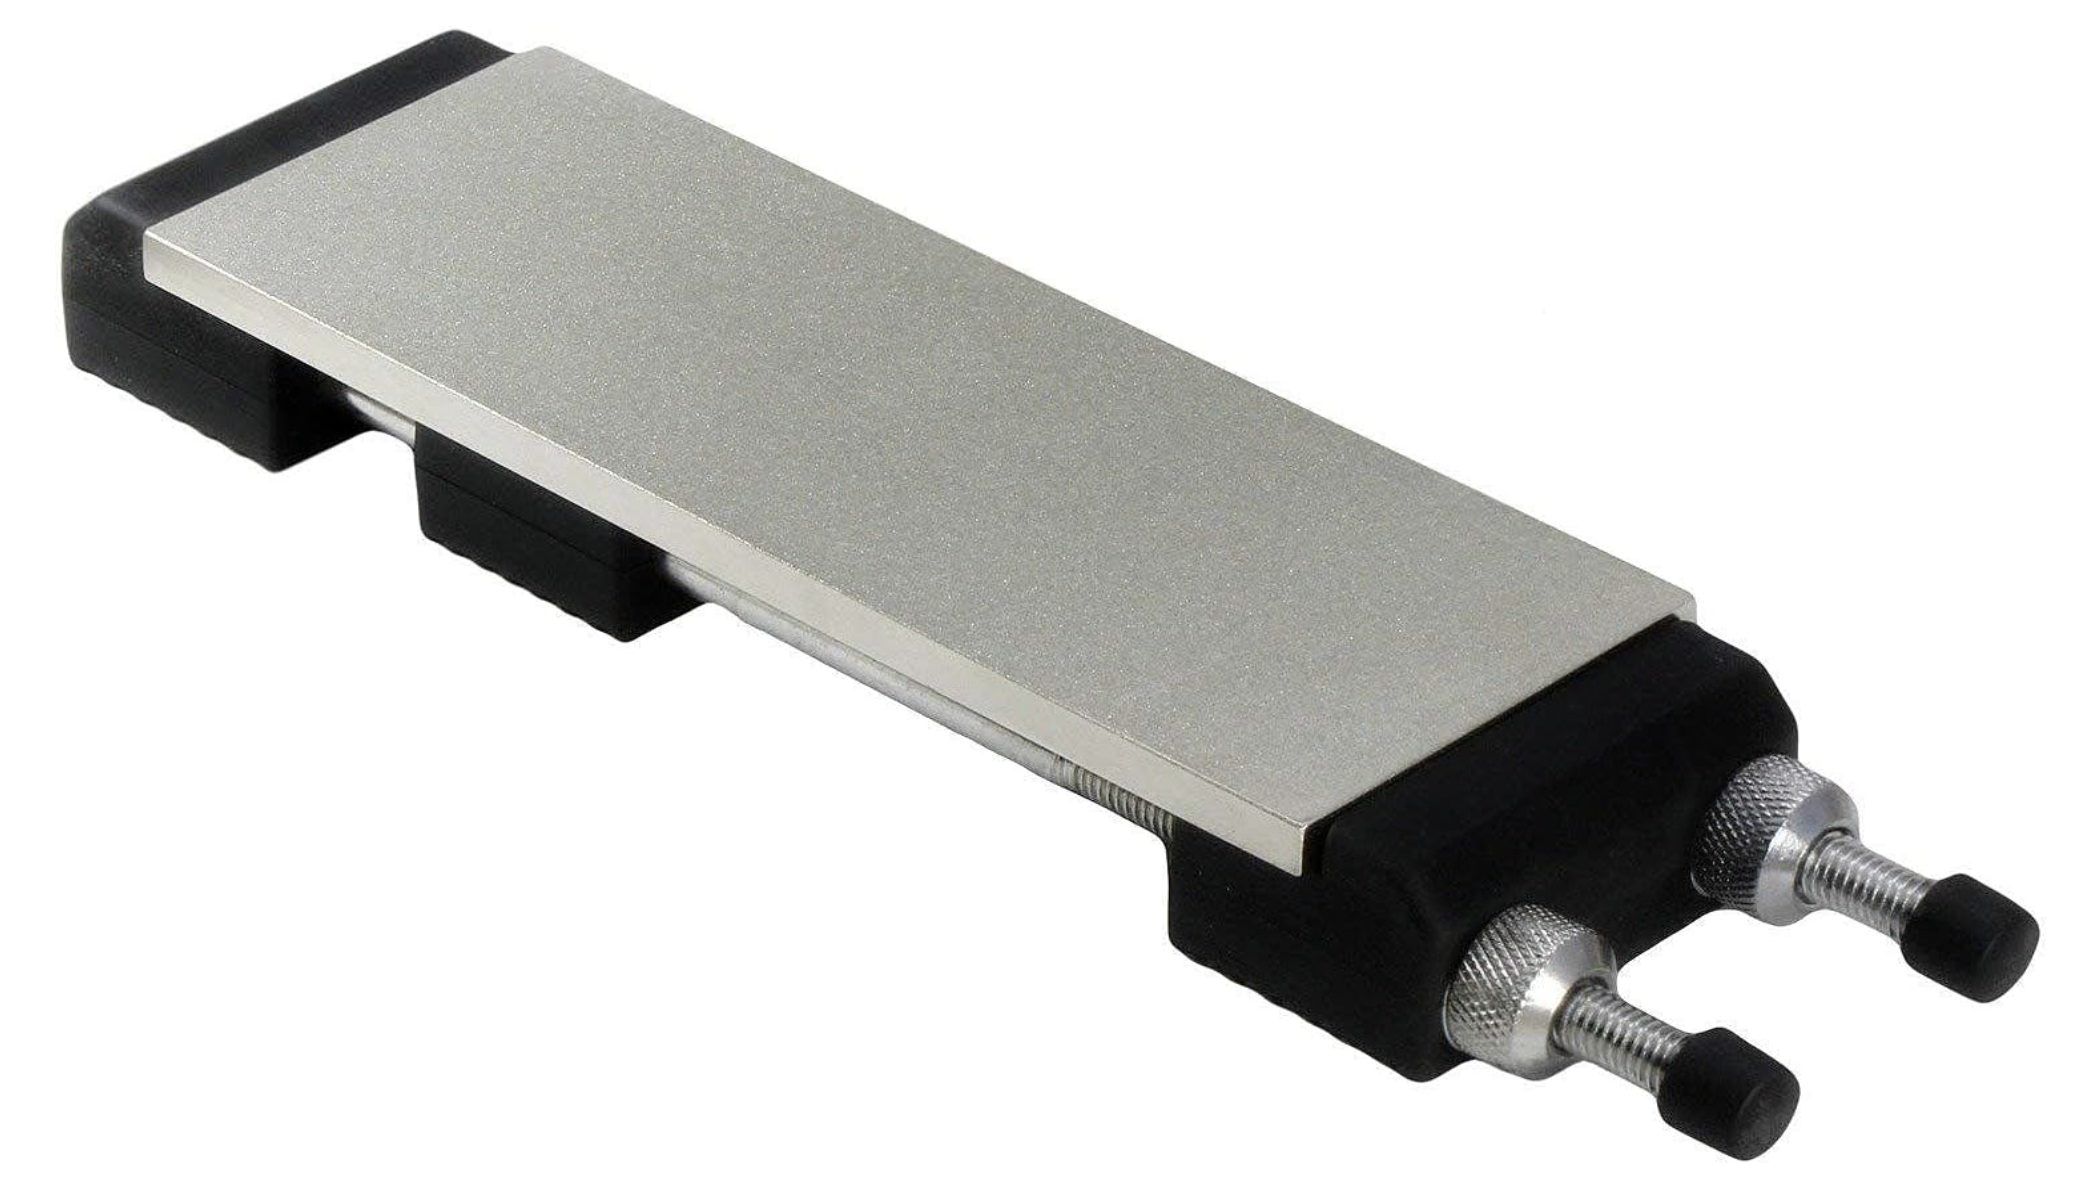
For the absolute fastest metal eating option, get a diamond stone with monocrystalline diamonds that are electroplated to the surface. No need for water or oil. You'll also want a non-skid rubber holder like the one pictured below. If you're a minimalist, this is all you need. But please note, the low-grit (220 - 325 grit) side is going to expose any mistakes in your sharpening skills because it eats metal fast! Your knife edges will NOT look beautiful, but they'll be sharp as hell and you'll spend very little time sharpening. If you don't feel like an absolute wizard on stones, we recommend SiC stones for low grit sharpening. More on that later.
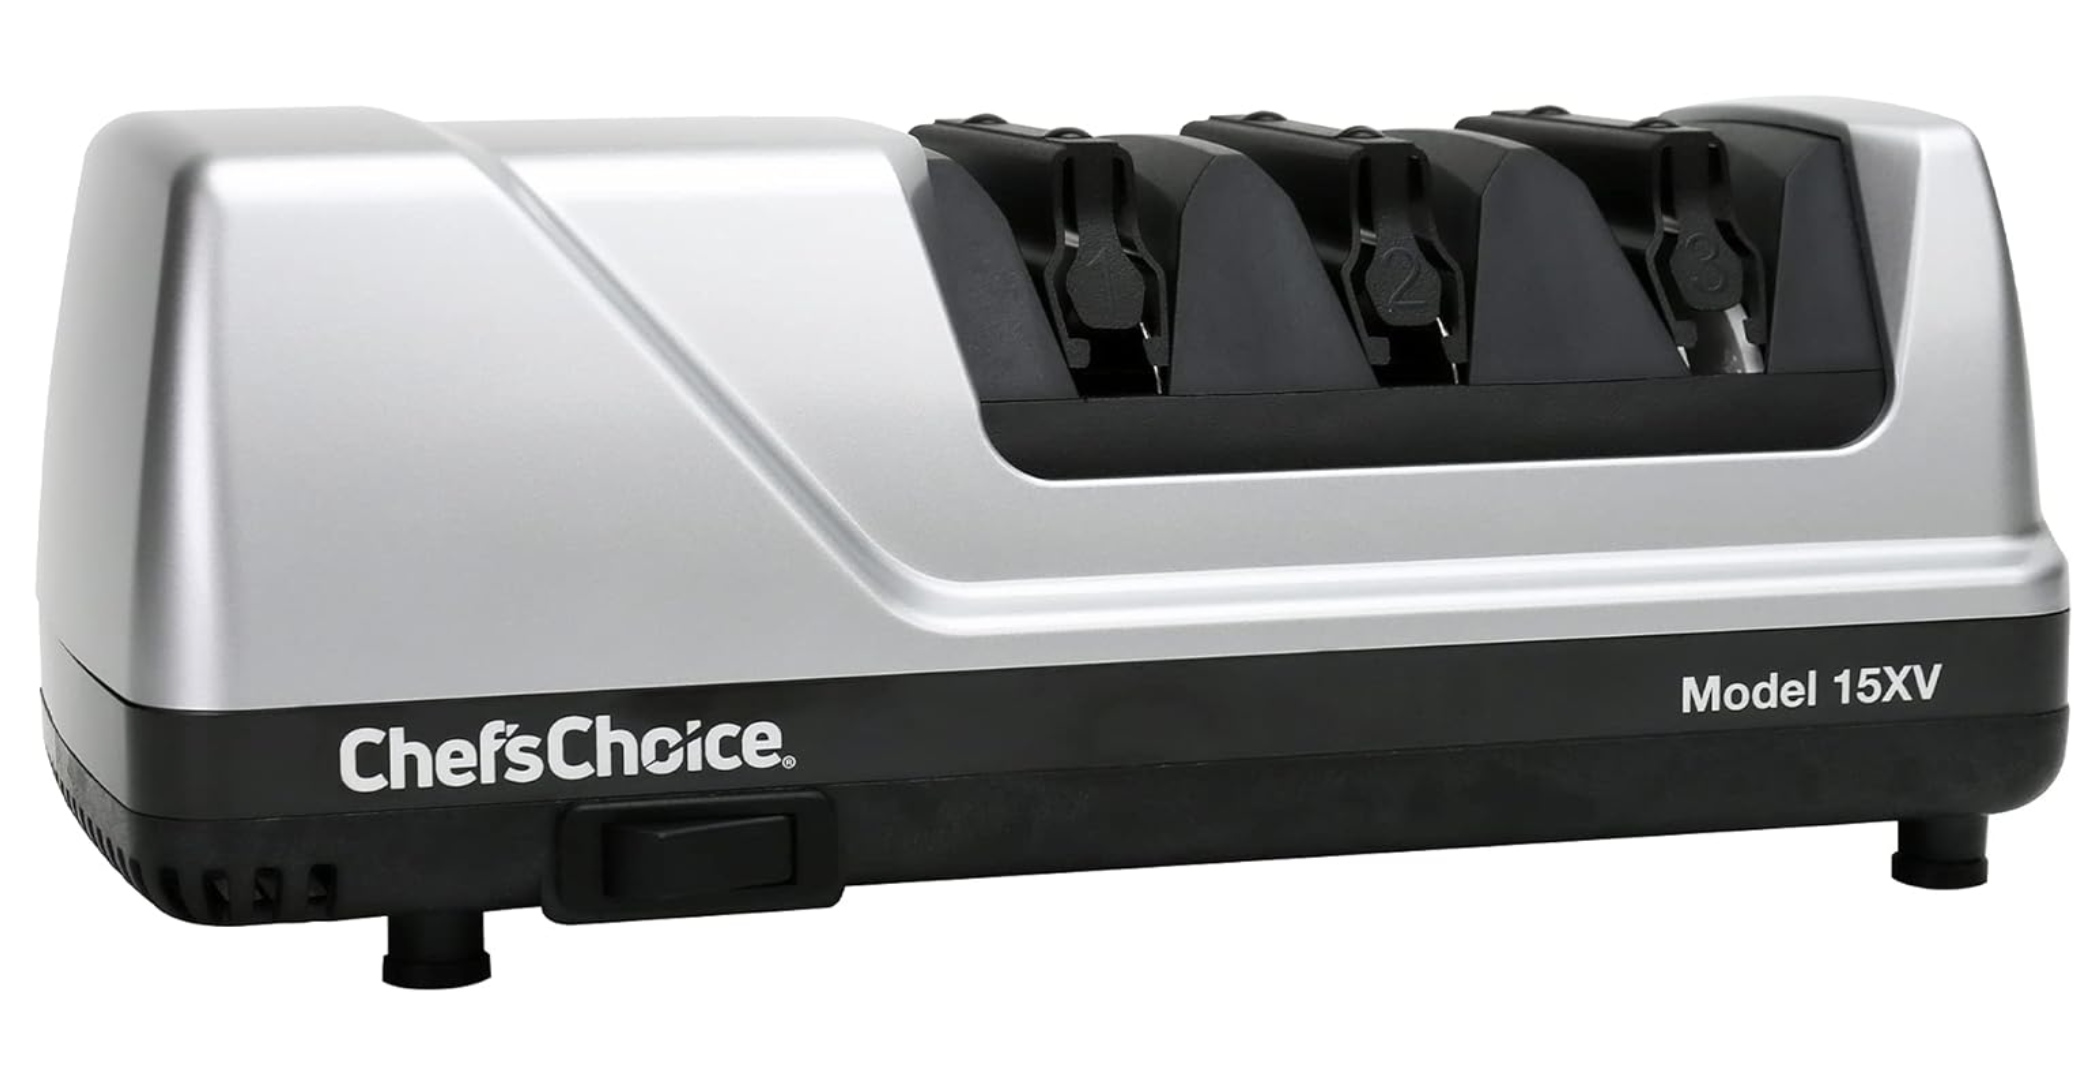
In terms of electrical sharpeners, we like the WorkSharp Elite Knife Sharpening Solution (WSEKSS), as seen below. It's a vastly superior tool, in our view, compared to the Chef's Choice Trizor (CCT) for a variety of reasons. And to answer your question in advance, NO, we're not getting paid to recommend it. This is the tool our founder, Dave Olkovetsky, personally uses at home to sharpen his and his friend's knives.
-
The WSEKSS is not as aggressive a metal eater as the CCT;
-
You can choose numerous angles to grind at on the WSEKSS, but are forced to grind at 15 degrees per side (dps) on the CCT. What happens if you're grinding a soft steel chef's knife or cleaver? What about a heavy-duty bushcrafting knife? Those should be 20-25dps.
-
The WorkSharp is vastly more versatile than the restrictive Trizor in terms of working on all parts of a knife.
The WorkSharp Elite Knife Sharpening Solution is Our Favorite
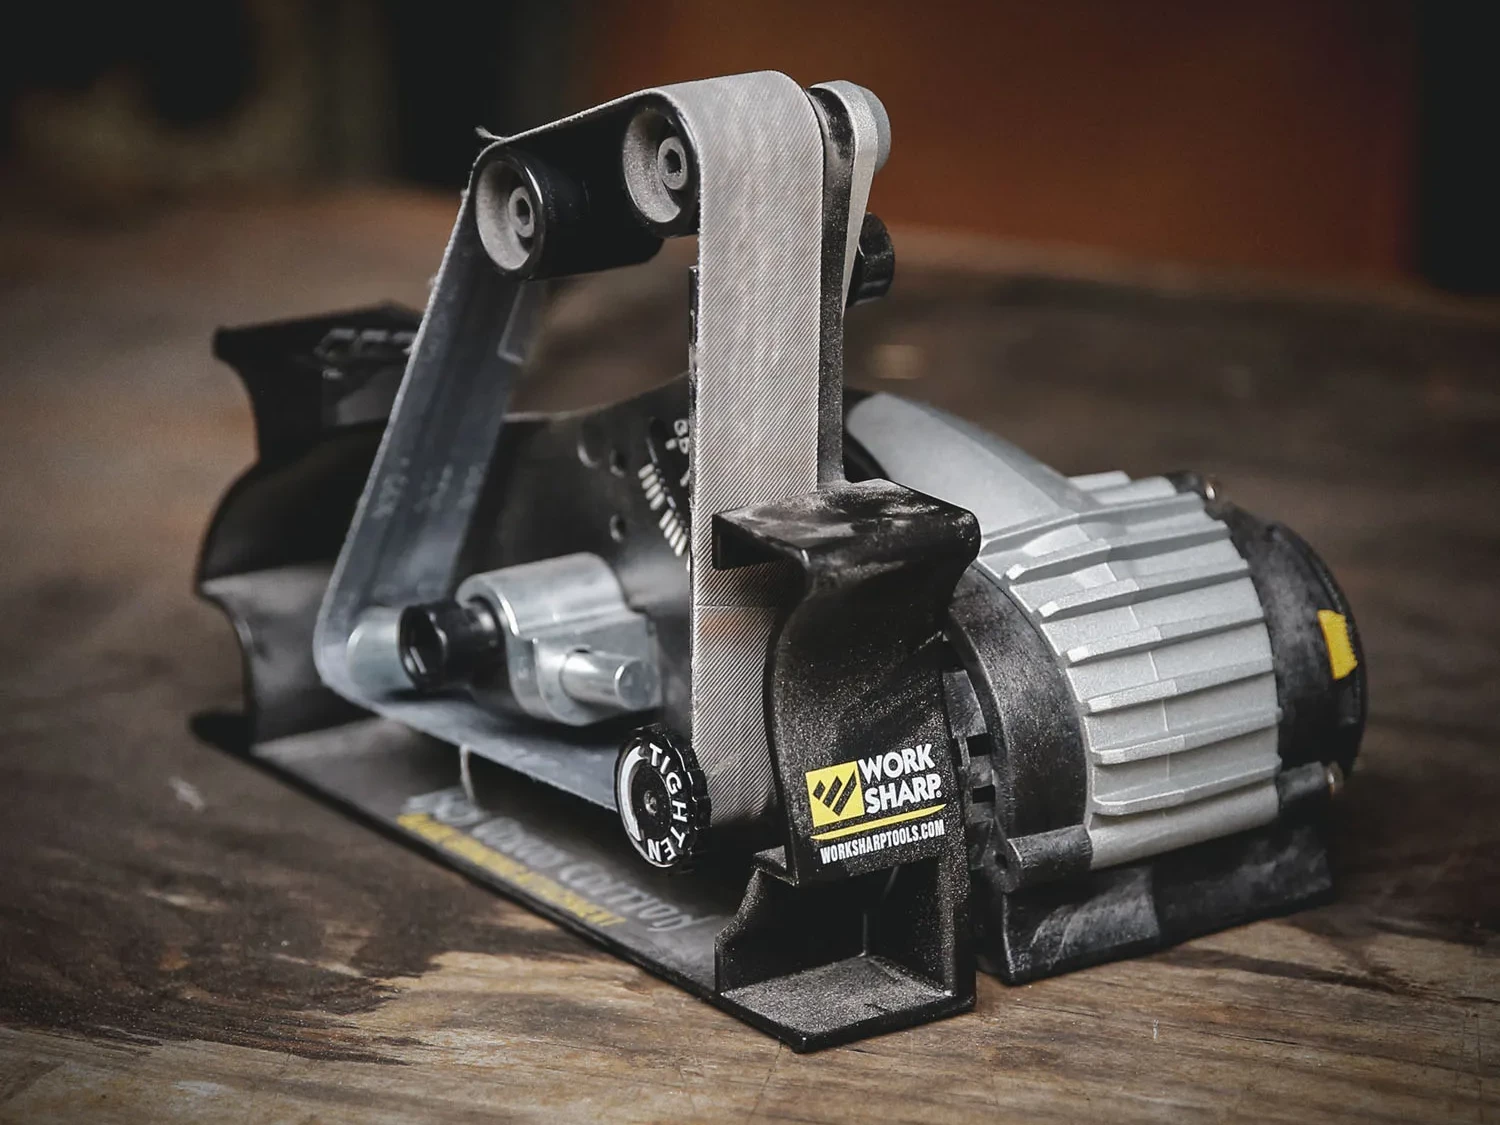
How so? With the WSEKSS, you can soften spines, choils, thin out and shorten bolsters, and sharpen all sorts of edged tools. You can also easily adjust edge angles and you have a wide variety of belts available to you.
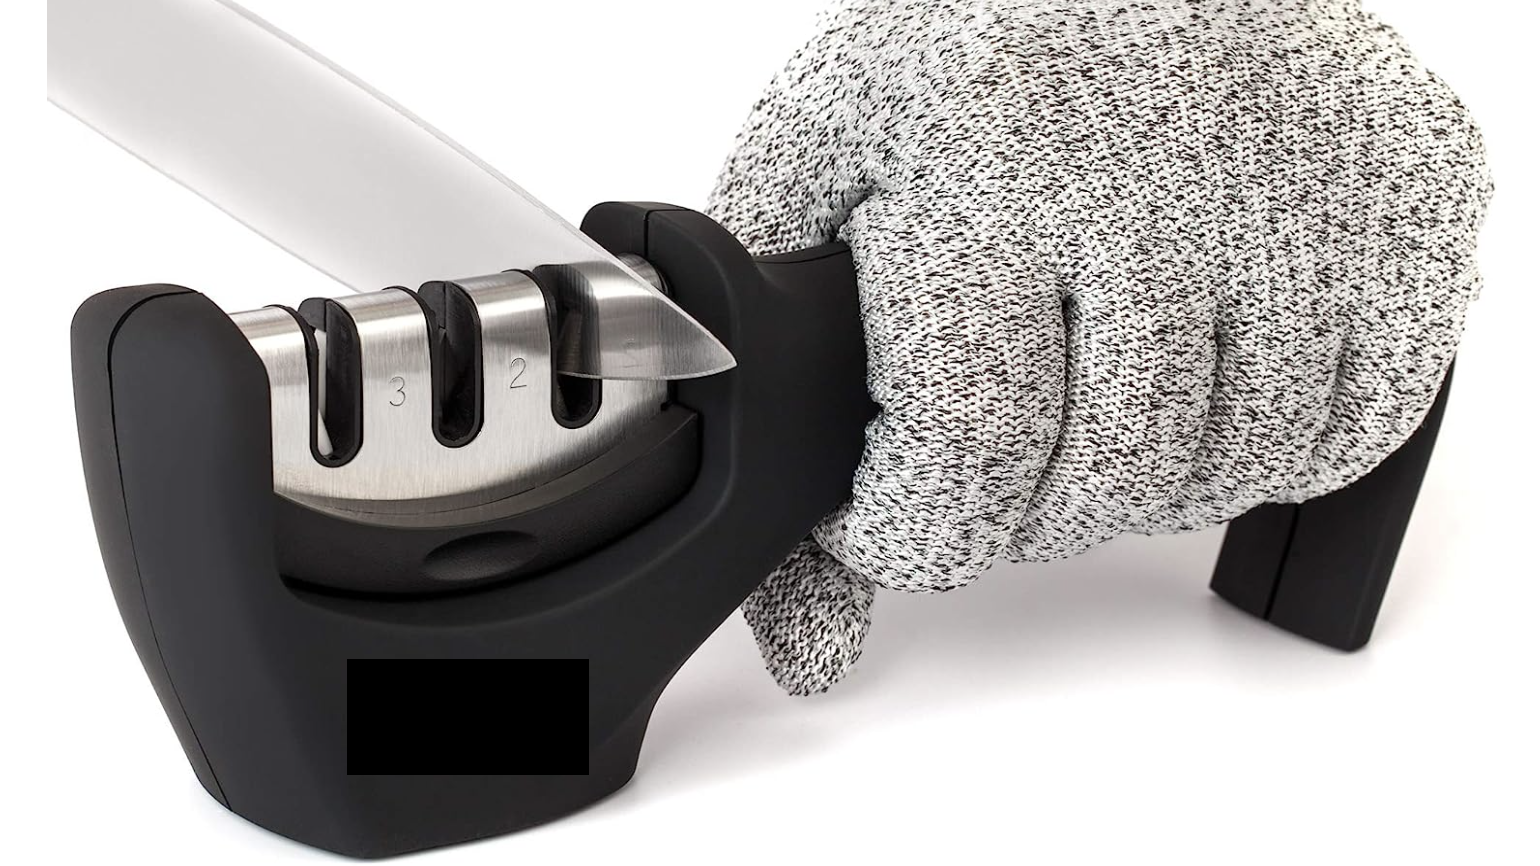
Sharpeners to Avoid: I would also mention that you should absolutely avoid all non-electric hand-held pull-through systems. The majority of them look something like this: I can guarantee you that those $20-30 manual pull-through systems use tungsten carbide or ceramic to "sharpen" your edge. What they actually do is rip it up and they WILL ruin your edge. Throw yours out.
The Knife Sharpeners Below Should Be Avoided, In Our View
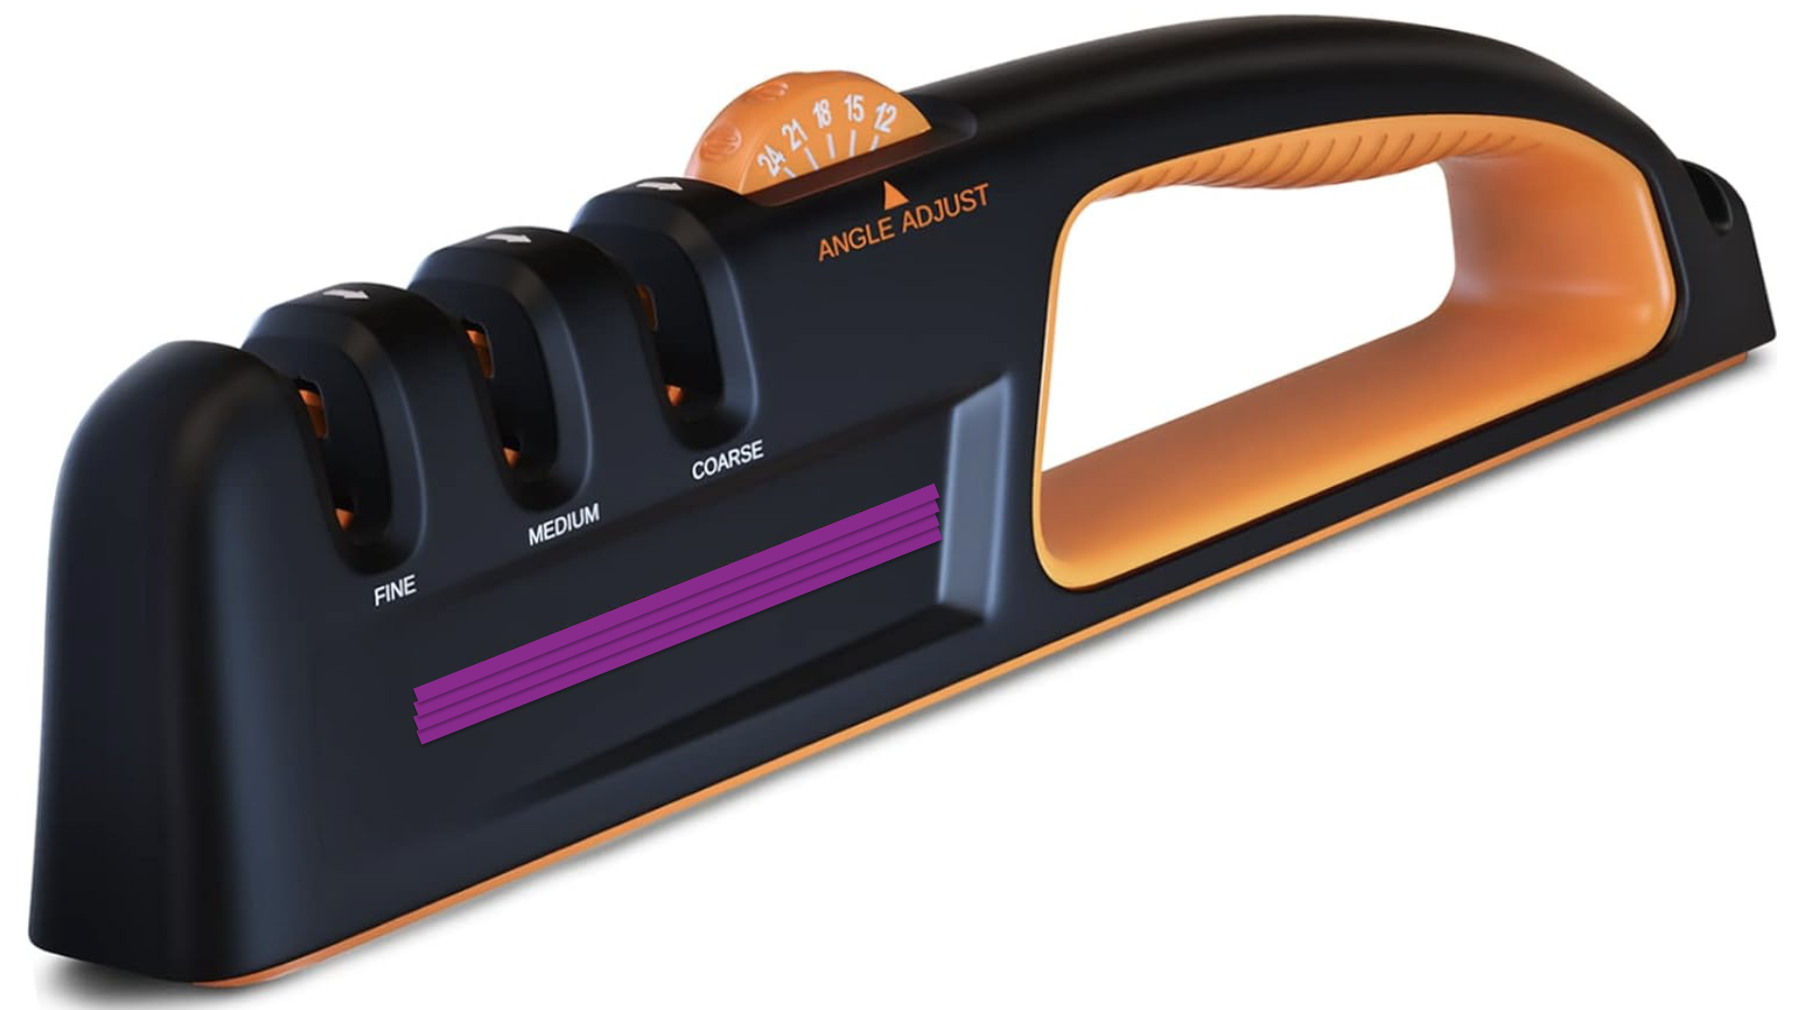
Besides just the mechanical (Chef's Choice Trizor) and non-mechanical pull-through sharpeners like the ones shown above, we think the new rolling disc sharpeners (like the one shown below) are quite sub-optimal too. They WILL get your knife sharp on 80-90% of the blade (more on this in a second), if you have patience and take care, but as a person who sharpens literally thousands of knives a year, I felt frustrated. If you want to have reasonably good angle control for most of the blade and are just sharpening a few knives at home, or you want to pop it into your travel bag for your next AirBnB visit, this is an acceptable system, so long as you recognize that sharpening at the tip and heel will be awkward, at best.
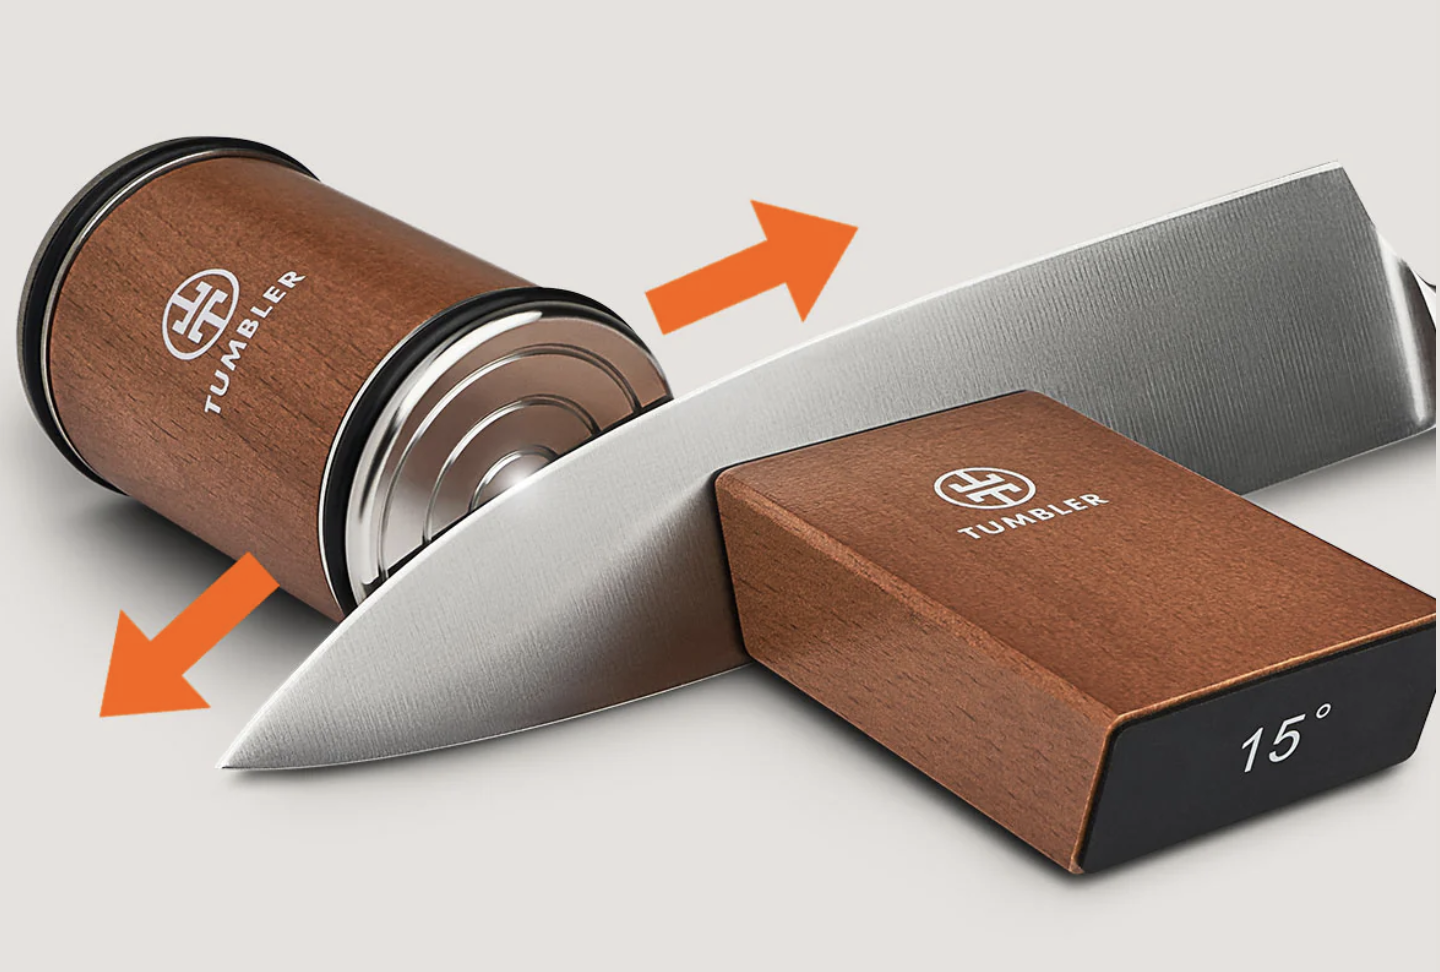
In theory, they're easy to use and because most of these discs use a diamond surface to sharpen, the sharpening process should be fairly quick. The reality, unfortunately, doesn't quite match up with the idea (i.e. not so easy to use, and not exactly fast). Just to be absolutely clear, I don't hate this tool. It makes sense for some, but not for me. This tool could be for you if you are happy with the majority of your blade getting sharp, but not the tip or heel, a disc sharpener is worth exploring. Here's what's I personally think is wrong with it and why I won't be using it again:
-
Tip work is a pain. At the tip, the magnet will wobble meaningfully and you'll need to turn the roller slightly in towards the blade. When I tried this, it felt very unsafe. I tried to adjust by moving the magnet closer to the tip, but the experience felt very off to me.
-
Heel work is problematic. And no, not just if you have a bolster. Your handle WILL get in the way of sharpening the heel of your knife on most knives. Artisan Revere knives all have more space between the handle and the heel for a variety of reasons, but most knives don't. I don't know about you, but I like the whole blade to be sharp.
-
It's fairly annoying to use for knives that are very wide or very narrow. Ex. A typical chef's knife is 1.875" - 2.25" tall at the heel, while a cleaver can be 3" tall or more. A typical paring knife is 0.75" to 1.125" tall. For really wide or narrow knives like cleavers and paring knives, you'll need a highly stable cutting board or other surface to put the tumbler on or to put the knife on (depending on which is taller).
Even though it will sharpen most of your edge reasonably well, I personally don't like anything about this tool because it is inferior in every way to the WSEKSS. That said, it will get the job done for the majority of your knife. Oh, and just as reminder, if you do want this tool as a quick touch-up device or as a travel sharpener, please only get a rolling disc sharpener that has diamond sides for lower grits and ceramic for higher grits. Don't get the kind that have one side that's steel because that side won't do anything for your higher Rockwell knives.

How Often Should I Sharpen My Knife?
Chefs Knives, Santokus, Nakiri Knives:
I always recommend sharpening before your knife gets dull. Once it starts struggling to bite into tomato and pepper skins. That's when you want to sharpen. If you're the kind of person who likes doing maintenance (honing) and a
-
Professional chefs: we suggest daily or weekly honing on a ceramic or diamond rod, and weekly or bi-weekly sharpening on whetstones or on the Work Sharp mentioned previously. Do not use metal honing rods except those made by F. Dick — they'll all rip up your edges.
-
Home cooks: we suggest weekly or monthly honing on a ceramic rod or diamond rod, and monthly or quarterly sharpening on whetstones or a quality electric sharpener like the WorkSharp. On the WSEKSS, typically, just a handful of passes per side at a low grit (220) will suffice to re-establish a burr. Follow this up with a polishing at 1,000 grit+. Strop on leather.
Petty & Paring Knives: It’s best to sharpen your knife before it goes dull. Petty & paring knives do not typically process foods in a way that dulls them quickly. We do not suggest honing these knife. Instead, we recommend sharpening on whetstones or on the WSEKSS at the same time as your more heavily used knives, like your chef’s knife. Follow the grit progression mentioned for the chef's knife.
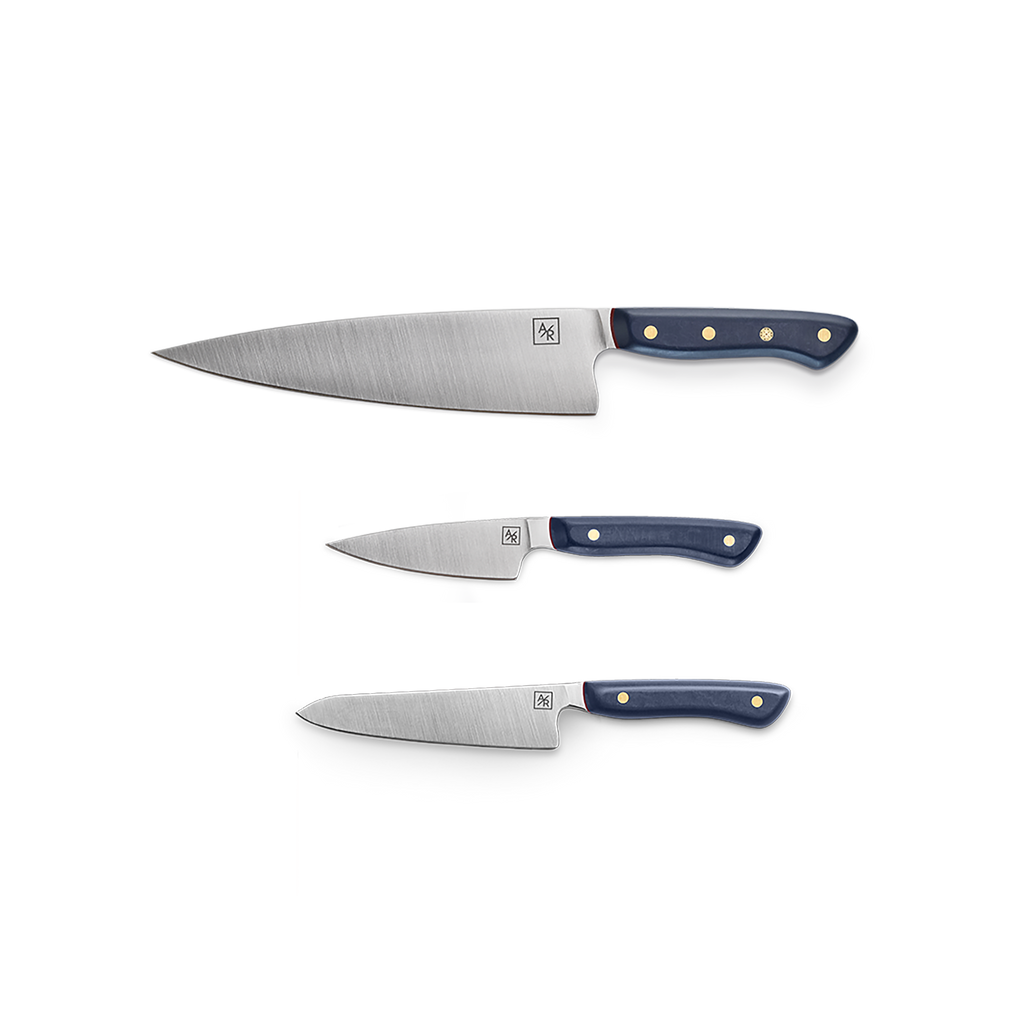
VIP Knife Set
#1 BEST SELLING BUNDLE
100% made-in USA small batch knives. Our Elmax steel knives make swift work of any meal prep, and they stay sharper dramatically longer than every other knife on the market. The included leather sheaths with protect your blades during storage and transport.
Your Price:
Unit Price:
100% Money Back Guarantee

100% made-in USA small batch knives. Our Elmax steel knives make swift work of any meal prep, and they stay sharper dramatically longer than every other knife on the market. The included leather sheaths with protect your blades during storage and transport.

What Are The Best Whetstones To Use?
There is no “best”, but the easiest to use are Diamond Stones because they are the best metal eaters. There are a large variety of diamond stones you can buy, but one thing worth noting is that lower grit diamond stones will leave your knives with deep scratches along the bevel. If you're newer to sharpening, we would suggest doing lower grit sharpening with Silica Carbide stones, like those made by Norton and doing higher grit sharpening (1,000+) with diamond stones.
🚨 Blunder Alert: You can technically use standard whetstones, aka water stones, made of Aluminum Oxide, but it will take much much longer to re-sharpen. Stick to Silicon Carbide or Diamond.
So, what's the full set-up we're suggesting?
220 or 320 grit Silicon Carbide stones are, in our view, the best quick metal eaters at a low grit. Get the Norton Abrasives "Fine" stone. It's about 320 grit per the company's spec sheet and will quickly create a bevel, even with high wear resistance steels (Elmax, M390, SG2, etc). They won't badly scratch your blade either because they're more forgiving than low grit diamond stones. That said, SiC stones require oil, which can be messy. If you prefer a cleaner setup, get a diamond stone in the 200-400 grit range, but expect to have a scratched up edge bevel.
For higher grit sharpening, we really like diamond stones. The most reputable name in diamond sharpening is DMT. The DMT 8" Dia-Sharp® D8E stone, at 1,200 grit, and available on Amazon, is a great finishing stone for most knife users sharpening high wear resistance powder steels.
When you've finished sharpening on your stones, we recommend running your knife through a piece of wood or plywood several times. It's best to use a piece of wood you don't care about. Run it both backwards and forwards. Make sure you run the entire edge through the wood. This will knock off any remaining burr. Once you're done with that, you can, if you like, put your knife through a chrome oxide loaded leather strop to clean up any remaining burr. Remember to ONLY use edge trailing strokes with the leather, or you will cut the leather and ruin it.
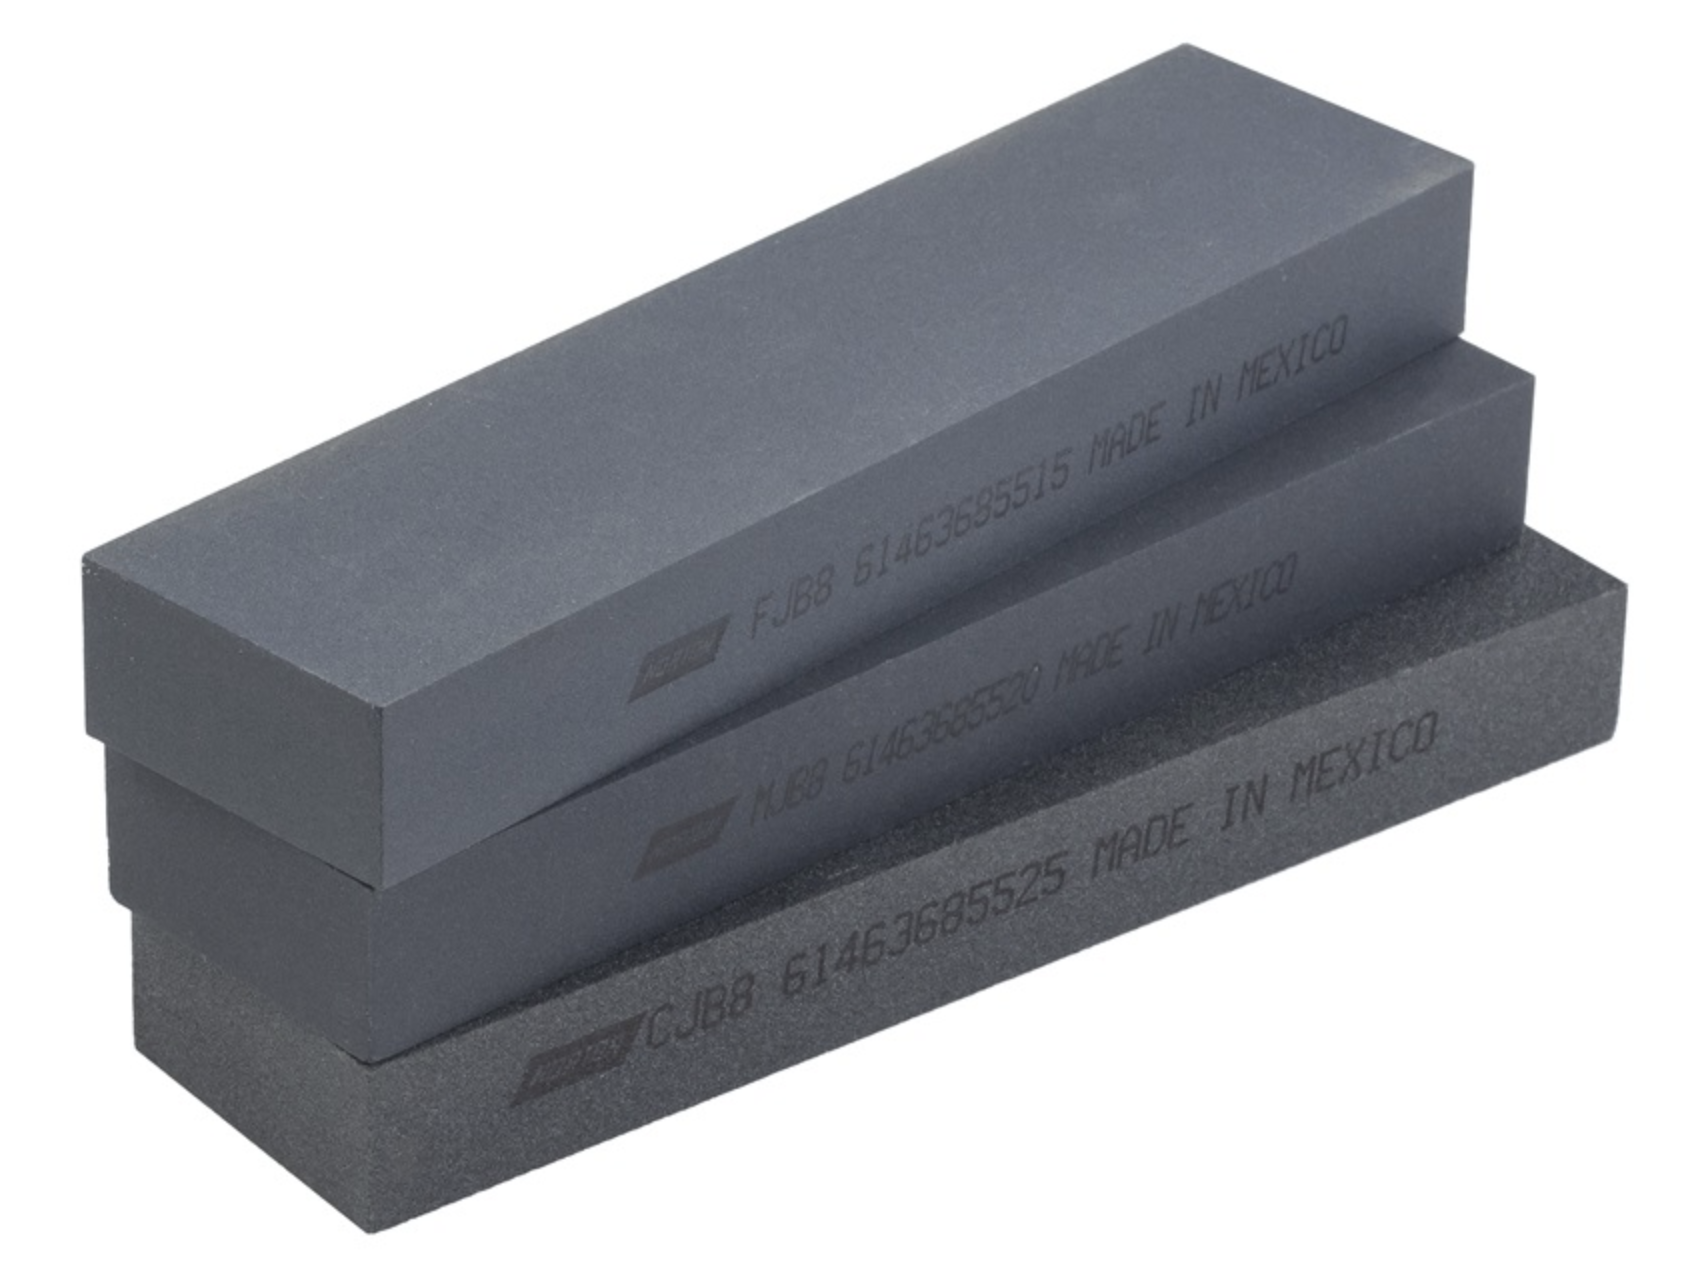
Norton Crystolon
These Norton SiC Crystolon® aka "Carborundum" stones are great for low-grit sharpening. If you buy just one, choose the "Fine" stone.
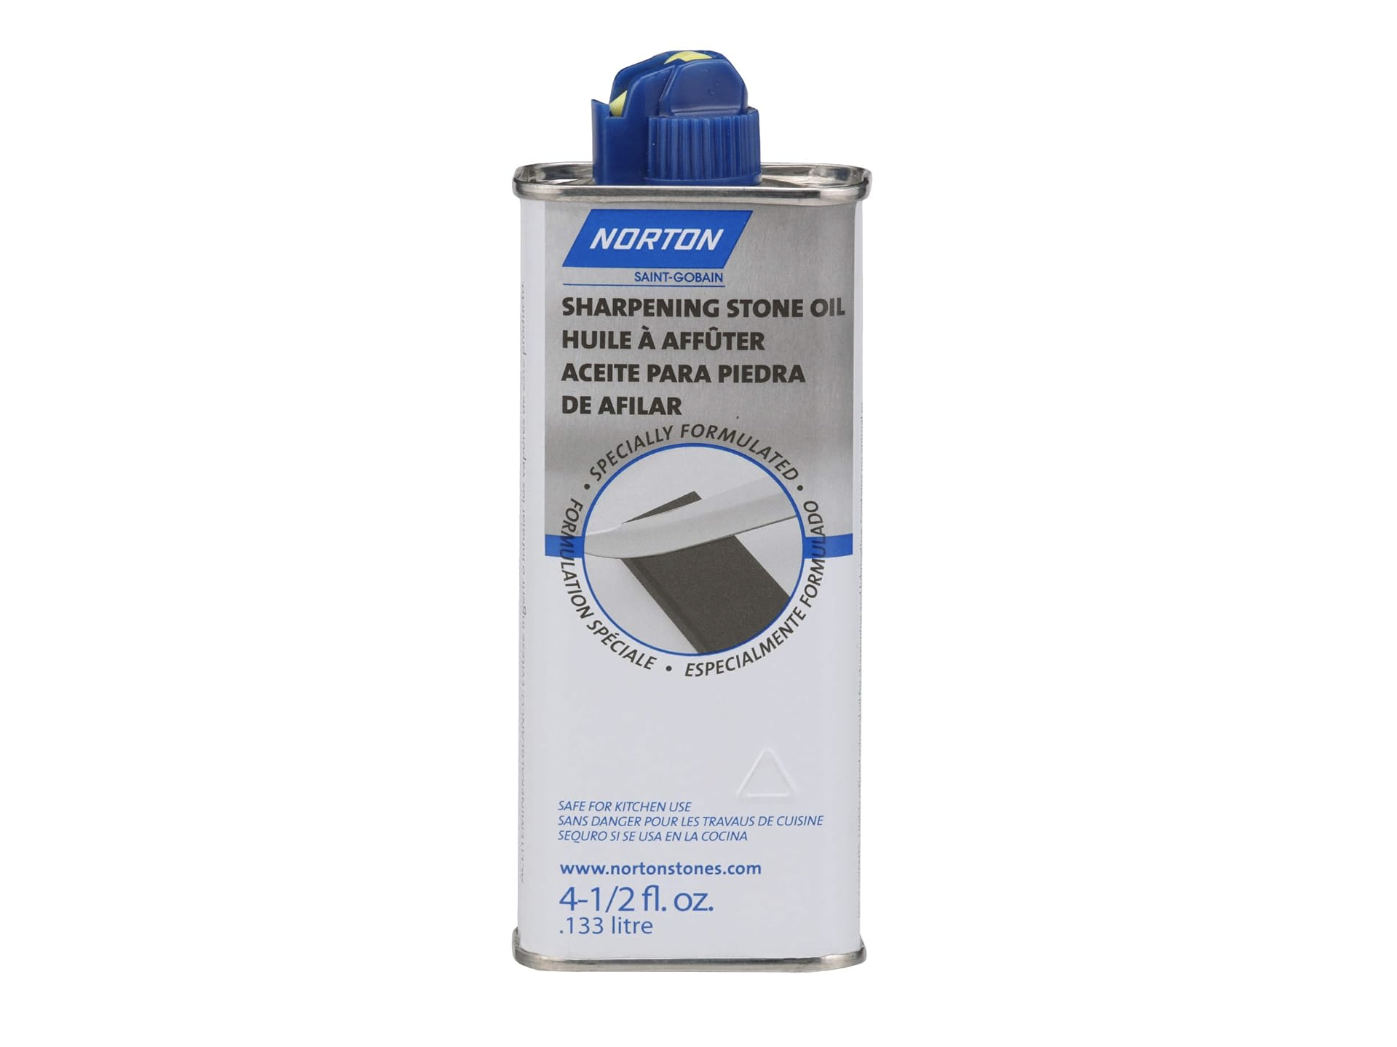
Sharpening Oil
Silicon Carbide sharpening requires oil. This is the one to purchase.
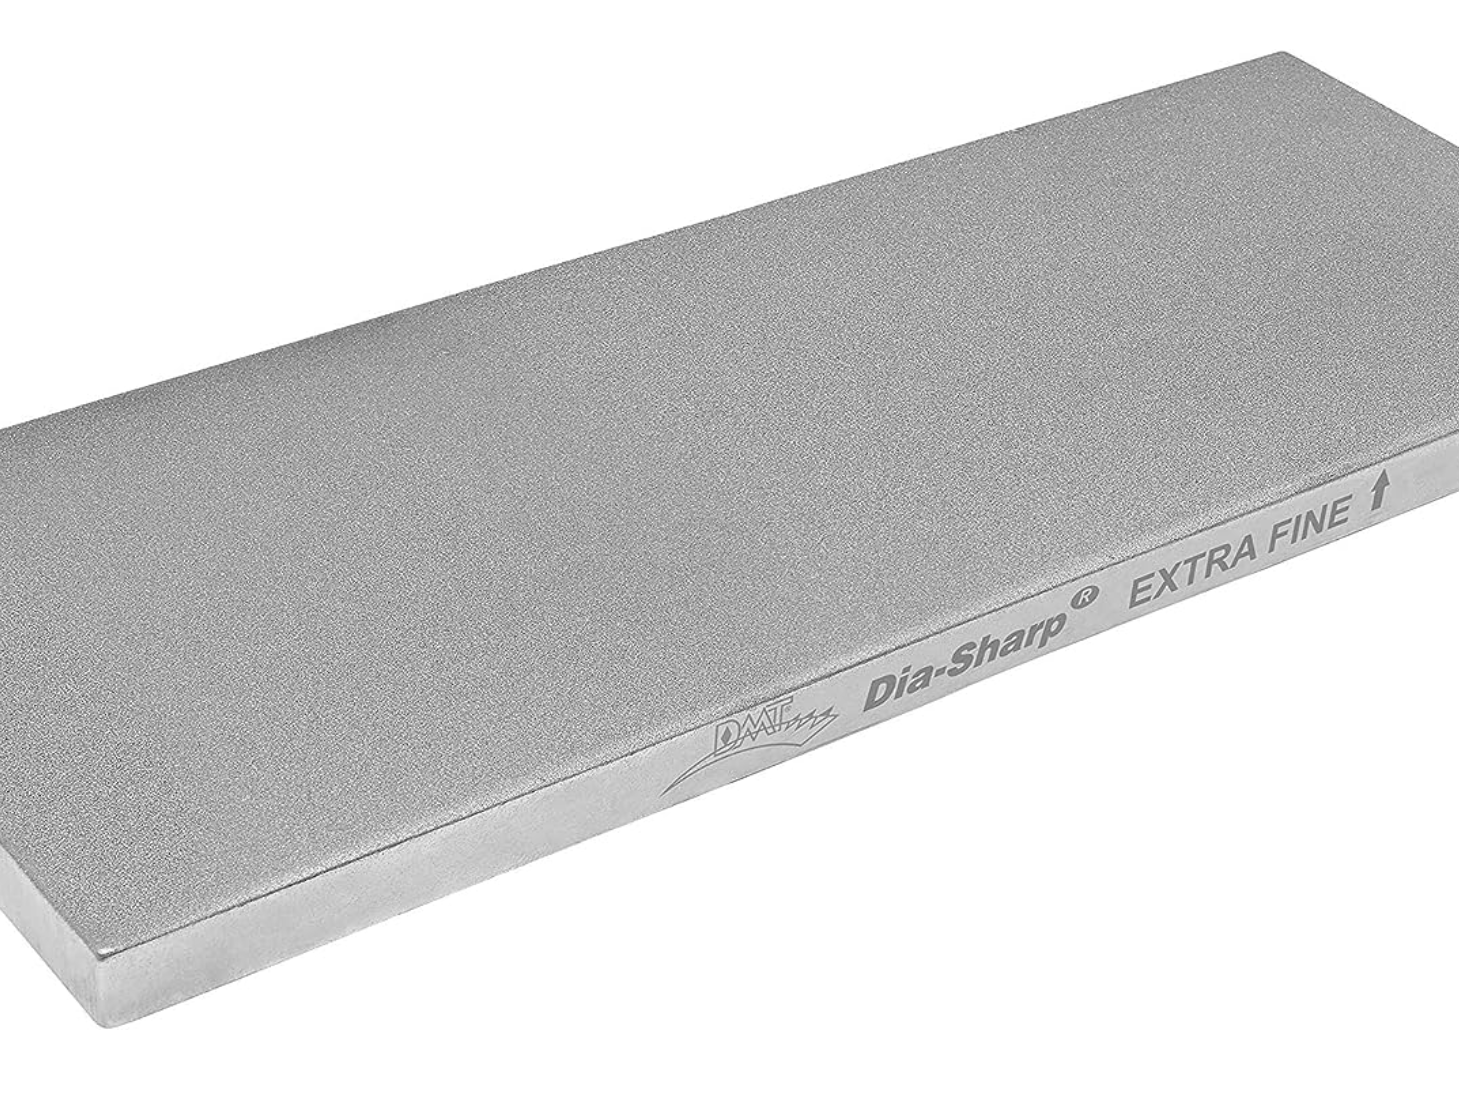
DMT® Diamond
The most reputable name is DMT. Only buy stones with a continuous diamond surface like the one above.

My Knife Has Microchipping. My Knife Has A Large Chip In It. What Should I Do?
First, lets remember the proverb, "an ounce of prevention is worth a pound of cure". In other words, if you follow our 8 step guide, you shouldn't experience any chipping. You can read that report here: Care For Your Kitchen Knife So It Lasts Forever. But hey, we know accidents happen, so let's talk about fixing microchipping and big chips. To remove microchipping and larger chips, you'll need to sharpen your knife and, potentially, thin out the blade if the chips are big enough. We'll discuss thinning out knives more completely in another report. For now, the reason you'll want to thin a knife that has large chips is because the more metal you remove from the edge, the thicker the edge gets and the worse the knife will become at cutting food.
Best Sharpening System: The absolute easiest and best at-home sharpening & chip-fixing tool is the WorkSharp Elite Sharpening System. It uses the same Norton Abrasives belts that we use in our 2" x 72" shop grinders. There are two versions — the Ken Onion basic version and the Elite Sharpening System version. The Ken Onion version is fantastic if you just want to sharpen knife edges. It's also great for things like scissors, axes, chisels, and anything else with a metal edge. The Elite version is the upgrade tool. It's what you want if you think you'd like to fix up rough spines, rough choils, do a bit of handle shaping, and if you chip the tip of your knife. The reason is that it's more versatile and gives you more optionality for how you sharpen. It also includes all of the parts from the Ken Onion version and adds on a special attachment that replicates a full-size 2x72 grinder. If you buy a powered system, you'll want to wear a good mask like the Enro Curv. They make the most comfortable and effective masks on the market. You'll also need to wear eye protection. We recommend a good pair of non-fogging safety glasses. Please do NOT sharpen without respiratory and eye protection — strange things happen. For a detailed video guide from WorkSharp on using the Elite Sharpening System, watch this YouTube video. For the Ken Onion basic version, watch this YouTube Video.
👩🔬 Science Alert: As a rule of thumb, the bigger a belt, Ken Onion = 3/4" x 12", Elite = 1" x 18", full size belt grinders like the ones in our shop at 2" x 72", the cooler your blades. That's because the same bit of belt has more time to cool until it hits your knife. No matter the size of belt you're using, it's best to keep your blades cool and dip them into water. This will ensure you don't accidentally melt the edge (at the extreme) or accidentally heat the edge so much that you knock off a few Rockwell Hardness points.
If you want to spend a expend a large amount of time and energy fixing severely chipped knives, you may do so with whetstones. We'd recommend getting the fastest metal eaters possible: DMT diamond stones in a very low grit — either 220 or 325. For microchipping, this will not be an exhausting task. For major chipping, we would strongly recommend using the WorkSharp mentioned previously.
If you have a chip in an A/R knife, please send an email with photos to hello@artisanrevere.com. It will help us determine how to best proceed. We offer a resharpening service for 99% of sharpening jobs (i.e. dull blade or microchipped blade), but if you have a major, i.e. 1/2" tall or bigger from torquing a thin knife in a dense vegetable like a butternut squash, or prying apart frozen food, there is likely now a very deep fracture going the height of the blade. This will require a large amount of work to grind it out, and then thin out the knife and your knife will no longer perform like it used to. Once you send us a photo, we can help you decide what to do.

I Dropped My Knife & The Tip Broke Off. What Should I Do?
Similar to the chip sections, please send us an email. We can likely fix this up for you by re-profiling your blade for a modest charge. However, if you've purchased the WorkSharp Ken Onion or the WorkSharpe Elite Sharpening Solution, you can fix the chip at the tip quite easily. There are a few tricks to doing it right.
-
Take a permanent marker and draw the new profile you want on the blade. We recommend a soft and smooth curve, but you can do anything you want, including a sharp transition, like you might see on a k-tip gyuto.
-
You will have to take off metal from the spine. You don't necessarily have to take off metal from the edge side. It's up to you what you want your new knife to look like. We recommend beginners ONLY remove metal from the spine. This is so you don't have to thin out the tip. When removing steel, you'll want to frequently place your knife tip in cold water. We suggest doing so every 10 seconds if you are using a belt grinder.
-
Start grinding metal off until your spine to tip transition is what you're looking for.
-
Re-sharpen the edge of the blade.

My Knife Is Really Sharp & I'm Scared Of It.
That’s okay! It’s important to learn how to hold your knife correctly, and importantly, how to hold it with different food items. We’ll be creating a variety of videos that will help with this. For the majority of food items, we recommend holding large knives like a chef's knife or santoku in a pinch grip. We recommend holding paring knives with you middle finger hooked under the choil and your thumb by the tip. Your support hand will hold the food item in hand. For medium sized knives, when doing board work, you'll likely be in the pinch grip or a point grip, with your index finger on the spine of the blade. When doing hand work, copy the paring knife recommendation. For board work with both large and medium sized knives you'll want to make sure you have a very steady cutting board. Boards with rubber feet like our end-grain cutting boards won't slip and slide on the countertops. Also, plastic boards like those from OXO and Gorilla Grips are great. Make sure whatever food item you are processing is flat on the board. For food items like potatoes, slice off a tiny amount on a long side and create a flat surface for yourself. This way the potato won't roll when you're cutting it. When you're slicing or dicing, make sure you're supporting the food item with your support hand in a claw grip. To do that, hook in your fingers — DO NOT stick them out. This is one of the most dangerous things we see home cooks do.

How Should I Hold My Knives?
Chef Knife: The most standard grip for a chef’s knife is the pinch grip with your dominant hand. Your index finger and thumb should be gripping about 11.5” in front of the handle. The other three fingers should be wrapped around the handle. Your middle finger should be pushed up against the choil. This grip will give you maximum power and control. It is useful for push cuts, rocking motion, and slicing. There are some instances where you may choose to use a point grip with your index finger on the spine of your knife. In nearly all cases, your support hand should hold food down on the board in a claw grip. This way, your support hand fingers will never be exposed.
Petty Knife: The most standard grip for in-hand peeling work with a petty knife is to wrap your index, middle, ring, and pinky fingers around the handle with your dominant hand. Your thumb should be on the item you are peeling. For on-board cutting, you should use either a point grip (index finger on spine), or a pinch grip, with your index finger and your thumb on the sides of the blade just in front of the handle. In all cases, your support hand should be holding the food item, either in-hand, or on the cutting board.
Paring Knife: The most standard grip for in-hand peeling work with a paring knife is to wrap your middle, ring, and pinky fingers around the handle with your dominant hand. Your index finger should be on the spine of the blade close to the tip. Your thumb should be on the item you are peeling. For on-board cutting, your index finger should be on the spine of the knife with your thumb on the side of the blade. In all cases, your support hand should be holding the food item, either in-hand, or on the cutting board.
Other Questions?
Your chef’s knife should be your most reliable sidekick in the kitchen. Take some time to do your research, and invest in a knife that stays sharp longer, cuts better, is tougher to chip, and feels great in your hand. Choose a knife made with a high-quality powder steel containing about 3% vanadium, for a knife that will last you a lifetime.
Don’t know where to start? Go for the Artisan Revere Chef’s Knife, made with Elmax High Vanadium Super Steel—and tested by hundreds of home cooks and professional chefs. We promise it’ll soon become your workhorse in the kitchen; you’ll wonder how you ever lived without it.
Shop Our Top Tools
Customer Reviews
As I've gotten older, I've begun to recognize the importance of eating handmade food from fresh ingredients. Not only is the food healthier, it tastes tremendously better.
However, a good knife is one of the areas I've neglected in my pursuit of crafting handmade food. For some reason, I've held the perception that a knife is a knife is a knife. I was wrong.
Before Christmas, I decided that I wanted to treat myself and invest in my last knife. To support my efforts in finding the right knife, I use the following prompt in ChatGPT:
== BEGIN PROMPT ==
You are a master chef who specializes in US independent knife makers.
I'm in the market for a new chef's knife. I am looking to spend less than $400. I want a knife that is known for flexibility, retaining its edge, and durability. Give me some of the best options from US independent knife makers.
Create a table with the top ten options with links to their sites.
== END PROMPT ==
Artisan Revere was one of the companies listed. After following up with other prompts to refine what I was looking for, everyday use retains its edge and ease of maintenance, it was clear that Artisan Revere was the best option for me.
Although I spent more than I initially planned, having used my Artisan Revere chef's knife for the past three months, I couldn't be happier with my investment and feel it was worth every penny.
Having such a good knife pushed me to invest in a better cutting board and has encouraged me to push my already fanatical passion for cooking even further, which has had a corresponding impact on my enjoyment of the entire cooking experience.
And while I could go on and on about the tremendous attributes of my knife, what I appreciated even more was David Olkovetsky, the CEO, calling me to understand my cooking style and confirm I had what I needed to take care of my knife. This level of hospitality, combined with a tremendous product, has made me a fan that will only ever use and gift Artisan Revere knives.
If you're on the fence about investing in a knife. You'll never regret investing in an Artisan Revere knife.
We bought 2 chef's knives for a couple of our customers as an end of project gift. It was awesome to find such high quality knives, they look and feel amazing. David the owner of Artisan Revere was very helpful and even helped us get the customers names engraved on the leather sheath and knife.
The Artisan Revere chefs knife cuts with ease, is super well balanced, and keeps a sharp edge for longer than any of my Wustofs or other European knives. The edge is perfect and the knife is dulled in the exact areas where your fingers might be exposed. The leather sheath is a more plus for protecting the knife. The materials are top notch and are lightweight allowing for fast and easy cutting. You simply are less tired after using this knife compared with others.
Being somewhat of a knife geek, I have a multitude of knives, including ten chef's knives and Santukos of German, Japanese, and American steels in both German and Japanese knives. I researched this and other premium American made blades before purchasing this knife, mainly based on steel technology, but also its light weight. I also appreciated a 1:1 conversation with David to discuss the technology and craftsmanship before I ordered. After using this knife for six months, it is now my favorite knife for most all tasks that don't involve cutting foods that are prone to sticking to the blade, e.g., potatoes, (Glestain specialty Santuko for that unique task), or butternut squash, bones, etc. (Henckles and a rubber mallet for that).
It excels at precision cuts, like brunoise cut veggies, and prepping meat and fish. It is as light as the best custom Japanese knives I have, but sharper and better balanced. It is very well made. It maintains an edge significantly better than any other knife I own. In fact, I haven't sharpened it once in six months and it's still a razor. Its blade and handle geometry is superb. It fits my hand perfectly.
My guests may be impressed by some of the beautiful Japanese knives I have displayed in the block, but this is the one I use all the time and appreciate the most. I keep it in its handsome sheath in my drawer away from curious guests who might otherwise cut themselves, or god forbid, drop it. Well worth the money!
This is the ultimate knife. You will never need to buy another knife in your lifetime. A one-time forever purchase. Nothing even remotely comparable out there.
View Our Top Articles

