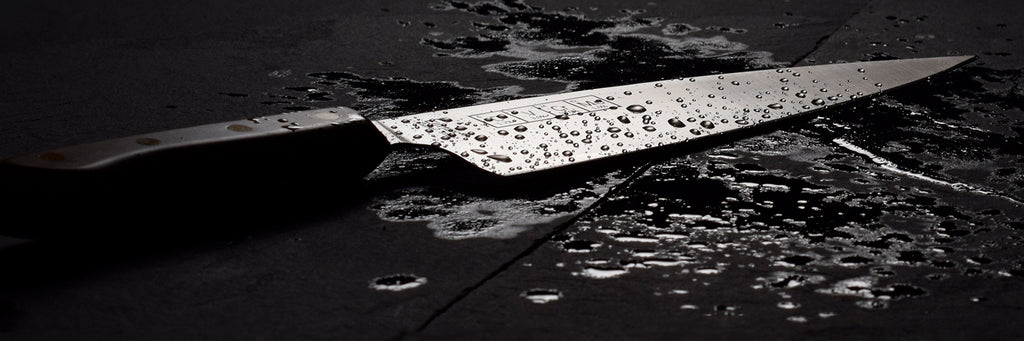
How to take care of your kitchen knife so it lasts forever
Taking care of your kitchen knife isn’t as hard as it seems. And while it might be tempting to let your knife sit with the other dishes in the sink (don’t do it), or toss it haphazardly into the dishwasher (really, don’t do it), regular maintenance will make a world of difference. Maybe you like cooking, or maybe you cook purely to survive. When your knife maintains its incredibly sharp edge—and glides effortlessly through rib eyes and rock-hard squash alike you'll start to truly enjoy rolling up your sleeves and conquering the kitchen.
They say that a bit of prevention is better than the cure. Here’s what you need to know, to keep your knives in mint condition:
No.1

Use your knife on food, and only food
Perhaps it’s obvious—but it needs to be said.
Think about it: the number of times you’ve used your kitchen knife to pry open a can, open boxes, break down a small animal, and hammer through frozen foods. Any of these can and will dull, twist, or chip your blade because your kitchen knife is designed to cut through (non-frozen) foods only. Using it for any other purpose can seriously damage your cutting edge. Specialty boning knives are meant exclusively for breaking down poultry, bone-in meats, and fish—so don’t use your chef knife, santoku, or nakiri for hacking through bones.
No.2
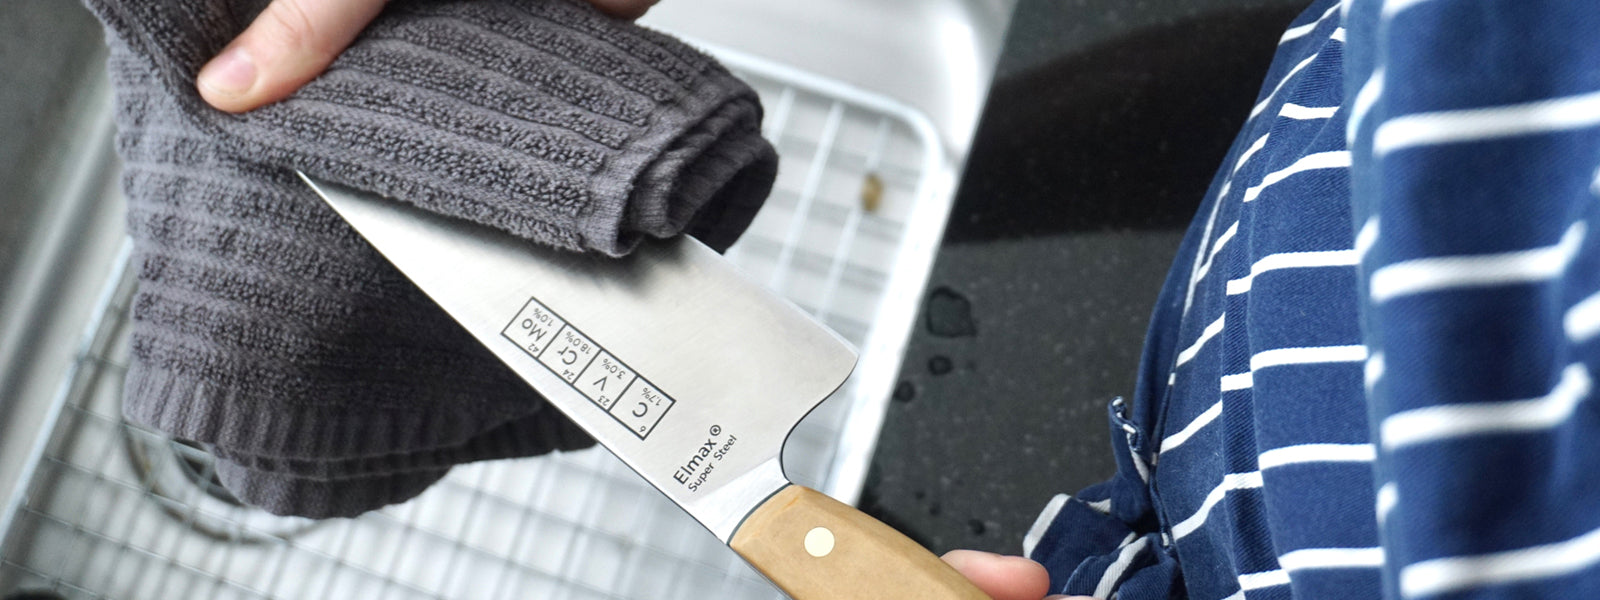
Wash and dry - every single time
When you’re done with meal prep, wash your knife with dish soap and warm water. When washing your knife, please make sure to use a non-scratch sponge. Some sponges use aluminum oxide on the abrasive side, which can leave scratch marks on your blade and dull your edge. After washing, dry your knife immediately. We recommend knife magnets for storage (more on that later). The experts at Artisan Revere have seen the most expensive knives fall victim to rust spots, discoloration, and worse—just from being left out on the counter, or with all the other dirty dishes in the sink. We can help you reverse it, but it’s best to avoid an expensive lesson, and take just a few seconds to take care of your kitchen knife.
No.3

Treat your knife with mineral oil
An occasional drop or two of food grade mineral oil throughout the handle and the blade can keep your blade from reacting to highly acidic foods like lemons and limes. It will also prevent acidic or salty solutions from stripping your blade of its free chromium layer, which is a fancy way of saying it will prevent patina, or worse, rust. Food grade mineral oil isn’t just great for preventative knife care; it will also reverse patination on a stainless blade. Something like this mineral oil will do the trick—and also work wonders for your cutting board. If your knife is a high-carbon, “non-stainless” blade, you should apply a layer of food grade mineral oil after every single use, as this will prevent corrosion. If you’ve already got some corrosion, as evidenced by orange spots on your blade, we suggest attempting to remove it with mineral oil. If that doesn’t do the trick, purchase some Simichrome All Metal Polish.
No.4

Use the right cutting board
There are only a few cutting boards that you should use to keep your knife sharp and maintain a sanitary kitchen: wood, plastic or synthetic rubber. Stick with wooden cutting boards, made with walnut, cherry ,or maple wood for fruits and vegetables. The janka hardness of walnut and cherry woods is just right for your knives, while maple is a bit harder and less expensive, but will require more frequent sharpening.
Plastic boards are inexpensive, and absolutely fine for fruits and vegetables, but these boards are best used for meats and fish because they can be sanitized in the dishwasher. Remember to replace your plastic boards once they start to get too many deep scars—that's where bacteria like to reside.
Additionally synthetic rubber boards, like this one from Hasegawa, are superb for advanced knife users who primarily employ slicing motions—they’re grippy and also do less damage to your knives. Rock choppers should avoid these as the boards are a bit too soft.
Make sure you avoid man made materials such as Paperstone, Richlite, glass, granite, ceramic—these will rapidly ruin your knives. Additionally stay away from teak, and bamboo—two natural materials that are very high in silica, which will drastically decrease how long your knife stays sharp. Don’t fall into the trap of buying anything but wood, plastic or rubber boards.
No.5
Use a bench scraper for food transfer, not your knife’s edge
If you’ve been using your knife’s edge to transfer foods and organize your cutting board, you’re not alone—many top chefs we’ve worked with do this too. Here’s the bad news, this is the easiest way to roll your knife’s edge, especially on those thinner knives.
Avoid this practice before it becomes tough to break the habit. We suggest picking up an inexpensive bench scraper for under $10. Space constrained? No problem, use the spine of your blade to transfer food.
No.6

Stay away from the dishwasher
We’ll put it this way: your dishwasher is a hurricane of scorching hot water and highly abrasive detergent. It’s a perfect storm that can chip, dull, and corrode your knives. Not to mention the high likelihood of pitting corrosion—a particularly nasty, localized form of corrosion. Even if your blade miraculously comes out of the dishwasher intact, the high temperatures and wet conditions will rapidly eat away at the epoxy that holds your handle together—translation: you’ll ruin your gorgeous knife, guaranteed.
Keep your knife away from the dishwasher at all costs, and clean it by hand only. PSA: the dishwasher voids most knife warranties.
No.7

Use magnets for storage and sheaths for transport
The best place to store your knives is on a magnet. Wood or bamboo covered magnets are best, as they’re not as harsh on your knives as steel magnets: steel on steel is never ideal. Large wooden blocks are sub-optimal for several reasons: they’re difficult to clean, dull your knife edge, and take up unnecessary space.
Importantly, when placing your knife on or removing your knife off a magnet, remember to maintain spine contact. Place the knife on the magnet via the spine of the blade, and then slowly rotate the knife face onto the magnet. Reverse this when removing the knife. Avoid any contact between the cutting edge and the magnet—this will keep your edge sharper for longer and you won’t cut into the magnet.
Leather sheaths, as well as wooden and plastic sayas are great for transportation, but you should avoid them for long-term storage, unless your knife is 100% clean and dry. Any of these enclosures will retain moisture, and moisture is the enemy of steel, even if your knives are “stainless”. The result: minor patination, or even serious corrosion. If you do use a sheath or saya, make sure to first apply a drop of food grade mineral oil to create a protective barrier between the steel and the sheath.
No.8

Know when it’s time to hone and sharpen a kitchen knife
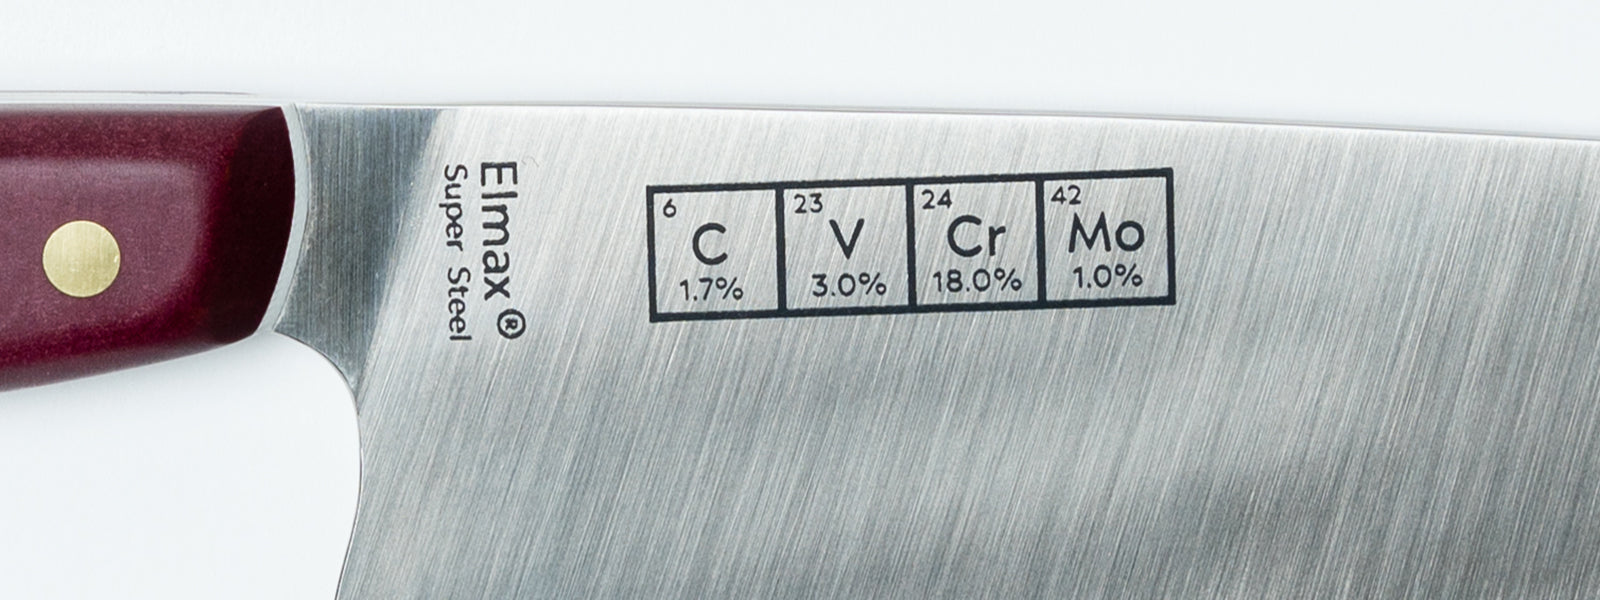
All knives will eventually dull as the steel abrades over time. Artisan Revere uses a 3rd generation high alloy particle metallurgy tool steel (which is 30x more expensive than generic knife steel) that will stay sharp much longer—but even our knives will eventually need a tune-up.
We suggest weekly ceramic rod honing for home cooks and daily for professional cooks. Cook’s Standard makes a quality, fairly priced ceramic rod. Remember to wipe your blade down after you’ve honed it. A good alternative is to run your knife on our Work Sharp x Artisan Revere E5 sharpener’s grey or white belts.
If your knife can no longer easily pierce a tomato with a slicing motion and minimal pressure, we recommend you run it for 90 seconds through our Work Sharp x Artisan Revere E5 sharpener, or retouch it on your whetstones. (Here’s our definitive guide on how to sharpen a kitchen knife like an expert.) Once you’ve sharpened your knife, test it out on a tomato or pepper, or try to slice (not push) through a piece of paper on a diagonal. Your cuts should be smooth and effortless. Any kinks, and you’ve got to do some more sharpening in that area.
MAKE YOUR KNIFE LAST FOREVER.
And there you have it. Eight easy steps to take care of your kitchen knife—brought to you by Artisan Revere.
Pro-tip: Invest in a quality kitchen knife that’s designed to last longer from the get-go. Check out the Artisan Revere Chef’s Knife, made with Elmax High Vanadium Super Steel, for an edge that stays sharp 2.31 times longer than other premium knives.